3D Printing Car Dashboard Parts: The Complete Guide to DIY Interior Repairs
Learn how to 3D print car dashboard parts with our complete guide. Discover the best materials for heat resistance like ASA and ABS, design tips for perfect fitment, cost savings comparisons, and join our maker community.

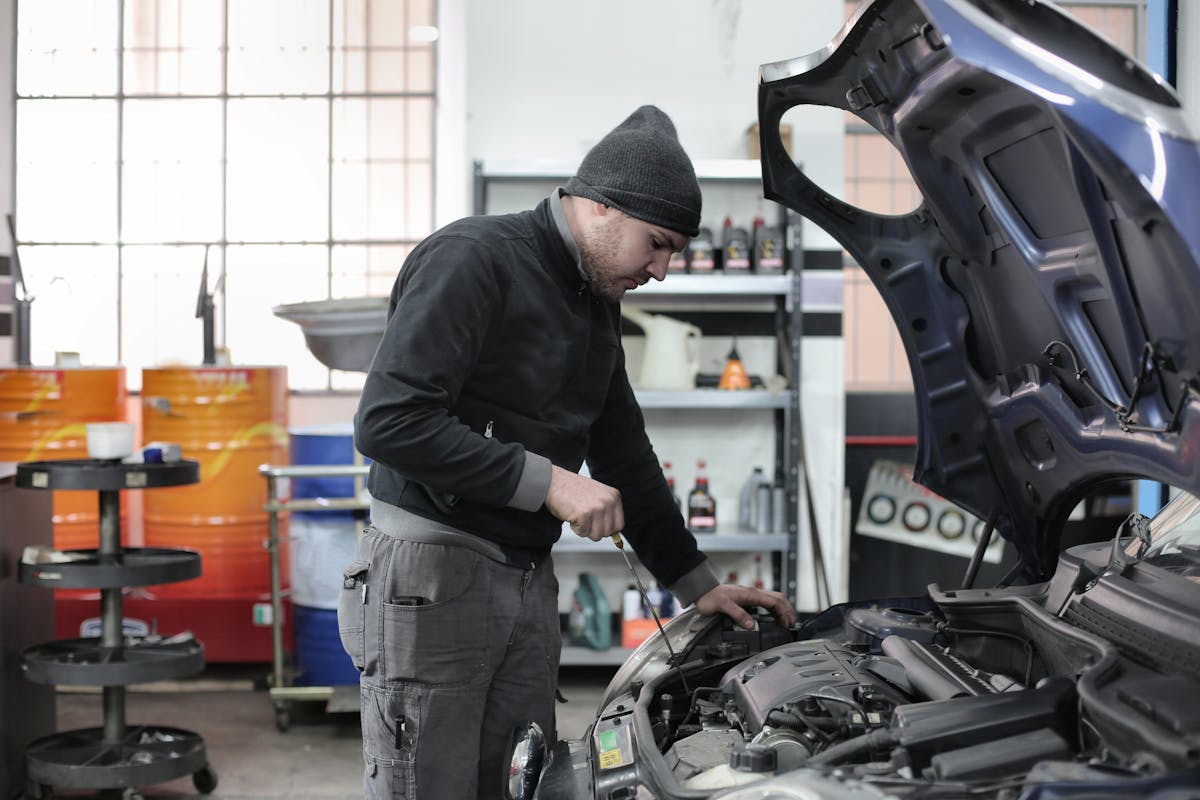
That cracked dashboard trim piece has been driving you crazy for months. The dealer wants $180 for a replacement part that's been discontinued since 2019, and the only one on eBay looks worse than what you already have. Sound familiar? You're not alone—dashboard parts are among the most fragile and frequently broken components in any vehicle, and finding replacements can feel impossible. But here's the good news: 3D printing technology has completely transformed how car enthusiasts and everyday drivers approach dashboard repairs, making it possible to create perfect-fit replacement parts right from your garage.
Whether you're dealing with a broken air vent, a missing gauge cluster bezel, a cracked radio surround, or those annoying little clips that seem to snap at the slightest touch, 3D printing offers an affordable, customizable, and increasingly professional solution. In this comprehensive guide, we'll explore everything you need to know about 3D printing car dashboard parts—from choosing the right materials that can handle extreme heat to finding or designing the perfect files for your specific vehicle.
Why Dashboard Parts Are Perfect for 3D Printing
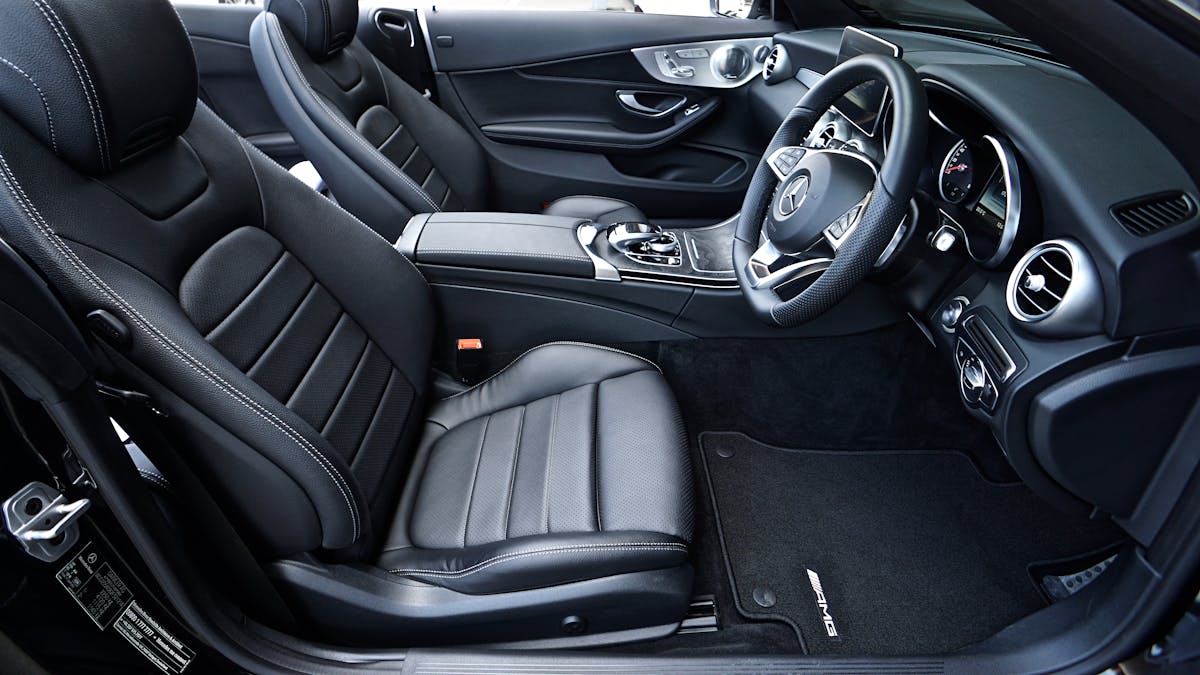
Car dashboards present a unique set of challenges that make traditional replacement parts difficult to source. These components are typically made from specialized plastics that age, crack, and fade over time. They're also highly vehicle-specific, meaning a part from one model year often won't fit another. And because automakers only produce parts for a limited time after a vehicle goes out of production, millions of otherwise serviceable cars have dashboards with broken or missing pieces.
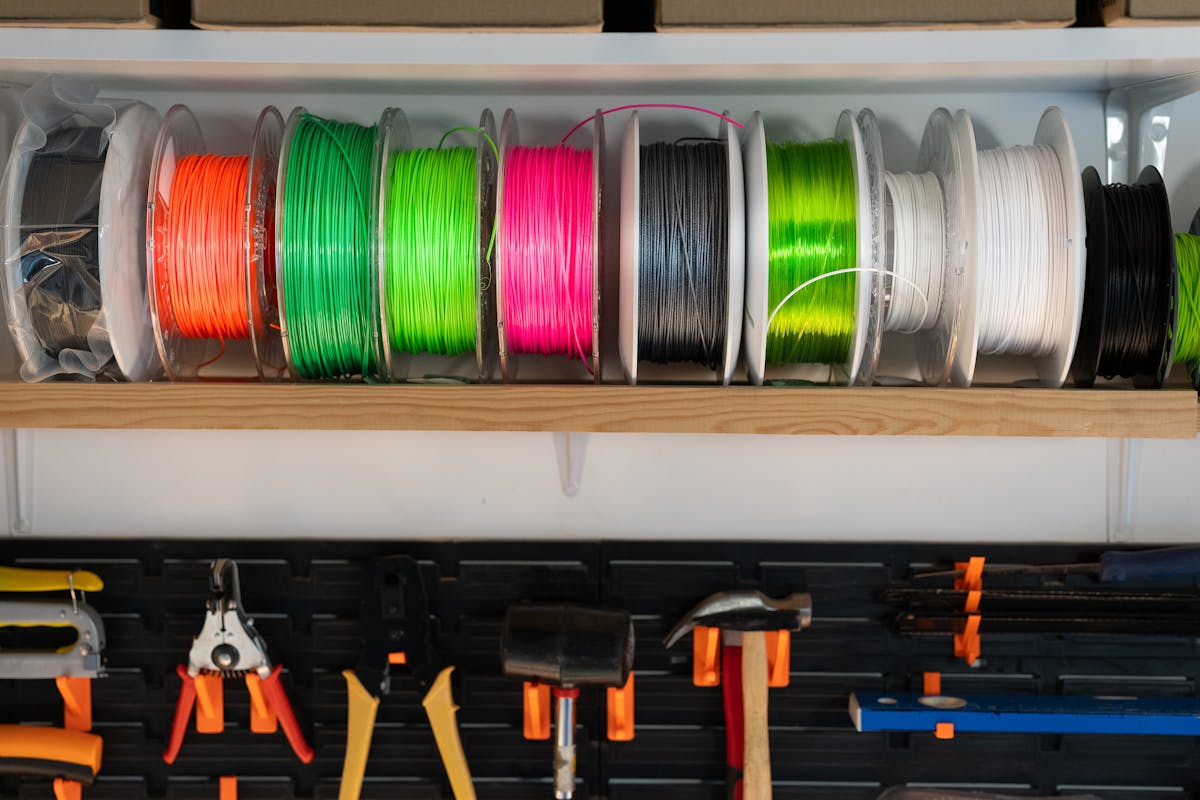
Fused deposition modeling (FDM) 3D printing solves many of these problems. The technology can reproduce complex geometries that would be impossible to fabricate by hand, match nearly any color or texture, and produce parts on-demand without the need for expensive tooling or minimum order quantities.
The Discontinued Parts Crisis
Automakers typically maintain parts inventory for 10-15 years after a model ends production. After that, you're on your own. For the millions of vehicles older than this—including increasingly valuable classics—finding dashboard components becomes a scavenger hunt through junkyards, online forums, and specialty salvage dealers.
3D printing flips this equation entirely. Once a part design exists digitally, it can be reproduced indefinitely. Our community parts library hosts hundreds of dashboard components designed by members who faced the same sourcing challenges you have. These files remain available forever, ensuring that future generations of car enthusiasts can keep their vehicles intact.
💡 Industry Insight
General Motors' Cadillac Celestiq, their flagship luxury vehicle priced over $300,000, uses more than 115 different 3D printed components—many of them interior trim pieces including parts of the dashboard. If additive manufacturing is good enough for GM's most expensive car, it's certainly reliable for your daily driver.
Cost Savings That Make Sense
The economics of 3D printed dashboard parts are compelling. A typical dashboard component uses $2-15 worth of filament but might cost $50-300 from a dealer—if available at all. Even accounting for printer cost, electricity, and your time, the savings accumulate quickly, especially for vehicles that need multiple components or for enthusiasts working on several projects.
Types of Dashboard Parts You Can 3D Print
Not every dashboard component is equally suitable for 3D printing. The best candidates are non-structural plastic parts that serve primarily cosmetic or organizational functions. Here's a comprehensive breakdown of what works well and what requires more consideration:
| Dashboard Component | Printability | Difficulty | Key Considerations |
|---|---|---|---|
| Air Vent Assemblies | Excellent | Intermediate | Moving louvers require careful tolerance design |
| Gauge Cluster Bezels | Excellent | Beginner | Usually simple geometry; great first project |
| Radio/Infotainment Surrounds | Excellent | Intermediate | Match texture to surrounding dash trim |
| HVAC Control Knobs | Excellent | Beginner | High heat exposure; use ASA or ABS |
| Switch Panels | Excellent | Intermediate | Requires accurate measurements for switch fit |
| Cup Holder Inserts | Excellent | Beginner | Great for customization; add phone slots |
| Trim Clips & Fasteners | Excellent | Beginner | Use flexible materials like TPU |
| Defroster Grilles | Good | Advanced | Fine details require tuned settings |
| Glove Box Components | Excellent | Intermediate | Hinges may need metal reinforcement |
| Airbag Covers | Not Recommended | N/A | Safety-critical; use OEM only |
⚠️ Safety Warning
Never 3D print airbag covers, structural dashboard supports, or any component that could affect airbag deployment. These parts undergo extensive crash testing and must meet specific frangibility requirements. Using non-OEM airbag components could cause serious injury or death in an accident and may void your insurance coverage.
Popular Dashboard Projects
Certain dashboard parts are particularly popular in the 3D printing community due to their high failure rates, OEM unavailability, or customization potential:
- BMW E46/E90 Cup Holders: Notorious for breaking; community has perfected stronger replacement designs
- Mercedes W203/W211 Air Vents: Finicky louver mechanisms fail regularly; 3D printed versions often work better than OEM
- Honda/Acura Radio Surround Clips: Cheap plastic clips break when removing the radio; print dozens for pennies
- VW/Audi Climate Control Knobs: Rubberized coatings peel off; print replacement knobs with better grip
- Classic Mustang Gauge Bezels: Discontinued decades ago; community maintains comprehensive file library
- Miata/MX-5 Defroster Vents: Brittle plastic crumbles with age; replacement parts essentially unavailable
Choosing the Right Material: The Heat Challenge
Material selection is arguably the most critical decision when printing dashboard parts. Unlike parts mounted elsewhere on the vehicle, dashboard components face extreme temperature variations—cars parked in direct sunlight can see interior temperatures exceeding 160°F (71°C) in summer, while winter conditions in many regions drop well below freezing. The wrong material choice will result in warped, deformed, or brittle parts.
The heat deflection temperature (HDT) of a filament determines how well it will hold up in a hot car interior. This is the temperature at which a material begins to deform under load. For dashboard applications, you generally want an HDT of at least 90°C (194°F) for parts in direct sunlight, though shaded areas can tolerate materials with lower heat resistance.
| Material | Heat Deflection | UV Resistance | Dashboard Suitability | Print Difficulty |
|---|---|---|---|---|
| ASA | 95-105°C | Excellent | ⭐⭐⭐⭐⭐ Best Choice | Intermediate |
| ABS | 88-100°C | Moderate | ⭐⭐⭐⭐ Good | Intermediate |
| PETG | 70-80°C | Moderate | ⭐⭐⭐ Shaded Only | Beginner |
| Nylon (PA) | 80-180°C | Moderate | ⭐⭐⭐⭐ Mechanical Parts | Advanced |
| Polycarbonate (PC) | 130-140°C | Good | ⭐⭐⭐⭐⭐ Premium Choice | Advanced |
| PLA | 50-60°C | Poor | ⭐ Not Recommended | Beginner |
| TPU (Flexible) | 60-80°C | Moderate | ⭐⭐⭐ Clips/Seals Only | Intermediate |
ASA: The Champion for Dashboard Parts
Acrylonitrile Styrene Acrylate (ASA) has emerged as the material of choice for automotive interior applications. Originally developed as a UV-stable replacement for ABS in outdoor applications, ASA offers several key advantages for dashboard parts:
- Superior UV Resistance: Won't yellow, fade, or become brittle from sunlight exposure
- High Heat Tolerance: Handles sustained temperatures up to 95-105°C without deformation
- Excellent Impact Strength: Resists cracking from vibration and daily use
- OEM-Like Appearance: Similar finish to factory automotive plastics
- Good Chemical Resistance: Tolerates exposure to cleaning products and interior protectants
✅ Pro Tip: ASA Printing Settings
For best results with ASA, print at 235-255°C nozzle temperature with a 90-110°C heated bed. Use an enclosure if possible—ASA is prone to warping in drafty environments. Print with 3-4 perimeters and 20-40% infill for structural dashboard parts. Consider using a brim for large flat pieces to prevent corner lifting.
🧪 Material Science Note
Most OEM dashboard components are made from ABS or similar styrenic polymers. ASA was specifically developed as a more UV-stable alternative to ABS, making it the closest match to factory materials while offering superior longevity in automotive applications.
When PETG Makes Sense
While ASA is ideal for sun-exposed areas, PETG remains a solid choice for shaded dashboard locations. Lower dashboard areas, center console parts, and components beneath the dashboard typically don't see the extreme temperatures of the upper dash. PETG's easier printability and lower cost make it attractive for these applications.
PETG also works well for interior clips and fasteners where some flexibility is desirable. The material's slight elasticity helps clips snap into place without breaking—a common issue with more rigid materials.
Finding or Creating Dashboard Part Files
You have three main options for obtaining 3D printable dashboard part files: downloading existing designs, commissioning custom work, or creating your own. Each approach has its merits depending on your vehicle, technical skills, and budget.
Option 1: Community File Repositories
The 3D printing community has developed an extensive library of automotive parts over the years. Before designing anything from scratch, search these resources:
- 3D Printed Car Part Library: Our curated collection of automotive-specific parts with verified fitment
- Thingiverse: Large general repository; search "[your vehicle] dashboard" for potential matches
- Printables: Prusa's repository with active automotive section
- Cults3D: Mix of free and premium files; many automotive accessories
- Vehicle-Specific Forums: Many car clubs maintain file collections for popular models
🔍 Search Tip
When searching for dashboard parts, use multiple search terms: the full vehicle name (e.g., "Toyota Camry"), chassis code (e.g., "XV40"), model years, and part description. Many parts shared across model years may be listed under different names. Also check for "universal" parts that can be modified to fit your application.
Option 2: Reverse Engineering
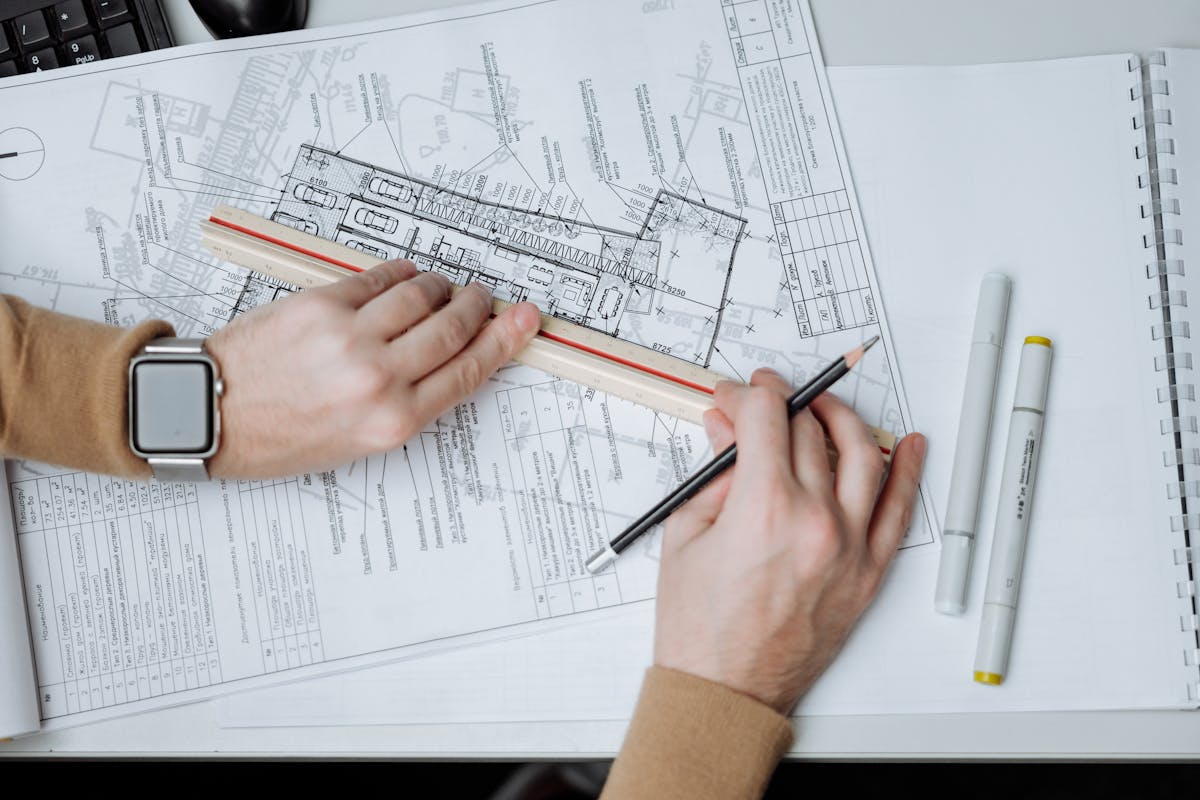
If no existing file matches your needs, you may need to create one by measuring and modeling the original part—or what remains of it. This process, called reverse engineering, requires some CAD skills but produces parts with perfect fitment.
Tools for reverse engineering:
- Digital Calipers: Essential for accurate measurements; get ones that measure to 0.01mm
- 3D Scanner: Smartphone apps (Polycam, RealityScan) work for larger parts; dedicated scanners for detail
- CAD Software: Fusion 360 (free for hobbyists), FreeCAD, or Solidworks for modeling
- Reference Photos: Document every angle and detail before the original part deteriorates further
Option 3: Commission a Designer
If you lack the time or skills for reverse engineering, consider commissioning a custom design. Many talented CAD designers specialize in automotive parts and can work from photographs and measurements you provide. Our community forum connects part requesters with experienced designers, often for reasonable fees.
Step-by-Step: Printing Your First Dashboard Part

Let's walk through the complete process of printing a dashboard part, from file preparation to final installation. We'll use a common project—an HVAC control knob—as our example, but the principles apply to virtually any dashboard component.
Step 1: Prepare Your File
- Download or import your STL file into your slicer software (Cura, PrusaSlicer, BambuStudio)
- Orient the part for optimal printing—knobs typically print best standing upright to preserve the grip texture
- Add supports if necessary—many dashboard parts have overhangs that require support material
- Check for manifold errors—repair any mesh issues before slicing
Step 2: Configure Print Settings
For dashboard parts printed in ASA, these settings produce reliable results on most printers:
Recommended ASA Settings for Dashboard Parts
- Nozzle Temperature: 240-250°C (adjust based on your specific filament brand)
- Bed Temperature: 95-105°C
- Layer Height: 0.16-0.20mm (finer for visible surfaces)
- Perimeters: 3-4 walls minimum for strength
- Infill: 25-40% (higher for parts that will be handled frequently)
- Infill Pattern: Gyroid or cubic for best strength-to-weight ratio
- Print Speed: 40-60mm/s (slower for better surface quality)
- Cooling: Minimal fan (0-30%) to prevent layer adhesion issues
- Enclosure: Highly recommended to prevent warping
Step 3: Print and Monitor
Start your print and keep an eye on the first few layers. ASA is notorious for warping if bed adhesion isn't perfect. If you see corners lifting, pause the print and address the issue—often a slightly higher bed temperature or a thin layer of glue stick resolves adhesion problems.
Step 4: Post-Processing
Most dashboard parts benefit from some post-processing to achieve a professional finish:
- Remove supports carefully using flush cutters and needle-nose pliers
- Sand visible surfaces starting at 220 grit and progressing to 400-600 grit
- ASA vapor smoothing: Acetone vapor can smooth layer lines for a near-OEM appearance
- Test fitment before any finishing to ensure tolerances are correct
- Paint if desired using plastic-adhesion primer and automotive interior paint
Step 5: Installation
Test-fit your part before committing to installation. Check all clip positions, screw hole alignments, and interference with adjacent components. Most dashboard parts press-fit or clip into place, but some may require slight adjustment with a heat gun to achieve perfect fit.
Ready to Start Your Dashboard Project?
Join our community of makers who are keeping their cars on the road with 3D printed solutions.
Join Free TodayDesign Considerations for Dashboard Parts

Whether you're modifying an existing design or creating one from scratch, keep these automotive-specific design principles in mind:
Tolerance and Fitment
Dashboard parts must fit precisely—loose parts rattle, and tight parts crack during installation. FDM printing introduces dimensional variability that must be accounted for:
- Holes: Design holes 0.2-0.4mm larger than the intended fastener diameter
- Press-fit features: Add 0.1-0.2mm interference for secure press fits
- Sliding fits: Allow 0.3-0.5mm clearance for parts that should move freely
- Snap clips: Design slightly undersized and rely on material flex
Structural Design
Dashboard parts experience vibration, thermal cycling, and occasional impact. Design accordingly:
- Avoid sharp internal corners—they concentrate stress and promote cracking
- Add fillets (rounded transitions) at all corner junctions
- Use ribs to add stiffness without excessive material
- Orient print layers perpendicular to expected stress directions
- Consider brass heat-set inserts for screw holes that will be repeatedly used
Matching OEM Aesthetics
For a professional result, your printed parts should blend seamlessly with the surrounding dashboard:
- Match the texture: Many dashboards have subtle grain patterns; textured build plates or post-process texturing can replicate this
- Color matching: Automotive interior colors are specific; test print samples before committing to a full part
- Matte finish: Most dashboard plastics are matte; avoid glossy filaments or seal with matte clear coat
Cost Analysis: 3D Printed vs. OEM Dashboard Parts

One of the most compelling reasons to 3D print dashboard parts is the cost savings. Let's examine real-world numbers for common dashboard components:
| Part | OEM/Dealer Price | Aftermarket Price | 3D Print Cost | Savings |
|---|---|---|---|---|
| BMW E46 Cup Holder Assembly | $120-180 | $40-60 | $5-8 | 95%+ |
| Mercedes W211 Air Vent | $85-150 | $30-50 | $4-7 | 92%+ |
| Honda Civic HVAC Knob Set (3) | $45-75 | $15-25 | $1-2 | 97%+ |
| VW Golf Radio Trim Surround | $65-120 | $20-40 | $3-6 | 95%+ |
| Toyota Camry Gauge Cluster Bezel | $50-90 | Unavailable | $4-8 | 92%+ |
| Ford F-150 Switch Panel | $80-140 | $35-55 | $5-10 | 93%+ |
| Nissan 350Z Defroster Vent | Discontinued | $50-100 (used) | $3-6 | 94%+ |
These savings become even more significant when you consider the "hidden costs" of OEM parts: shipping, waiting time for availability, and the risk of receiving parts that don't match your vehicle's specific trim level or production date.
Troubleshooting Common Dashboard Part Issues

Even experienced makers encounter challenges when printing dashboard parts. Here are the most common issues and their solutions:
Problem: Part Warps in Hot Car
Causes:
- Material HDT too low for the application
- Part printed in PLA or low-temp PETG
- Part exposed to direct sunlight
Solutions:
- Reprint in ASA or ABS
- For PETG parts, anneal after printing (heat to 85°C for 2 hours, cool slowly)
- Relocate part to shaded area if material change isn't possible
Problem: Part Doesn't Fit
Causes:
- Elephant's foot on first layer
- Over-extrusion causing dimensional growth
- Design tolerances too tight
- Material shrinkage (especially ABS/ASA)
Solutions:
- Calibrate first layer height and bed leveling
- Check and adjust flow rate/extrusion multiplier
- Scale model 100.5-101% to compensate for shrinkage
- Test print critical dimensions before full print
Problem: Visible Layer Lines
Causes:
- Layer height too coarse
- Print orientation shows layers on visible surface
- Z-axis inconsistencies
Solutions:
- Reduce layer height to 0.12-0.16mm for visible surfaces
- Orient print so visible surfaces are vertical (not horizontal)
- Post-process with sanding or vapor smoothing
- Use ironing feature for top surfaces
Problem: Part Breaks at Clip Points
Causes:
- Insufficient wall thickness
- Layer orientation creates weak point
- Brittle material selection
Solutions:
- Increase perimeter count to 4-5 walls
- Reorient print so layer lines don't cross stress points
- Add fillets at clip bases in the design
- Consider hybrid design with TPU clips
Advanced Techniques for Professional Results

Once you've mastered the basics, these advanced techniques can elevate your dashboard parts to OEM quality or beyond:
Vapor Smoothing for ASA and ABS
Acetone vapor smoothing can eliminate layer lines entirely, producing parts that look injection-molded. The process involves exposing the printed part to acetone vapors, which slightly dissolve the surface layer, causing it to flow and self-level.
Safety note: Acetone vapors are flammable and require proper ventilation. Work outdoors or in a well-ventilated area away from ignition sources.
Multi-Material Printing
Some dashboard parts benefit from combining materials. For example, a cup holder insert might use rigid ASA for the structure with TPU grip pads, or a switch panel might combine opaque body material with translucent sections for backlit labels. Dual-extruder printers or manual material changes enable these hybrid designs.
Embedded Components
3D printing allows embedding of components that would be impossible with traditional manufacturing:
- LED lighting: Print channels for LED strips or embed individual LEDs during printing
- Magnets: Pause print to insert magnets for removable panels
- Threaded inserts: Heat-set brass inserts provide durable metal threads in plastic
- Sensors: Embed temperature, light, or proximity sensors in dashboard components
Color Matching Techniques
Achieving exact color matches with factory interiors can be challenging. Several approaches help:
- Sample printing: Order small quantities of multiple similar colors and compare in your vehicle's lighting
- Custom filament: Some manufacturers offer color-matching services for larger orders
- Painting: Print in primer gray and paint-match using automotive interior paint; this often produces the most accurate results
- Dye sublimation: Some materials can be dyed after printing for custom colors
Future of 3D Printed Dashboard Parts

The technology enabling 3D printed dashboard parts continues to advance rapidly. Several emerging developments will make the process even more accessible and capable:
Improved Materials
Filament manufacturers are developing materials specifically optimized for automotive applications. These new formulations offer better heat resistance, improved UV stability, and more OEM-like surface finishes than ever before. Carbon fiber reinforced ASA, for example, provides additional stiffness while maintaining excellent heat tolerance.
AI-Assisted Design
Artificial intelligence tools are beginning to assist with part design, making it easier for non-engineers to create functional components. Some software can now generate basic part designs from photographs, dramatically reducing the barrier to entry for custom dashboard parts.
Automotive Industry Adoption
As mentioned earlier, major automakers are increasingly using 3D printing in production vehicles. This mainstream adoption drives material development, standardization, and legitimacy for aftermarket applications. The line between "OEM" and "3D printed" quality continues to blur.
Getting Started: Your Dashboard Project Checklist
Ready to tackle your first dashboard part? Here's a quick checklist to ensure success:
- Identify the part you need and assess if it's suitable for 3D printing
- Search existing resources like our parts library and online repositories
- Measure carefully if creating your own design; document everything
- Select appropriate material—ASA for sun-exposed areas, PETG for shaded locations
- Configure print settings based on the material and part requirements
- Test print critical features before committing to a full print
- Post-process for fit and finish
- Test fit before final installation
- Share your success with the community!
Join the 3D Printed Car Part Community
Connect with thousands of makers sharing files, tips, and solutions for automotive 3D printing. Find the part you need or share your creations with others.
Frequently Asked Questions

Will PLA dashboard parts melt in my car?
Yes, very likely. PLA has a glass transition temperature around 60°C (140°F), and car interiors regularly exceed this in summer. Even in moderate climates, dashboard surfaces can reach 80-90°C in direct sunlight. Use ASA, ABS, or properly annealed PETG instead.
How long do 3D printed dashboard parts last?
When printed in appropriate materials (ASA, ABS, or high-temp PETG) with proper settings, 3D printed dashboard parts can last the lifetime of the vehicle. Many community members have reported parts lasting 5+ years with no degradation.
Can I paint 3D printed dashboard parts?
Absolutely. For best results, sand the surface smooth, apply plastic adhesion primer, then use automotive interior paint or vinyl dye. This approach is often the best way to achieve exact color matches with factory interiors.
What printer do I need for dashboard parts?
Any printer capable of printing ASA/ABS will work. This typically means a printer with an all-metal hotend, heated bed (up to 110°C), and ideally an enclosure. Popular options include the Prusa MK4, Bambu Lab P1S/X1C, and Creality K1 series. Budget printers like the Ender 3 can work with modifications.
Do 3D printed parts affect my car's warranty or insurance?
Cosmetic interior parts generally don't affect warranty coverage, as they're not related to vehicle systems. However, anything that could affect safety (like airbag-related components) should never be 3D printed. Check with your insurance provider if you have specific concerns, but replacing a broken cup holder or vent trim won't typically cause issues.
Conclusion
3D printing has fundamentally changed what's possible for car interior repairs and customization. Dashboard parts that were once unobtainable, prohibitively expensive, or simply didn't exist can now be manufactured right at home with increasingly professional results. Whether you're maintaining a daily driver, restoring a classic, or customizing your dream build, the technology is accessible, affordable, and capable of producing parts that meet or exceed OEM quality.
The key to success lies in material selection (ASA for heat-exposed areas), proper design (accounting for tolerances and stress points), and careful execution (appropriate print settings and post-processing). With these fundamentals in place, there's virtually no dashboard component beyond the reach of a determined maker.
The 3D printing automotive community continues to grow, and with it, the library of available parts expands daily. By joining this community, you gain access not just to files and designs, but to the collective experience of thousands of enthusiasts who have solved the exact problems you're facing. Join us today and discover what's possible when makers work together to keep our vehicles on the road.

