Files (3)
Reference shelf
Filaments mentioned for this part
The listing discusses these materials, but that mention is not validation. Check cabin heat, UV, load, and printer requirements before choosing.
| Referenced item | What to verify | Price & availability |
|---|---|---|
| ABS filamentAmazon · Affiliate link | Amazon product page for 1.75 mm ABS; use an enclosure and suitable ventilation, and verify temperature requirements and seller. | Check price at Amazon |
Affiliate disclosure: if you buy through an eligible link, 3DPrintedCarPart may earn a commission at no extra cost to you. As an Amazon Associate I earn from qualifying purchases. Confirm product specifications, compatibility, seller terms, and vehicle safety before ordering or using anything. Amazon may redirect you to a nearby supported store; otherwise the original Amazon.com page remains available.
Ford/Merkur Scorpio flashlight key
License & use
The file license permits commercial reuse, subject to any applicable attribution or share-alike terms. License status does not verify vehicle fitment, OEM rights, design patents, or safety.

Shared by
3DPrintedCarPartDescription
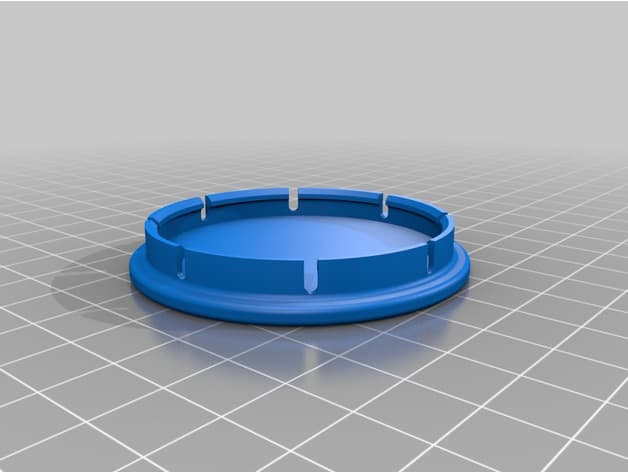
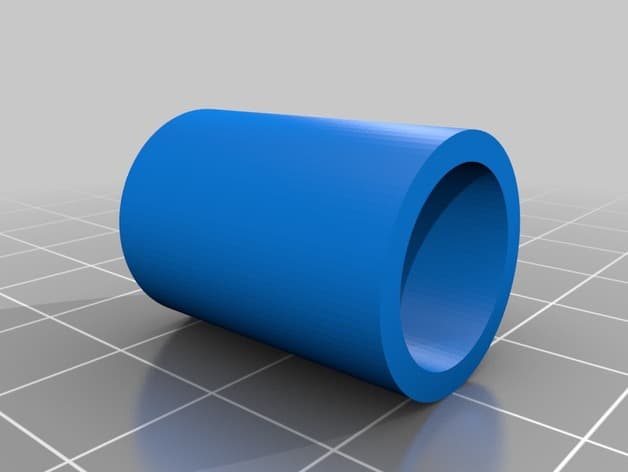
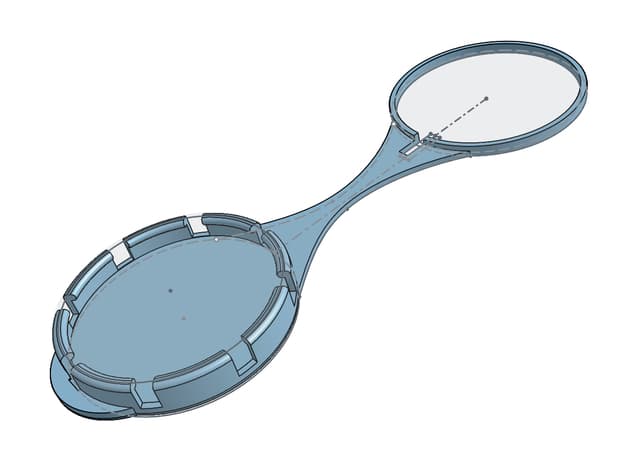
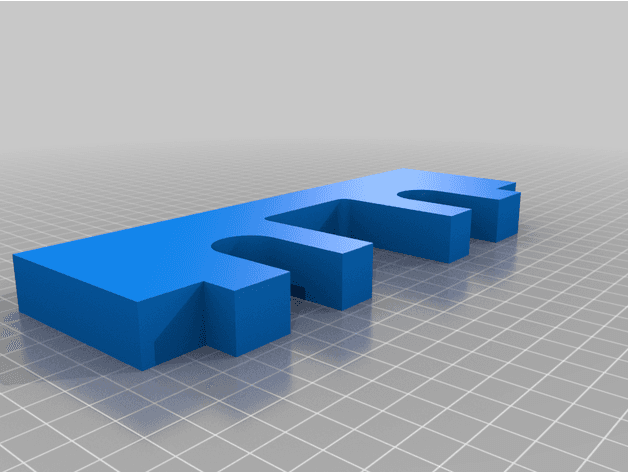
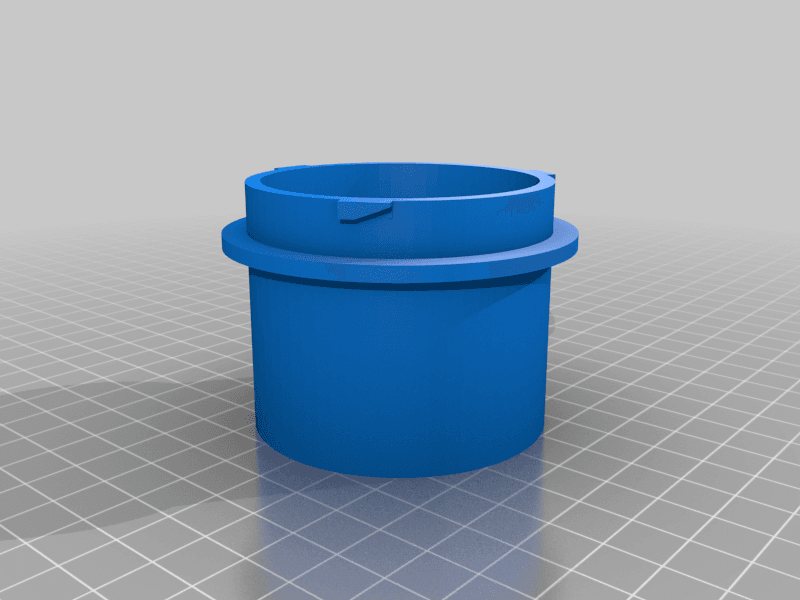
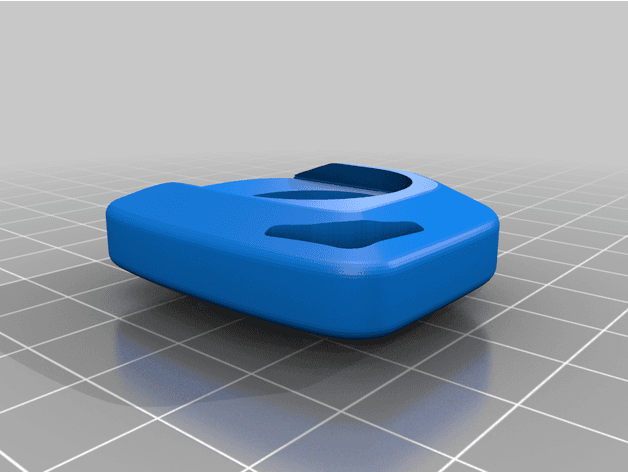
Original Scorpios came with a main key that incorporated a small flashlight. Utilizing photos of the original key provided by fellow Scorpio enthusiast Ed Lijewski I was able to model the design here that utilizes a modern 5mm white LED and a 2032 battery. This is a better arrangement than the originals that used two agm alkaline batteries and an incandescent bulb. This is a detailed set of parts that are best printed with a UV resin printer. I suggest a tough, "ABS like" resin that is "semi-flexible". I would layout the parts as shown in my chitubox image and use heavy support and have the support attach to the "bumps" on the key fob to get a nice finish. The lid and logo parts are easy to layout and print. I painted the parts with satin black epoxy. The logo was painted with generic white paint. The LED fits into the hole area and the leads are bent so that one lead goes into the bottom slot in the main body and the other lead feeds through the tiny hole and slot on the dove tailed lid. The lid has a button portion that can flex and make contact to the battery. A cardboard ring on the top of the battery is helpful to add. I won't kid you it is a bit fiddly to get the LED and leads fitted. But once it is done it will work reliably when the fob is squeezed. You should make a copy of your original key using a Ford Transit blank available on Aliexpress and other places for under $10. I was able to make copies of my original key using a modified jig on a conventional key machine. You will have to figure out how to do this yourself (or find someone to do this for you) as I cannot assist you in this regard. You can then cut and grind the transit key head to have a small block remaining that you can then epoxy glue into the 3d printed fob square hole as shown in the photos. Please use a tough epoxy like JB weld. I suspect the LED would run about two hours of continuous use, but one typically only illuminates for a few seconds at a time and the battery should last a long time. I used OpenSCAD to create this model. I used a Photon Mono to print the parts. I used Rich-Opto black resin with about 25% F69 flex. However, now I would now use an "ABS like" resin that is currently available.
Compatible Vehicles
Originally published on thingiverse.com by Dean Hedin (bugeye59) · License: CC BY
Browse categories
Browse other part families
Jump to interior, exterior, accessories, dashboard, mechanical, or tools hubs when you need a different kind of replacement part.
Share whether this print actually fits a real car. Installed photos and material notes make the catalog more trustworthy.
Related Parts
Most specific car + model + year + category matches first, with popular parts mixed in.