Car Part Design for 3D Printing: STL Workflow
Design a printable car part from a broken original: measure, model CAD/STL, choose material, check fitment, and search existing STLs first.
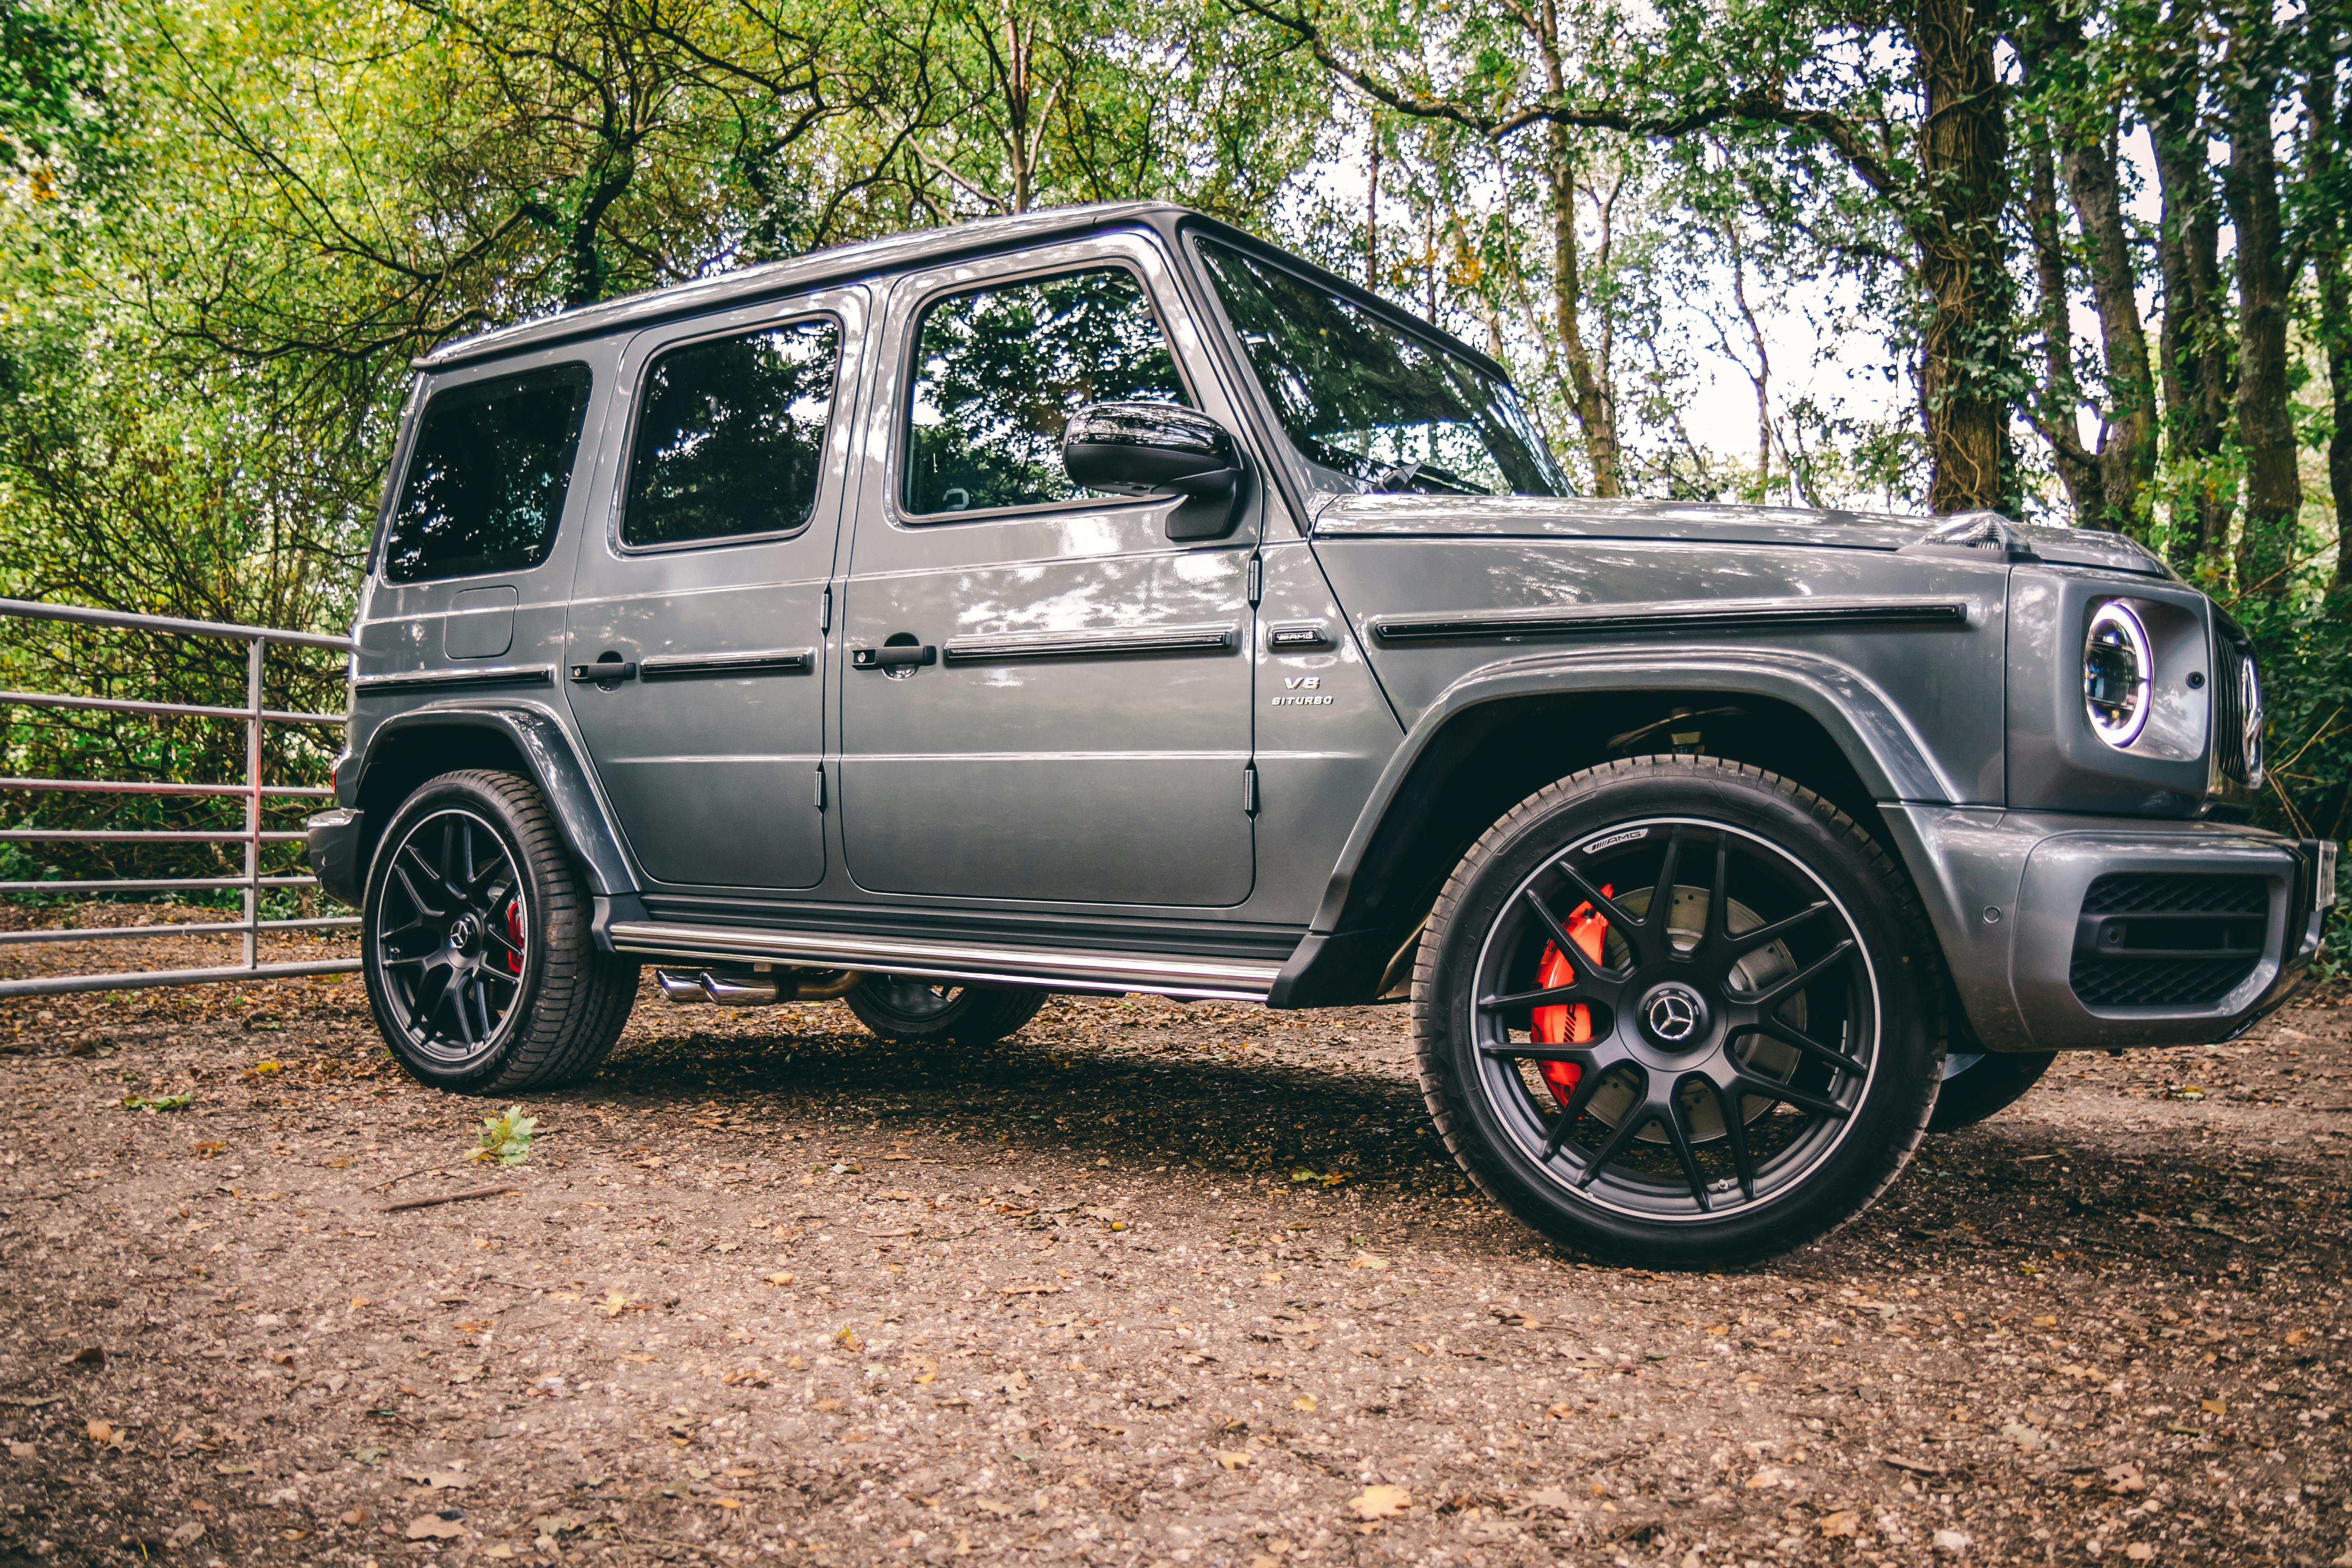
Car part design workflow
Quick answer: measure first, then model the STL
Good car part design starts with the part you actually need, not a blank CAD file. Search the existing STL library first, then use the broken original, photos, measurements, and fitment context to model only low-risk printable geometry before choosing material and printer settings.
Printable car-part design workflow
- Existing STL search
- Browse the library and vehicle hubs first
- A matching STL or nearby fitment page often answers material, mounting, and print-or-don't-print questions before CAD work starts.
- Broken original and photos
- Document the part before opening CAD
- Photos in the car, fragments, ruler shots, and caliper measurements preserve clip geometry and mounting depth that memory misses.
- CAD / STL modeling
- Model the fit surfaces before styling
- Posts, tabs, slots, screw bosses, and clearances determine whether the part works; cosmetic curves can wait until the test print fits.
- Material boundary
- Match heat, UV, and load to the polymer
- PETG can suit light cabin pieces; ABS/ASA help with heat and sun; nylon or a professional process is safer for validated loaded brackets.
- Safety-critical parts
- Do not rely on hobby FDM as the final part
- Brakes, steering, suspension, restraints, fuel contact, and sealing surfaces need certified or professionally validated replacements.
Keep the design loop search-first and safety-first: find an existing STL when possible, check fitment before final material, and stop before any safety-critical or unvalidated loaded part.
Browse relevant part surfaces


Ever stared at a broken car part and thought, "I could design something better myself?" You're not alone. Designing 3D printed car parts has become one of the most empowering skills for automotive enthusiasts, and it's more accessible than you might think. Whether you're restoring a classic with unobtanium parts, creating custom solutions for your build, or just tired of paying $40 for a $2 piece of plastic, this guide will take you from complete beginner to confident CAD designer.
The truth? Most car parts aren't complex engineering marvels—they're simple shapes that hold things, route cables, or fill gaps. With the right approach, you can design parts that not only fit perfectly but outlast the originals. Let's dive in.
Why Design Your Own Car Parts?
Before we get into the how, let's address the why. Understanding your motivation helps you choose the right tools and approach:
🎯 Common Reasons to Design Custom Parts
- Replacement parts don't exist — Your car is 30 years old, and that broken vent clip is NLA (no longer available)
- OEM prices are absurd — A simple plastic bracket shouldn't cost $150
- Commercial options don't fit — Universal phone mounts never work in your specific car
- You want something custom — Personalized gauge pods, unique shift knobs, or improved designs
- Faster iteration — Design, print, test, and improve in hours rather than weeks
Choosing the Right CAD Software
Your choice of CAD software significantly impacts your learning curve and capabilities. Here's an honest breakdown of the most popular options for automotive design:
| Software | Best For | Learning Curve | Price | Platform |
|---|---|---|---|---|
| Fusion 360 | Serious hobbyists, functional parts | Medium (2-4 weeks) | Free for personal use | Windows, Mac |
| Shapr3D | Beginners, quick designs | Easy (days) | Free tier / $239/year | iPad, Windows, Mac |
| TinkerCAD | Simple parts, absolute beginners | Very Easy (hours) | Free | Web browser |
| OnShape | Professional workflows | Medium-Hard | Free (public files) | Web browser |
| FreeCAD | Open-source advocates | Hard (steep) | Free | Windows, Mac, Linux |
| SolidWorks | Industry professionals | Medium-Hard | $99/year (Makers) | Windows |
💡 Our Recommendation
Start with Fusion 360 for most automotive projects. It's free for personal use, has excellent tutorials, and its parametric design features let you easily adjust dimensions after the fact—crucial when you're iterating on fitment. Once you've designed a few parts, you'll understand why parametric design is so valuable.
If you have an iPad and want the fastest learning curve, Shapr3D is remarkably intuitive with its touch interface.

Essential Design Principles for Automotive Parts
Designing car parts isn't the same as designing decorative items. Your creations need to survive vibration, temperature extremes, UV exposure, and years of use. Here are the engineering principles that separate parts that work from parts that crack:
Wall Thickness Guidelines
The thickness of your part's walls directly impacts strength, printability, and material usage. Too thin and it'll be fragile; too thick and you're wasting time and filament.
| Part Location | Minimum Wall | Recommended Wall | Notes |
|---|---|---|---|
| Interior decorative | 1.2mm | 2.0mm | Trim pieces, covers |
| Interior functional | 2.0mm | 3.0mm | Cup holders, phone mounts |
| Under-hood | 2.5mm | 3.5mm | Brackets, covers, mounts |
| Exterior (non-structural) | 2.0mm | 3.0mm | Emblems, trim, grille parts |
| Clips and fasteners | 1.5mm | 2.0mm | Need flexibility + strength |
| Load-bearing | 3.0mm | 4.0mm+ | Sensor brackets, structural mounts |
Tolerances and Clearances
This is where most beginners struggle. 3D printed parts shrink slightly as they cool, and printer calibration varies. Design with tolerances in mind:
Standard Tolerance Guidelines
- Press-fit holes (for bolts, pins): Design 0.1-0.2mm undersized. You want a snug fit.
- Clearance holes: Design 0.3-0.5mm oversized. The bolt should slide through easily.
- Sliding fit (moving parts): Add 0.3-0.5mm clearance all around.
- Snap-fit features: Start with 0.2mm interference, adjust after test print.
- Parts that mate with OEM components: Measure three times, add 0.2-0.3mm clearance.
⚠️ Critical Design Rule
Always print a test piece first. Before committing to a 12-hour print, make a small section that tests your critical dimensions—hole sizes, clip engagement, mating surfaces. This 30-minute test print can save you hours of frustration.

Step-by-Step Design Workflow
Let's walk through the complete process of designing a car part from scratch. We'll use a practical example: a broken dashboard vent bezel.
Step 1: Document and Measure
Before opening any software, get intimate with your part. This preparation phase is critical—poor measurements mean poor parts.
Essential measuring tools:
- Digital calipers — Minimum accuracy 0.01mm. A $15-20 pair works fine for most automotive work.
- Steel ruler — For longer measurements where calipers don't reach.
- Contour gauge — For complex curves (invaluable for matching dashboard contours).
- Paper and pencil — Sketch the part with all dimensions labeled.
- Phone camera — Document angles, context, and reference points.
📏 Measurement Checklist
- Overall dimensions (length × width × height)
- Hole locations and diameters
- Wall thicknesses of the original part
- Mounting point locations and sizes
- Clearances to surrounding components
- Any radii or chamfers on edges
- Draft angles on molded parts

Step 2: Create Your Sketch
CAD design starts with 2D sketches that become 3D objects. In Fusion 360 (and most parametric CAD programs):
- Select a plane — Choose the most logical starting orientation. For a vent bezel, that's typically the front face.
- Draw the outline — Use rectangles, circles, and lines. Don't worry about exact dimensions yet.
- Add constraints — Make lines horizontal, vertical, or tangent. This keeps your sketch stable.
- Apply dimensions — Enter your measured values. The sketch should turn black when fully constrained.
- Add construction geometry — Centerlines and reference points help with symmetry and alignment.
✅ Pro Tip: Parametric Design
In Fusion 360, use named parameters for key dimensions like "hole_diameter" or "wall_thickness". Later, you can change one value and the entire model updates. This is incredibly useful when you need to adjust for printer tolerances or when you're designing for multiple car models.
Step 3: Extrude and Build
Now we transform 2D sketches into 3D solids:
- Extrude the base shape — Select your closed sketch and pull it to the desired height.
- Add or remove features — Use Boolean operations (join, cut, intersect) to combine shapes.
- Create mounting features — Add holes, bosses, and attachment points.
- Apply fillets and chamfers — Round edges reduce stress concentrations and look more professional.
- Add draft angles — If your part has deep features, slight draft (1-2°) helps with print release.

Step 4: Design for 3D Printing
This step separates parts that print successfully from parts that fail. Consider these factors:
🔧 Printability Checklist
- Overhangs: Keep angles below 45° or add supports. Steeper overhangs droop.
- Bridges: Unsupported horizontal spans up to 50mm usually print fine. Beyond that, add support structures.
- Orientation: Plan which face will be on the build plate. This affects strength, surface finish, and support needs.
- Layer lines: Parts are weakest perpendicular to layer lines. Orient so stress loads run along layers, not across them.
- First layer: Ensure adequate surface area for bed adhesion. Add a brim if needed.
Step 5: Export and Slice
Once your design is complete:
- Export as STL — Use "high" resolution (smaller triangle size) for curved surfaces.
- Import to slicer — PrusaSlicer, Cura, or BambuStudio are popular choices.
- Orient the part — Choose the best orientation for strength and surface quality.
- Configure settings — Layer height, infill, walls, and material-specific temperatures.
- Generate supports — If needed, use tree supports or normal supports based on geometry.
- Preview and verify — Check the layer preview for issues before printing.
Designing Different Types of Car Parts
Different automotive applications require different design approaches. Here's how to tackle each category:
Interior Parts
Dashboard components, console pieces, and trim parts are the most common DIY designs. Key considerations:
- Visible surfaces: Orient so the "show side" is either on the build plate (smoothest) or facing up (best if using ironing).
- Texture matching: Use textured build plates or post-processing to match OEM grain.
- Heat resistance: Use ASA or ABS for parts near windows—dashboard temps can exceed 80°C.
- Color matching: Automotive interior colors are tricky. Consider painting or try color-matched filament.
- Soft-touch needs: Some parts benefit from TPU overmolds or silicone coating.
Exterior Parts
Grilles, emblems, mirror caps, and trim need to survive the elements:
- Material choice: ASA is mandatory for exterior use—it's UV-stable unlike ABS.
- Water drainage: Design drainage paths for any part that collects water.
- Mounting security: Use positive retention—don't rely on friction fit alone at highway speeds.
- Aerodynamics: For performance parts, consider airflow direction and turbulence.
- Impact resistance: Exterior parts should have generous fillets to spread impact loads.
Under-Hood Parts
Engine bay components face the harshest conditions. Design with caution:
- Temperature mapping: Know your engine bay zones. Near-exhaust areas can exceed 150°C.
- Material selection: PA-CF, PC, or specialty filaments for high-temp applications.
- Chemical exposure: Parts must resist oil, coolant, and brake fluid.
- Vibration fatigue: Add generous radii at stress concentrations. Avoid sharp internal corners.
- Clearance: Moving parts (belts, pulleys) need extra margin for vibration.
🚫 Never 3D Print These Parts
- Brake components (calipers, lines, master cylinder parts)
- Steering linkages or suspension components
- Fuel system components (tanks, lines, fittings)
- Structural body parts or roll cage elements
- Airbag-related components
- Anything where failure means injury or death
Safety-critical parts require certified materials and processes. 3D printing is not appropriate for these applications.
Finding Existing Designs vs. Creating Your Own
Not every part needs to be designed from scratch. Here's your decision tree:
| Scenario | Approach | Resources |
|---|---|---|
| Common car, common part | Search for existing STL | Our Parts Library, Thingiverse, Printables |
| Common car, uncommon part | Ask community, then design | Our Forum, Reddit, car-specific forums |
| Rare car, any part | Design from scratch or 3D scan | 3D Scanning Guide |
| Custom modification | Design from scratch | Measure, design, iterate |
| Improved OEM part | Reverse engineer and improve | 3D Scanning Guide, calipers |
Best STL Sources for Automotive Parts
- 3DPrintedCarPart.com Parts Library — Community-verified automotive STLs with fitment notes
- Printables.com — Prusa's community with excellent quality control
- Thingiverse — Largest library, but quality varies widely
- Cults3D — Mix of free and paid designs, good automotive selection
- GrabCAD — More technical/engineering files, some in native CAD formats
- Car-specific forums — E30 Zone, Miata.net, etc. often have curated file sections

Reverse Engineering Broken Parts
When you need to replicate a damaged original, you have several options:
Method 1: Manual Measurement
Best for simple parts with regular geometry:
- Clean the original part thoroughly.
- Photograph from multiple angles with scale reference.
- Measure all dimensions with calipers.
- Sketch the part with all measurements labeled.
- Recreate in CAD using your measurements.
- Print at 100% scale and compare to original.
- Adjust dimensions as needed.
Method 2: 3D Scanning
Best for complex organic shapes or when precision is critical. Check our complete 3D scanning guide for detailed workflows.
- Budget: Photogrammetry with your phone (free but time-consuming)
- Mid-range: Revopoint or Creality scanners ($300-700)
- Professional: EinScan or Artec ($2,000+)
Method 3: Trace and Scale
For flat or nearly-flat parts:
- Place part on flatbed scanner or photograph with ruler.
- Import image into CAD as canvas.
- Scale image to match real-world dimensions.
- Trace the outline with sketch tools.
- Extrude to measured thickness.

Common Design Mistakes to Avoid
Learn from others' failures. Here are the most common errors we see:
❌ Top 10 Design Mistakes
- Ignoring printer tolerances: Parts designed to exact dimensions won't fit. Add clearance!
- Wrong material selection: PLA in an engine bay will warp and fail. Know your environment.
- Insufficient wall thickness: 1mm walls feel flimsy and break easily.
- Sharp internal corners: Stress concentrations cause cracks. Use fillets.
- Overcomplicating design: Simple parts print faster, fail less, and are easier to modify.
- Ignoring print orientation: Layer lines = weak points. Orient for strength.
- Designing without supports in mind: If it needs supports everywhere, redesign it.
- Skipping the test print: That 16-hour print could fail at hour 14. Test first.
- Not measuring three times: Measure-cut-curse is real. Verify measurements before designing.
- Forgetting thermal expansion: Plastic expands when hot. Under-hood parts need extra clearance.
Advanced Design Techniques
Once you've mastered the basics, these techniques take your designs to the next level:
Multi-Part Assemblies

Sometimes one complex part is better as multiple simple parts:
- Snap-fit connections: Design interlocking features with calculated interference.
- Heat-set inserts: Brass inserts provide durable threads for repeated assembly.
- Press-fit pins: Alignment pins ensure parts mate correctly.
- Adhesive joints: Design mating surfaces with increased area for glue.
- Mechanical fasteners: Add counterbores for bolt heads, countersinks for screws.
Integrated Features
3D printing lets you combine multiple functions into one part:
- Cable routing channels built into brackets
- Integrated gasket grooves
- Built-in spring clips (using TPU inserts)
- Threaded bosses printed directly
- Living hinges for one-piece enclosures

Strength Optimization
Make parts stronger without adding weight:
- Ribbing: Add internal ribs perpendicular to stress direction.
- Gussets: Triangular supports at corners dramatically increase stiffness.
- Variable infill: Higher infill in stressed areas, lower elsewhere.
- Strategic layer direction: Orient for maximum strength where needed.
- Annealing: Heat treatment can increase strength 20-40% for some materials.
Testing and Iteration
Design is never done after the first print. Expect multiple revisions:
🔄 Iteration Workflow
- V1 - Fit Check: Print at 20% infill, 2 walls. Focus on dimensions only.
- V2 - Refinement: Adjust tolerances based on V1 learnings. Add missed features.
- V3 - Full Strength: Print with production settings. Test in actual use.
- V4 - Polish: Minor tweaks to aesthetics, surface quality, or assembly ease.
- Final: Document settings, share with community!
Keep notes on every version. Record what changed and why. This documentation is invaluable when you return to a project months later.
Sharing Your Designs
The car community thrives on sharing knowledge. Once you've created something useful:
- Upload to our Parts Library — Help other owners of your car
- Document fitment — Year, model, trim, variant information
- Include source files — Not just STL, but the editable CAD file too
- Share print settings — Material, layer height, infill, orientation
- Post to car-specific forums — Your car's community will appreciate it
🚀 Ready to Start Designing?
Join our community of automotive makers who are designing, printing, and sharing parts every day.
Create Free AccountAccess our parts library, join the forum, and connect with other car enthusiasts.
Recommended Learning Path
If you're starting from zero, here's the progression that works:
📈 Skill Progression
- Week 1: Complete Fusion 360 beginner tutorials. Design a simple cube with hole.
- Week 2: Design a basic clip or spacer for your car. Measure, model, print.
- Week 3: Tackle a slightly complex part—something with curves or multiple features.
- Week 4: Reverse engineer a broken OEM part. Match it exactly.
- Month 2: Design something that doesn't exist—solve a real problem in your car.
- Month 3+: Explore advanced techniques: multi-part assemblies, parametric design, stress analysis.

Frequently Asked Questions

How long does it take to learn CAD for car parts?
Most people can design simple car parts within 2-4 weeks of consistent practice. Basic clips, brackets, and covers are achievable within days. Complex parts with precise fitment may take several months of experience to design confidently.
What's the best free CAD software for automotive design?
Fusion 360 (free for personal use) offers the best balance of power and usability. TinkerCAD is simpler but limited for complex parts. FreeCAD is fully free but has a steeper learning curve.
How accurate are 3D printed car parts?
With proper calibration, FDM printers achieve ±0.1-0.2mm accuracy. For most car parts, this is sufficient. Critical precision parts may require test prints to dial in exact tolerances.
Should I share my CAD source files or just STLs?
Share both when possible. STL files let people print immediately; source files (STEP, F3D, etc.) let others modify for their specific car variant or improve the design. The community benefits most when source files are included.
How do I design parts for multiple car years/models?
Use parametric design with named variables. Create a spreadsheet of dimensions for each variant. In Fusion 360, you can then quickly swap dimension sets to generate version-specific STLs.
What's the difference between mesh modeling and solid modeling?
Solid modeling (Fusion 360, SolidWorks) uses mathematical surfaces—easier to edit and more precise. Mesh modeling (Blender, MeshMixer) manipulates triangles—better for organic shapes but harder to dimension accurately. For mechanical car parts, solid modeling is preferred.
Start Designing Today
You now have everything you need to design your first 3D printed car part. The tools are free, the community is supportive, and the skills you build will pay dividends for years. Start simple—a cable clip, a cup holder insert, a broken vent tab—and work your way up to more complex projects.
The next time something breaks on your car, you won't be searching eBay for overpriced plastic. You'll be measuring it, modeling it, and printing a replacement that's better than the original.
Ready to browse designs from other makers? Check out our community parts library for inspiration and ready-to-print STLs.
🎉 Join Our Design Community
Connect with thousands of automotive makers who are designing and sharing 3D printed car parts.
Visit the ForumGet design feedback, find fitment data, and share your creations.

