Earn money selling original 3D car part models.
Start sellingEarn money selling original 3D car part models.
Start sellingEarn money selling original 3D car part models.
Start selling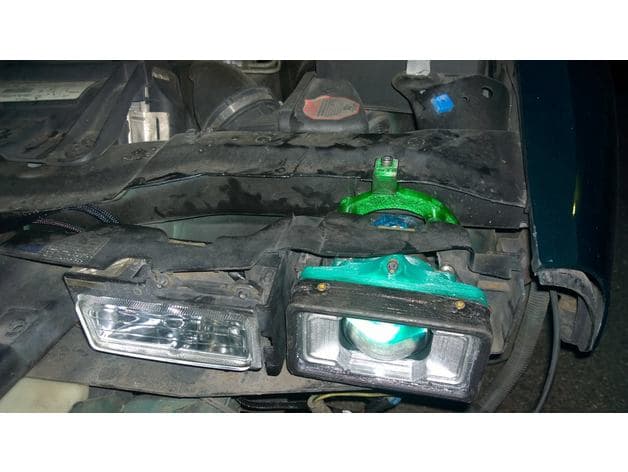
Files stay with the original publisher; this catalog entry does not grant hosting or resale rights. License status does not verify vehicle fitment, OEM rights, design patents, or safety.
Shared by
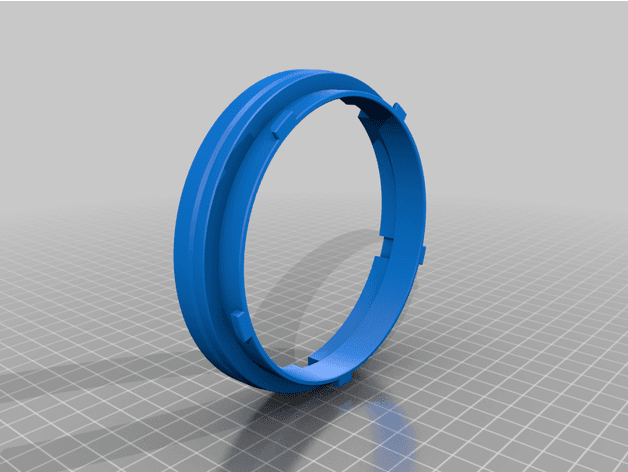
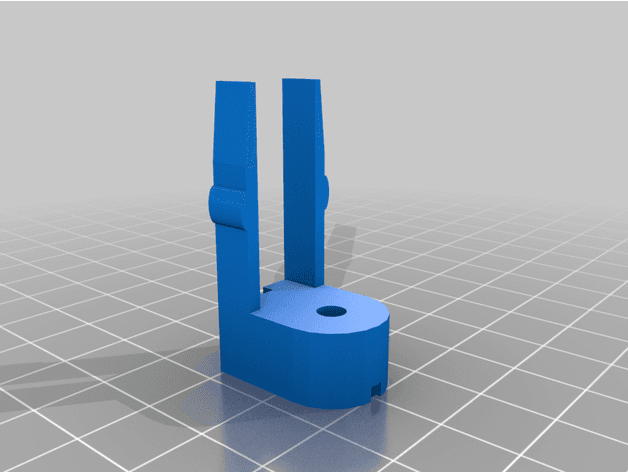
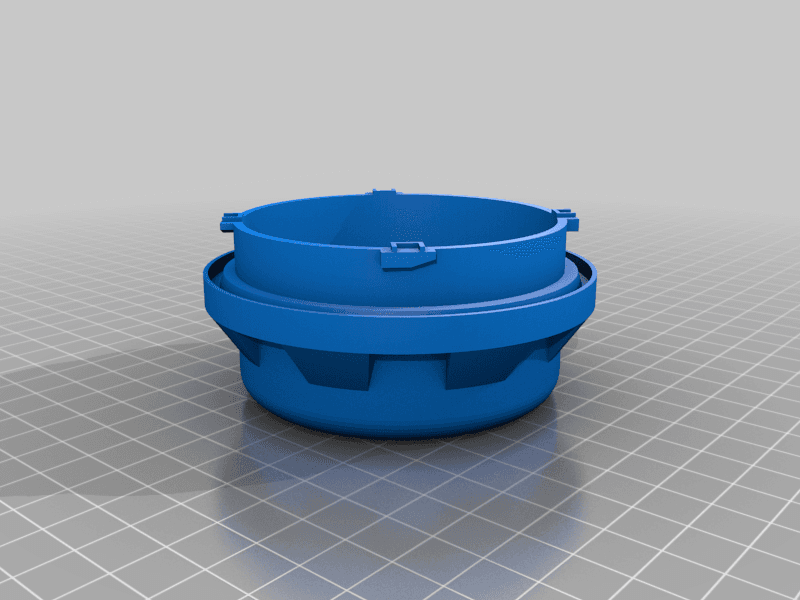
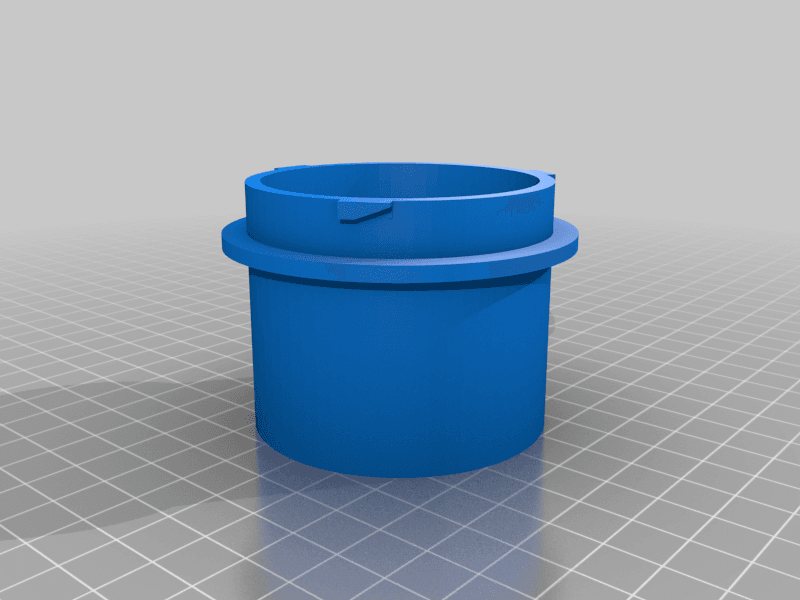
Matt Styx (Mattstrike)All 3D printed parts needed for a 1997 Camaro HID retrofit using the Morimoto Mini D2S 3.0 square projector and the Morimoto 35w ballast. Uses the factory adjusters to aim. The included adjustment bracket is to space the header panel down and forward; one side of my Camaro did not need this, the other did. Not sure which side is correct, I assume that my car had an accident repair at some point before I got it which is why it's different left to right. The projector mount should be printed out of ABS or something similar, PETg won't work. I printed the light pipe cover, lens cover, adjuster bracket from ABS. The light pipe, rear cover and body mounts from PETg. Cutting templates from PLA, don't forget to label them. Installation on car is simple enough. Assemble the springs to the projector mount, I used self-tapping screws. Then I used a pliers and cotter pins to install the springs to the body mount after the projectors were mounted. It's tricky... Also note that if you don't hold the cutting template flat the mounting holes will not line up with the body mount. I might try to make it easier, but this is a DIY thing, I'm sure you can figure it out. The light pipes take 10 3mm LEDs, and obviously need basic knowledge about LEDs to wire them. Other parts needed (hardware can be found at McMaster-Carr): Glass lens. 3/16" thick, take the lens cover to a glass shop and have them cut them to fit for you. Sealant. Either polyurethane or silicone based, something heat and UV stable. Nylon-Insert Locknuts M5 X 0.8 mm Nylon-Insert Locknuts M6 X 1 mm Low-Profile Sckt Head M6 X 1 mm Thread, 16 mm Long (x8, for adjuster) Sckt Head M5 X 0.8 mm Thread, 55 mm Long (x8) Sckt HeadM6 X 1 mm Thread, 25 mm Long (x20) Screws, I think they were #12 self tapping screws, 1" long. (x4) 1/8" cotter pins Springs, extended length 77mm, I used a generic extension spring that had a compressed length of 2.5" and a spring rate of about 7lbs. (x4) I recommend using brass or stainless steel hardware. I've got over 1000 hours into this design. Please don't remove my name from the parts.
Originally published on thingiverse.com by Matt Styx (Mattstrike) · License: CC BY-NC-ND
Browse categories
Jump to interior, exterior, accessories, dashboard, mechanical, or tools hubs when you need a different kind of replacement part.
Share whether this print actually fits a real car. Installed photos and material notes make the catalog more trustworthy.
Most specific car + model + year + category matches first, with popular parts mixed in.
Other projects by us
Building tools that make life easier
Start a fitment, printing, or design discussion with this part already attached.