
Files (2)
Based on 25% main infill across listed model files
Filament only at roughly $24/kg PETG / ASA
Uses 70 mm/s, 0.2 mm layers; verify supports in slicer
Saved setup guidance is used for material, infill, support, and per-file recommendation text; editable numbers are planning estimates only.
Reference shelf
Recommended filament for this print
Product references matched to the published material guidance. Confirm diameter, heat resistance, colour, and printer compatibility.
| Referenced item | What to verify | Price & availability |
|---|---|---|
| PETG filamentAmazon · Affiliate link | Amazon product page for 1.75 mm PETG; confirm colour, spool size, print temperature, seller, and delivery region. | Check price at Amazon |
| ASA filamentAmazon · Affiliate link | Amazon product page for 1.75 mm ASA; use an enclosure and suitable ventilation, and confirm seller and regional availability. | Check price at Amazon |
Affiliate disclosure: if you buy through an eligible link, 3DPrintedCarPart may earn a commission at no extra cost to you. As an Amazon Associate I earn from qualifying purchases. Confirm product specifications, compatibility, seller terms, and vehicle safety before ordering or using anything. Amazon may redirect you to a nearby supported store; otherwise the original Amazon.com page remains available.
Unsure which one fits? Read the automotive filament guide.
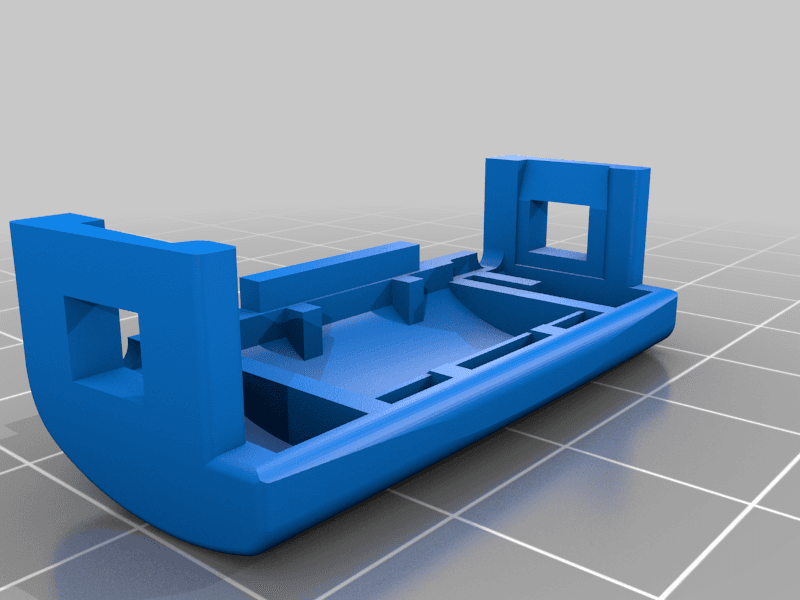
1995 Volvo 850 seatbelt release button
Print this part
Use the part context as a starting point, then confirm geometry-dependent values in your slicer.
Files
2 hosted model files
STL
Material start
PETG or ASA for durability in a car environment
Saved part guidance
Strength start
20-30% infill for a balance between strength and weight
Saved part guidance
Orientation / supports
Likely not needed
Exact totals
50 g · 2 hours
Saved estimate
Vehicle exposure
Cabin/interior use; avoid high-heat zones
Open the STL, 3MF, or OBJ model in your slicer before printing. Exact grams, time, and final support placement come from the actual slice. Test-fit and heat-check the part before installing it in a vehicle.
License & use
The file license permits commercial reuse, subject to any applicable attribution or share-alike terms. License status does not verify vehicle fitment, OEM rights, design patents, or safety.
Shared by
Michael ChenDescription
LOL, the picture of the unfinished button I posted looked so bad I thought I better add a couple of pictures of the actual part. I think its really just a bad angle and poor lighting that make it look that bad. The part was printed using a 0.6 nozzle in PETG and it pressed into place with no problem and slid smoothly when pressed. The movement of the button is crucial. It needs to be able to slide up and down without any issues and hold in place firmly. Ensure you test carefully before relying on it. My original part was printed using PLA and over time had faded and become a little loose. I decided I would upgrade the part but when I went to open my original CAD file I couldn't find it. I decided I would restart the design from scratch and see if I could improve on my old design. The new design is closer to the original in shape and size. I spent a lot of time trying to get the shape as close to the original as I could. The problem I ran into was that my original I was working from was rather worn so I did the best I could from it. The first few versions were not quite right and required some sanding and smoothing to make a good click fit. The latest version fit into place without any sanding. If your printer is not accurate you may have to sand down rough edges in order to allow the piece to slide smoothly. The layers created while printing produce a rather rough finish which you may also want to sand smooth. I really didn't see the point of the word PRESS on the top of the button. I don't read it before I release my seat belt so I am not quite sure why anyone would need it.
Compatible Cars
Originally published on thingiverse.com · License: CC BY
Share whether this print actually fits a real car. Installed photos and material notes make the catalog more trustworthy.
Related Parts
Finding specific fitment/category matches first.

