Earn money selling original 3D car part models.
Start sellingEarn money selling original 3D car part models.
Start sellingEarn money selling original 3D car part models.
Start selling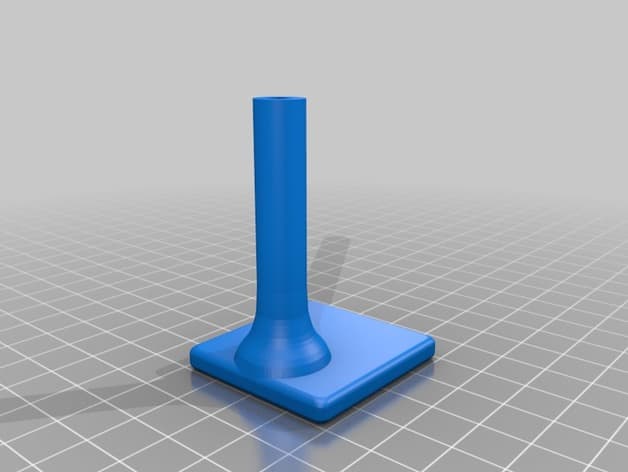
Reference shelf
Product references matched to the published material guidance. Confirm diameter, heat resistance, colour, and printer compatibility.
| Referenced item | What to verify | Price & availability |
|---|---|---|
| PETG filamentAmazon · Affiliate link | Amazon product page for 1.75 mm PETG; confirm colour, spool size, print temperature, seller, and delivery region. | Check price at Amazon |
| ASA filamentAmazon · Affiliate link | Amazon product page for 1.75 mm ASA; use an enclosure and suitable ventilation, and confirm seller and regional availability. | Check price at Amazon |
Affiliate disclosure: if you buy through an eligible link, 3DPrintedCarPart may earn a commission at no extra cost to you. As an Amazon Associate I earn from qualifying purchases. Confirm product specifications, compatibility, seller terms, and vehicle safety before ordering or using anything. Amazon may redirect you to a nearby supported store; otherwise the original Amazon.com page remains available.
The file license permits commercial reuse, subject to any applicable attribution or share-alike terms. License status does not verify vehicle fitment, OEM rights, design patents, or safety.
Shared by
David Ford (FirefighterBlu3)Honda Civic SI (EP3) Hood Latch handle, OEM commonly breaks and costs a pretty penny. Print and save yourself the trouble and expense. Use a filament that is soluble in acetone or similar. After printing and post-process such as sanding and painting, use a small eye dropper or hypodermic needle to squirt a dozen or so drops of solvent into the cable sleeve. Use appropriate gloves, gently shake the part around so all the walls are thoroughly wetted with the solvent for about half a minute. If any solvent remains, gently shake it out onto a napkin. Quickly align the handle and press it firmly and completely onto the cable. The dissolved filament will fill in the grooves on the cable and as the solvent slowly evaporates from the part, the handle will be solidly attached to the cable. Allow several hours, preferably a few days, for full evaporation and solidification. The cable sleeve will be considerably weak until all acetone has flashed out the part.
Originally published on thingiverse.com by David Ford (FirefighterBlu3) · License: CC BY
Browse categories
Jump to interior, exterior, accessories, dashboard, mechanical, or tools hubs when you need a different kind of replacement part.
Share whether this print actually fits a real car. Installed photos and material notes make the catalog more trustworthy.
Other projects by us
Building tools that make life easier
Start a fitment, printing, or design discussion with this part already attached.



