Earn money selling original 3D car part models.
Start sellingEarn money selling original 3D car part models.
Start sellingEarn money selling original 3D car part models.
Start selling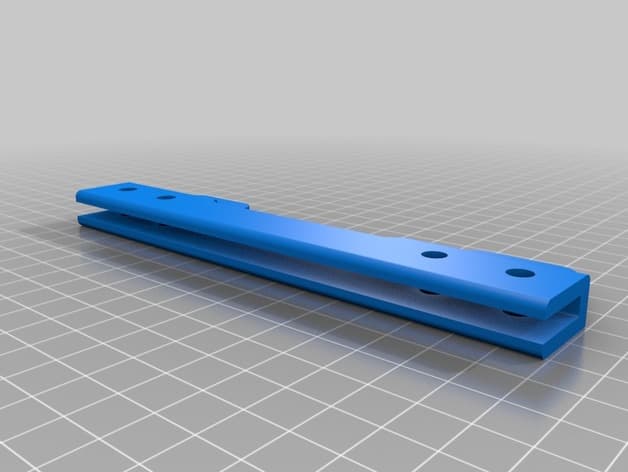
Reference shelf
Product references matched to the published material guidance. Confirm diameter, heat resistance, colour, and printer compatibility.
| Referenced item | What to verify | Price & availability |
|---|---|---|
| ASA filamentAmazon · Affiliate link | Amazon product page for 1.75 mm ASA; use an enclosure and suitable ventilation, and confirm seller and regional availability. | Check price at Amazon |
| ABS filamentAmazon · Affiliate link | Amazon product page for 1.75 mm ABS; use an enclosure and suitable ventilation, and verify temperature requirements and seller. | Check price at Amazon |
Affiliate disclosure: if you buy through an eligible link, 3DPrintedCarPart may earn a commission at no extra cost to you. As an Amazon Associate I earn from qualifying purchases. Confirm product specifications, compatibility, seller terms, and vehicle safety before ordering or using anything. Amazon may redirect you to a nearby supported store; otherwise the original Amazon.com page remains available.
The file license permits commercial reuse, subject to any applicable attribution or share-alike terms. License status does not verify vehicle fitment, OEM rights, design patents, or safety.
Shared by
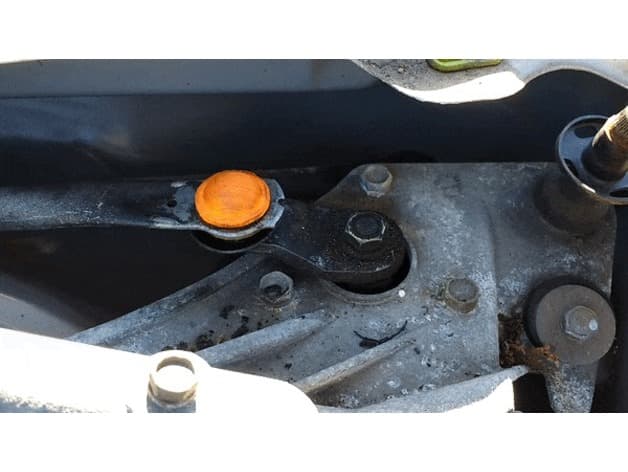
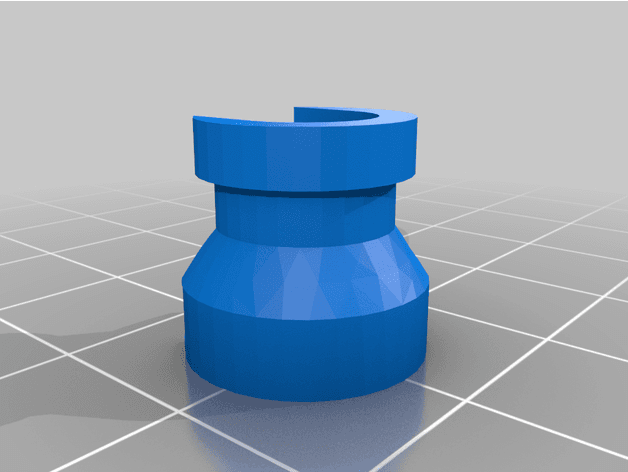
David Ford (FirefighterBlu3)It's difficult to find this part for sale without it being attached to the window. This single piece replaces the two pieces used to attach the window glass to the lift mechanism. Use an acetone (or similar) soluble filament that can handle baking in the sun without deformation. After printing and any post-process, attach the part to the lift mechanism almost fully. leave it slightly wiggly for easier window glass installation. When installing the bolts and nuts, a drop of blue Loctite is recommended. Clean the window glass thoroughly and set aside. Power the lift mechanism up to the top and squeeze in an adhesive product such as 3M Window Weld. You don't need a lot of adhesive, just enough to make thorough coverage of the areas where the part encloses the window glass. Lower the lift mechanism all the way. Gently align and install the window glass into the door at the top (the full up position), taking care to avoid touching or fouling the area where the printed piece with adhesive will be attaching. Use painters tape to hold the window glass in the full up position. Carefully raise the lift mechanism until it is ready to slide up onto the glass. ensure it is properly aligned and in several taps, raise the lift fully. Carefully snug up the bolts and leave the window alone until the full cure time has been reached for the adhesive.
Originally published on thingiverse.com by David Ford (FirefighterBlu3) · License: CC BY
Browse categories
Jump to interior, exterior, accessories, dashboard, mechanical, or tools hubs when you need a different kind of replacement part.
Share whether this print actually fits a real car. Installed photos and material notes make the catalog more trustworthy.
Most specific car + model + year + category matches first, with popular parts mixed in.
Other projects by us
Building tools that make life easier
Start a fitment, printing, or design discussion with this part already attached.