Earn money selling original 3D car part models.
Start sellingEarn money selling original 3D car part models.
Start sellingEarn money selling original 3D car part models.
Start selling
Reference shelf
Product references matched to the published material guidance. Confirm diameter, heat resistance, colour, and printer compatibility.
| Referenced item | What to verify | Price & availability |
|---|---|---|
| PETG filamentAmazon · Affiliate link | Amazon product page for 1.75 mm PETG; confirm colour, spool size, print temperature, seller, and delivery region. | Check price at Amazon |
| ASA filamentAmazon · Affiliate link | Amazon product page for 1.75 mm ASA; use an enclosure and suitable ventilation, and confirm seller and regional availability. | Check price at Amazon |
Affiliate disclosure: if you buy through an eligible link, 3DPrintedCarPart may earn a commission at no extra cost to you. As an Amazon Associate I earn from qualifying purchases. Confirm product specifications, compatibility, seller terms, and vehicle safety before ordering or using anything. Amazon may redirect you to a nearby supported store; otherwise the original Amazon.com page remains available.
The file license permits commercial reuse, subject to any applicable attribution or share-alike terms. License status does not verify vehicle fitment, OEM rights, design patents, or safety.
Shared by
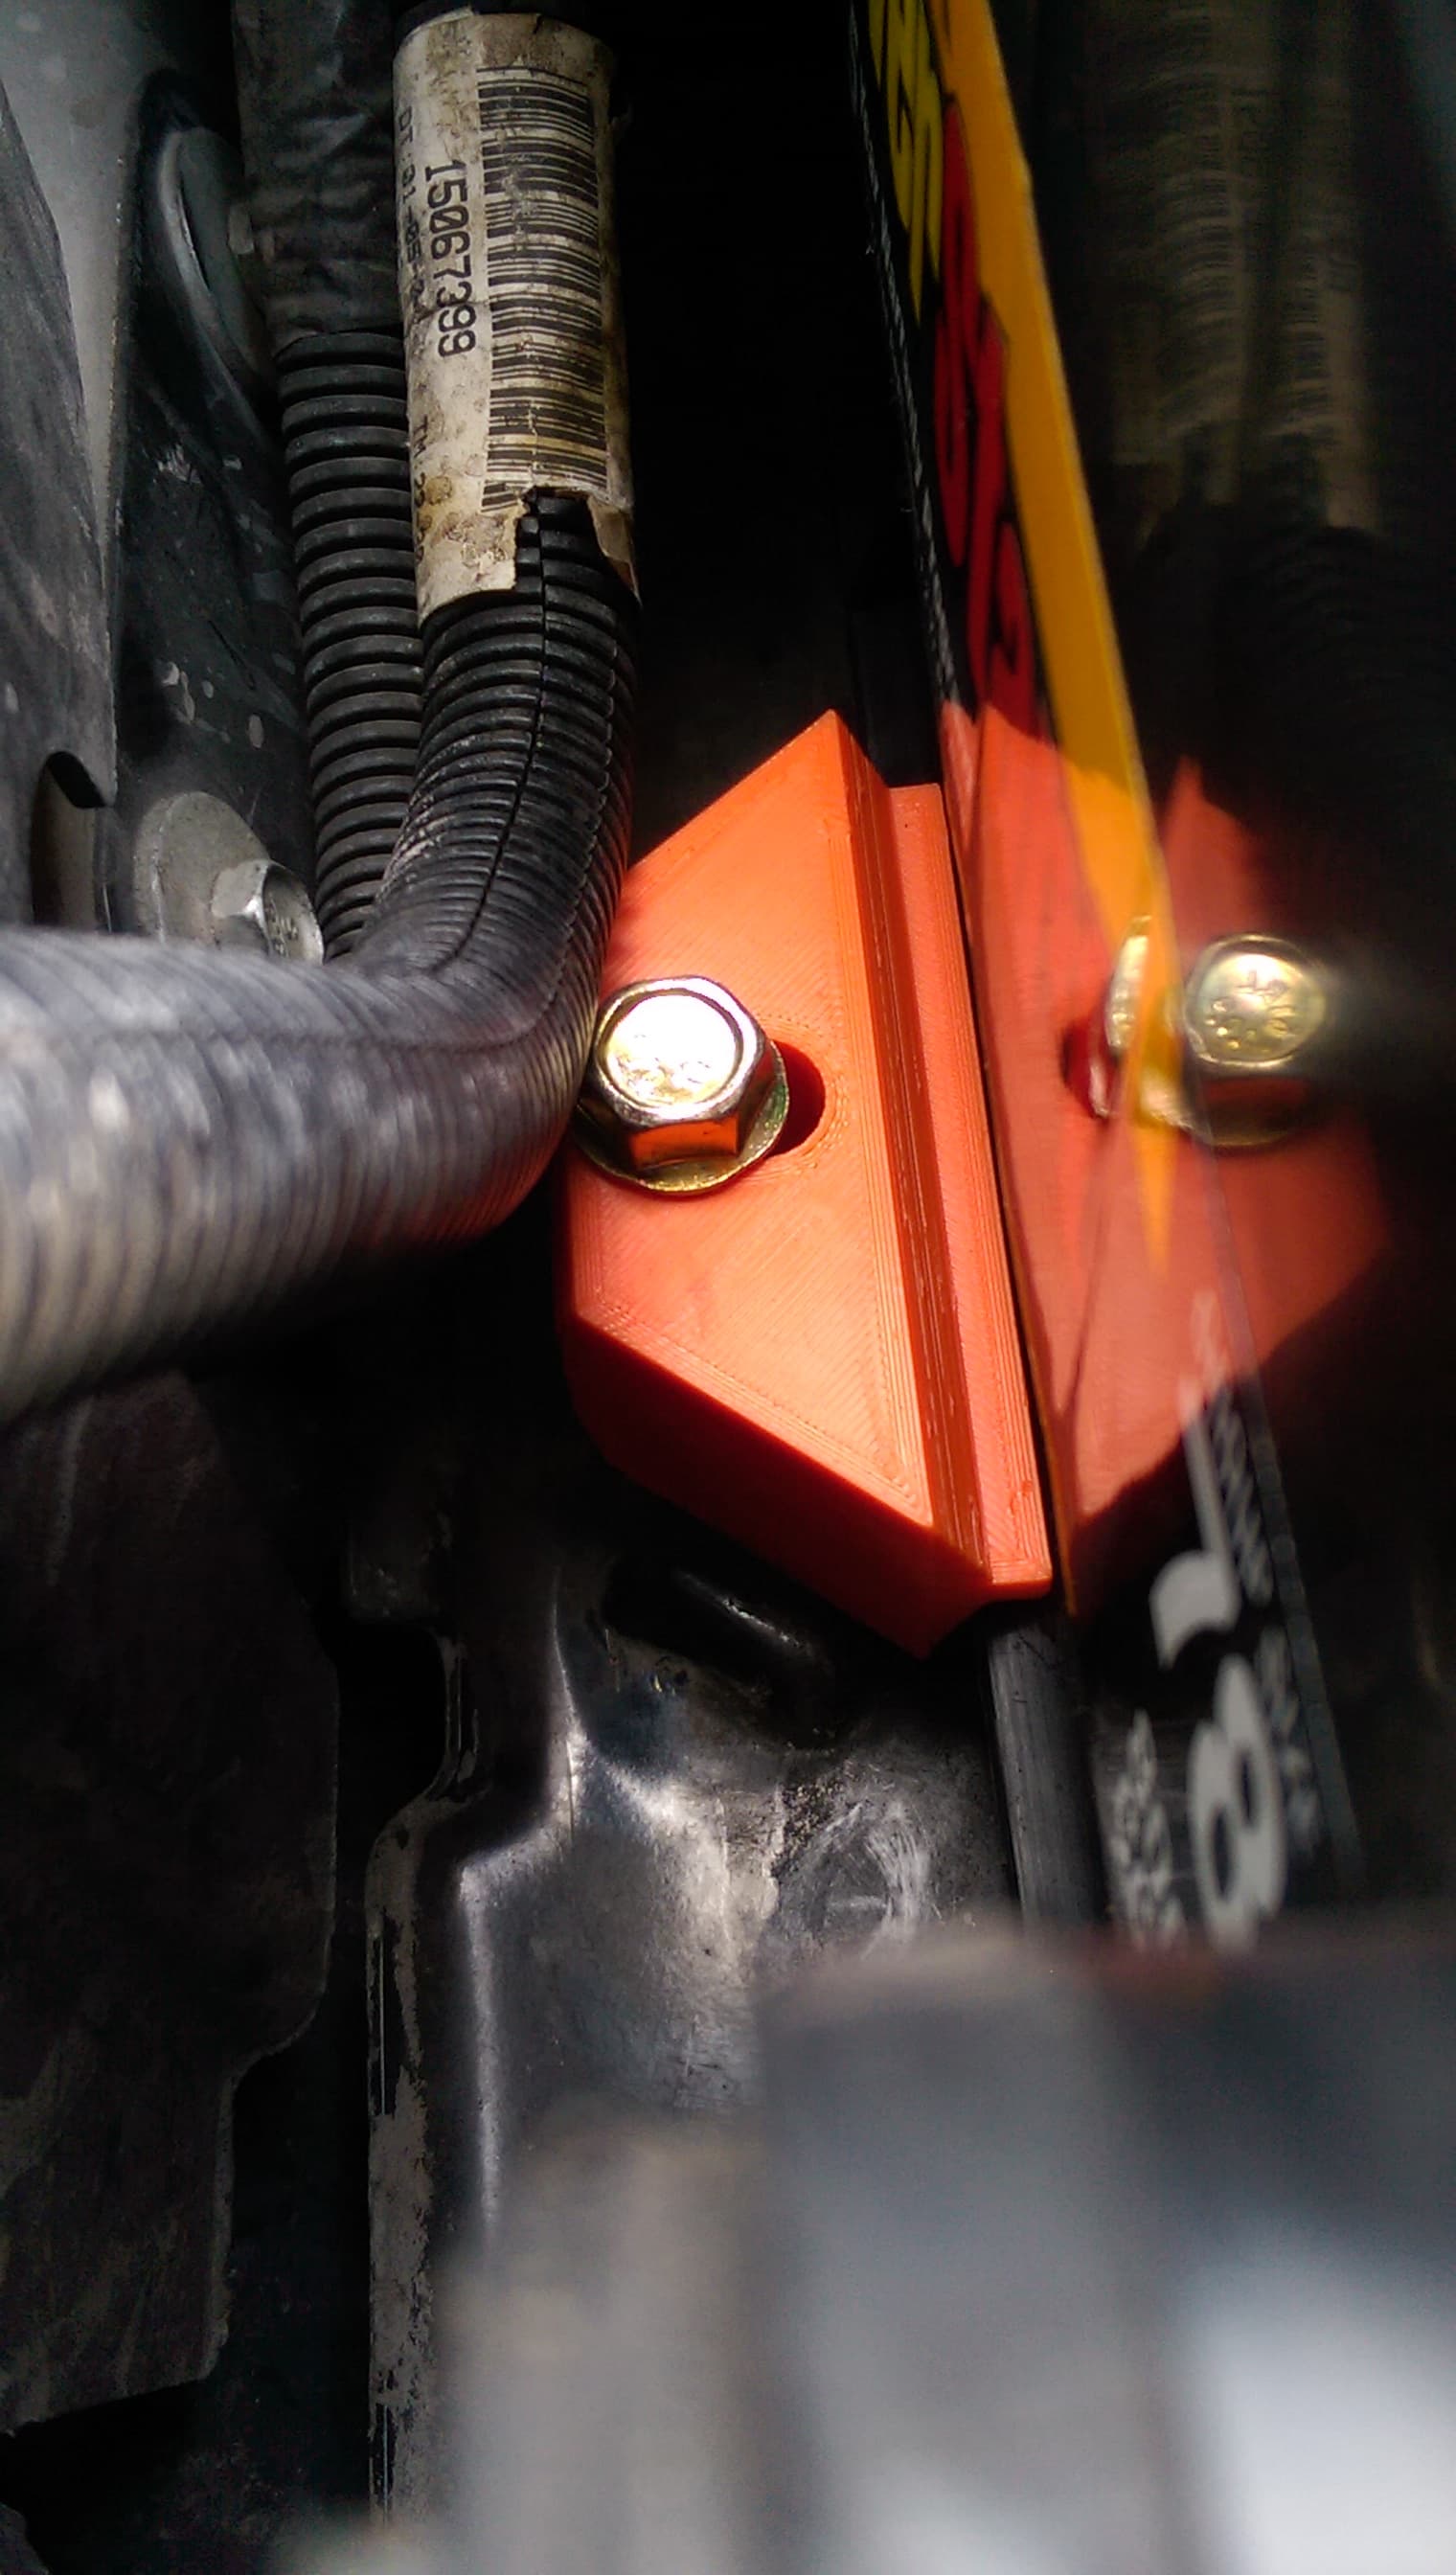
Cassidy (c4b4the04)Disclaimer: I am NOT responsible for any damage you may do. This is offered for free with no intention to profit, monetize or take responsibility for your actions. This was made possible by some amazing research from the C8 Corvette, adding the NPP RPO-code to cars that never came with the feature. I am sharing this information gathered between several websites and the code written by corvetteforum.com member CityOf9Gates, a super nice guy and was willing to talk to me years later about his earlier work. I am only adding the 3D printed case that can zip tie to the trunk/battery area. Two initial designs were done several years ago, one created the pulse width signal using hardware and the this one (what I think is more sustainable) uses a cheap Arduino microcontroller to do the job. A transistor is used to do the heavy lifting, as to protect the Arduino’s relatively low power output (think amplifier power wire on an old car stereo system) and a 12 Volt voltage regulator is used to keep everything tidy. It may get warm but shouldn’t get ‘hot’. The resistors keep the signal from bouncing from high to low, thereby opening the valve when you don’t want it to. This is a 9th grade level electrical project at its finest… Using Arduino: If you do not know how to open a sketch, include a library and compile/upload using an Arduino, there are great tutorials on youtube to show you how. You download the free software, download the library for PWM from here and install it in your Arduino Libaries https://code.google.com/archive/p/arduino-pwm-frequency-library/downloads Then, copy and paste the following text into a new sketch: #include // pwm-frequency-library #include const int _pwmPin = 9; //pin9 on arduino board const int _buttonPin = 7; // pin7 on board bool _isRunning = true; bool ReadValveState() { int valveSt = EEPROM.read(0); //read the last valve state from memory if (valveSt == 1) { return true; } else { return false; } } void DoOpenValves()//sends a pwm signal to valves causing them to open { pwmWrite(_pwmPin, 203); } void DoCloseValves()//sends a pwm signal to valves causing them to close { pwmWrite(_pwmPin, 51); } void setup() { InitTimersSafe(); SetPinFrequencySafe(_pwmPin, 200); //sets the pwm pin frequency to 200 Hz pinMode(_pwmPin, OUTPUT); // sets the pwm pin as an output pin pinMode(_buttonPin, INPUT_PULLUP); //sets the input pin for the button pinMode(LED_BUILTIN, OUTPUT); if (ReadValveState() == true) //initialize the valves to the last state (if the valves were open when the car was turned off, the valves will be open when the car is turned on, etc { DoCloseValves(); } else { DoOpenValves(); } _isRunning = false; } void loop() //the main body of our arduino code, this is run over and over as long as there is power { if (_isRunning == false) //this is to prevent repeated button presses { if (digitalRead(_buttonPin) == LOW) //check the state of the button if it's pressed { _isRunning == true; if (ReadValveState() == true) //if the valves are closed, { EEPROM.write(0, 0); //set the new valve state and open the valves DoOpenValves(); } else //the must be opened { EEPROM.write(0, 1); //set the new valve state and close the valves DoCloseValves(); } FlashBuiltInLED(); // this will give a delay of 1 seconds this helps in debugging to know if your circuit is working when not connected to a valve. If your button is pressed and you see a flashing, then the button is triggering the open/close of the the valve pwm _isRunning == false; } } } void FlashBuiltInLED() { for (int i = 0; i <= 10; i++) { digitalWrite(LED_BUILTIN, HIGH); // turn the LED on delay(100); // wait for tenth a second digitalWrite(LED_BUILTIN, LOW); // turn the LED off delay(100); // wait for tenth a second } } Note: The Arduino will use a USB cable to upload the program. Once you’ve done that you will not need to use the USB any longer. The Arduino CAN run on 12V IF you power it through the Vin pin on the board. Doing this eliminates the need for a power adapter or any additional power supplies. Theory: Bi Valve controllers use 12 volts to power a motor that is CONTROLLED by a pulse width modulated signal. The Arduino controls on and off of this PWM signal by means of a pushbutton (which would require wiring to the front of the car, or an inexpensive wireless remote control). This simulates the controls of the 16 and 17 SS (or any car using this controller). The Arduino is an inexpensive and simple to replace part. It runs the code you upload to it every time you apply power. By writing the last memory of the button to its built in nonvolatile memory, the Arduino remembers if you had the valves open or closed on your last ignition cycle…. a nice addition. Parts list: Arduino Uno (generic is fine) https://www.amazon.com/ELEGOO-Board-ATmega328P-ATMEGA16U2-Compliant/dp/B01EWOE0UU/ref=sr_1_4?crid=1K6Y2P696JUCR&keywords=arduino+uno&qid=1676042593&sprefix=arduino+uno%2Caps%2C160&sr=8-4 Resistors: (you only need a few but these are what they look.
Originally published on thingiverse.com by Cassidy (c4b4the04) · License: CC BY
Browse categories
Jump to interior, exterior, accessories, dashboard, mechanical, or tools hubs when you need a different kind of replacement part.
Share whether this print actually fits a real car. Installed photos and material notes make the catalog more trustworthy.
Most specific car + model + year + category matches first, with popular parts mixed in.
Other projects by us
Building tools that make life easier
Start a fitment, printing, or design discussion with this part already attached.