Earn money selling original 3D car part models.
Start sellingEarn money selling original 3D car part models.
Start sellingEarn money selling original 3D car part models.
Start selling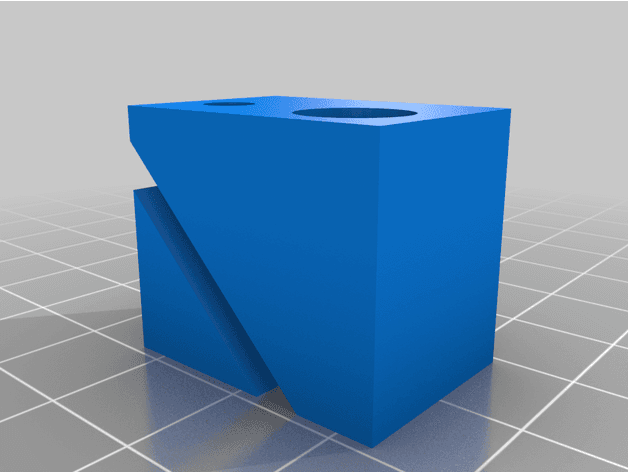
Files stay with the original publisher; this catalog entry does not grant hosting or resale rights. License status does not verify vehicle fitment, OEM rights, design patents, or safety.
Shared by
Matthew McGoldrick (McGoldrick11)In order to mount my CB radio, I had to relocate the AC control panel. I Moved the panel down below where there was a black plastic coin tray thing. After cutting some zip ties the wires and vacuum lines were long enough to reach to AC panel without modification. The bracket slips over a peg on the back of the AC control panel, then I used a 10x1-1/2 wood screw to thread through the existing hole in the panel and straight into the 3d printed part. You may be able to use a shorter screw but that's what I had laying around To install, I held the 3D printed part in place on the AC control panel and started the screw threading in, just before the screw pokes out into the slot cavity. repeat on the other side, then going up from the bottom you should be able to slide the 3D printed brackets onto the tabs sticking out of the dash on either side.
Originally published on thingiverse.com by Matthew McGoldrick (McGoldrick11) · License: CC BY-NC
Browse categories
Jump to interior, exterior, accessories, dashboard, mechanical, or tools hubs when you need a different kind of replacement part.
Share whether this print actually fits a real car. Installed photos and material notes make the catalog more trustworthy.
Other projects by us
Building tools that make life easier
Start a fitment, printing, or design discussion with this part already attached.



