
Files (1)
Published material guidance; still check heat, UV, load, and printer compatibility.
A planning starting point only; wall count, orientation, and geometry often matter more than infill.
Slice the selected model with your final material, orientation, walls, and supports.
Saved setup guidance is used for material, infill, support, and per-file recommendation text; editable numbers are planning estimates only.
Reference shelf
Recommended filament for this print
Product references matched to the published material guidance. Confirm diameter, heat resistance, colour, and printer compatibility.
| Referenced item | What to verify | Price & availability |
|---|---|---|
| PETG filamentAmazon · Affiliate link | Amazon product page for 1.75 mm PETG; confirm colour, spool size, print temperature, seller, and delivery region. | Check price at Amazon |
Affiliate disclosure: if you buy through an eligible link, 3DPrintedCarPart may earn a commission at no extra cost to you. As an Amazon Associate I earn from qualifying purchases. Confirm product specifications, compatibility, seller terms, and vehicle safety before ordering or using anything. Amazon may redirect you to a nearby supported store; otherwise the original Amazon.com page remains available.
Unsure which one fits? Read the automotive filament guide.
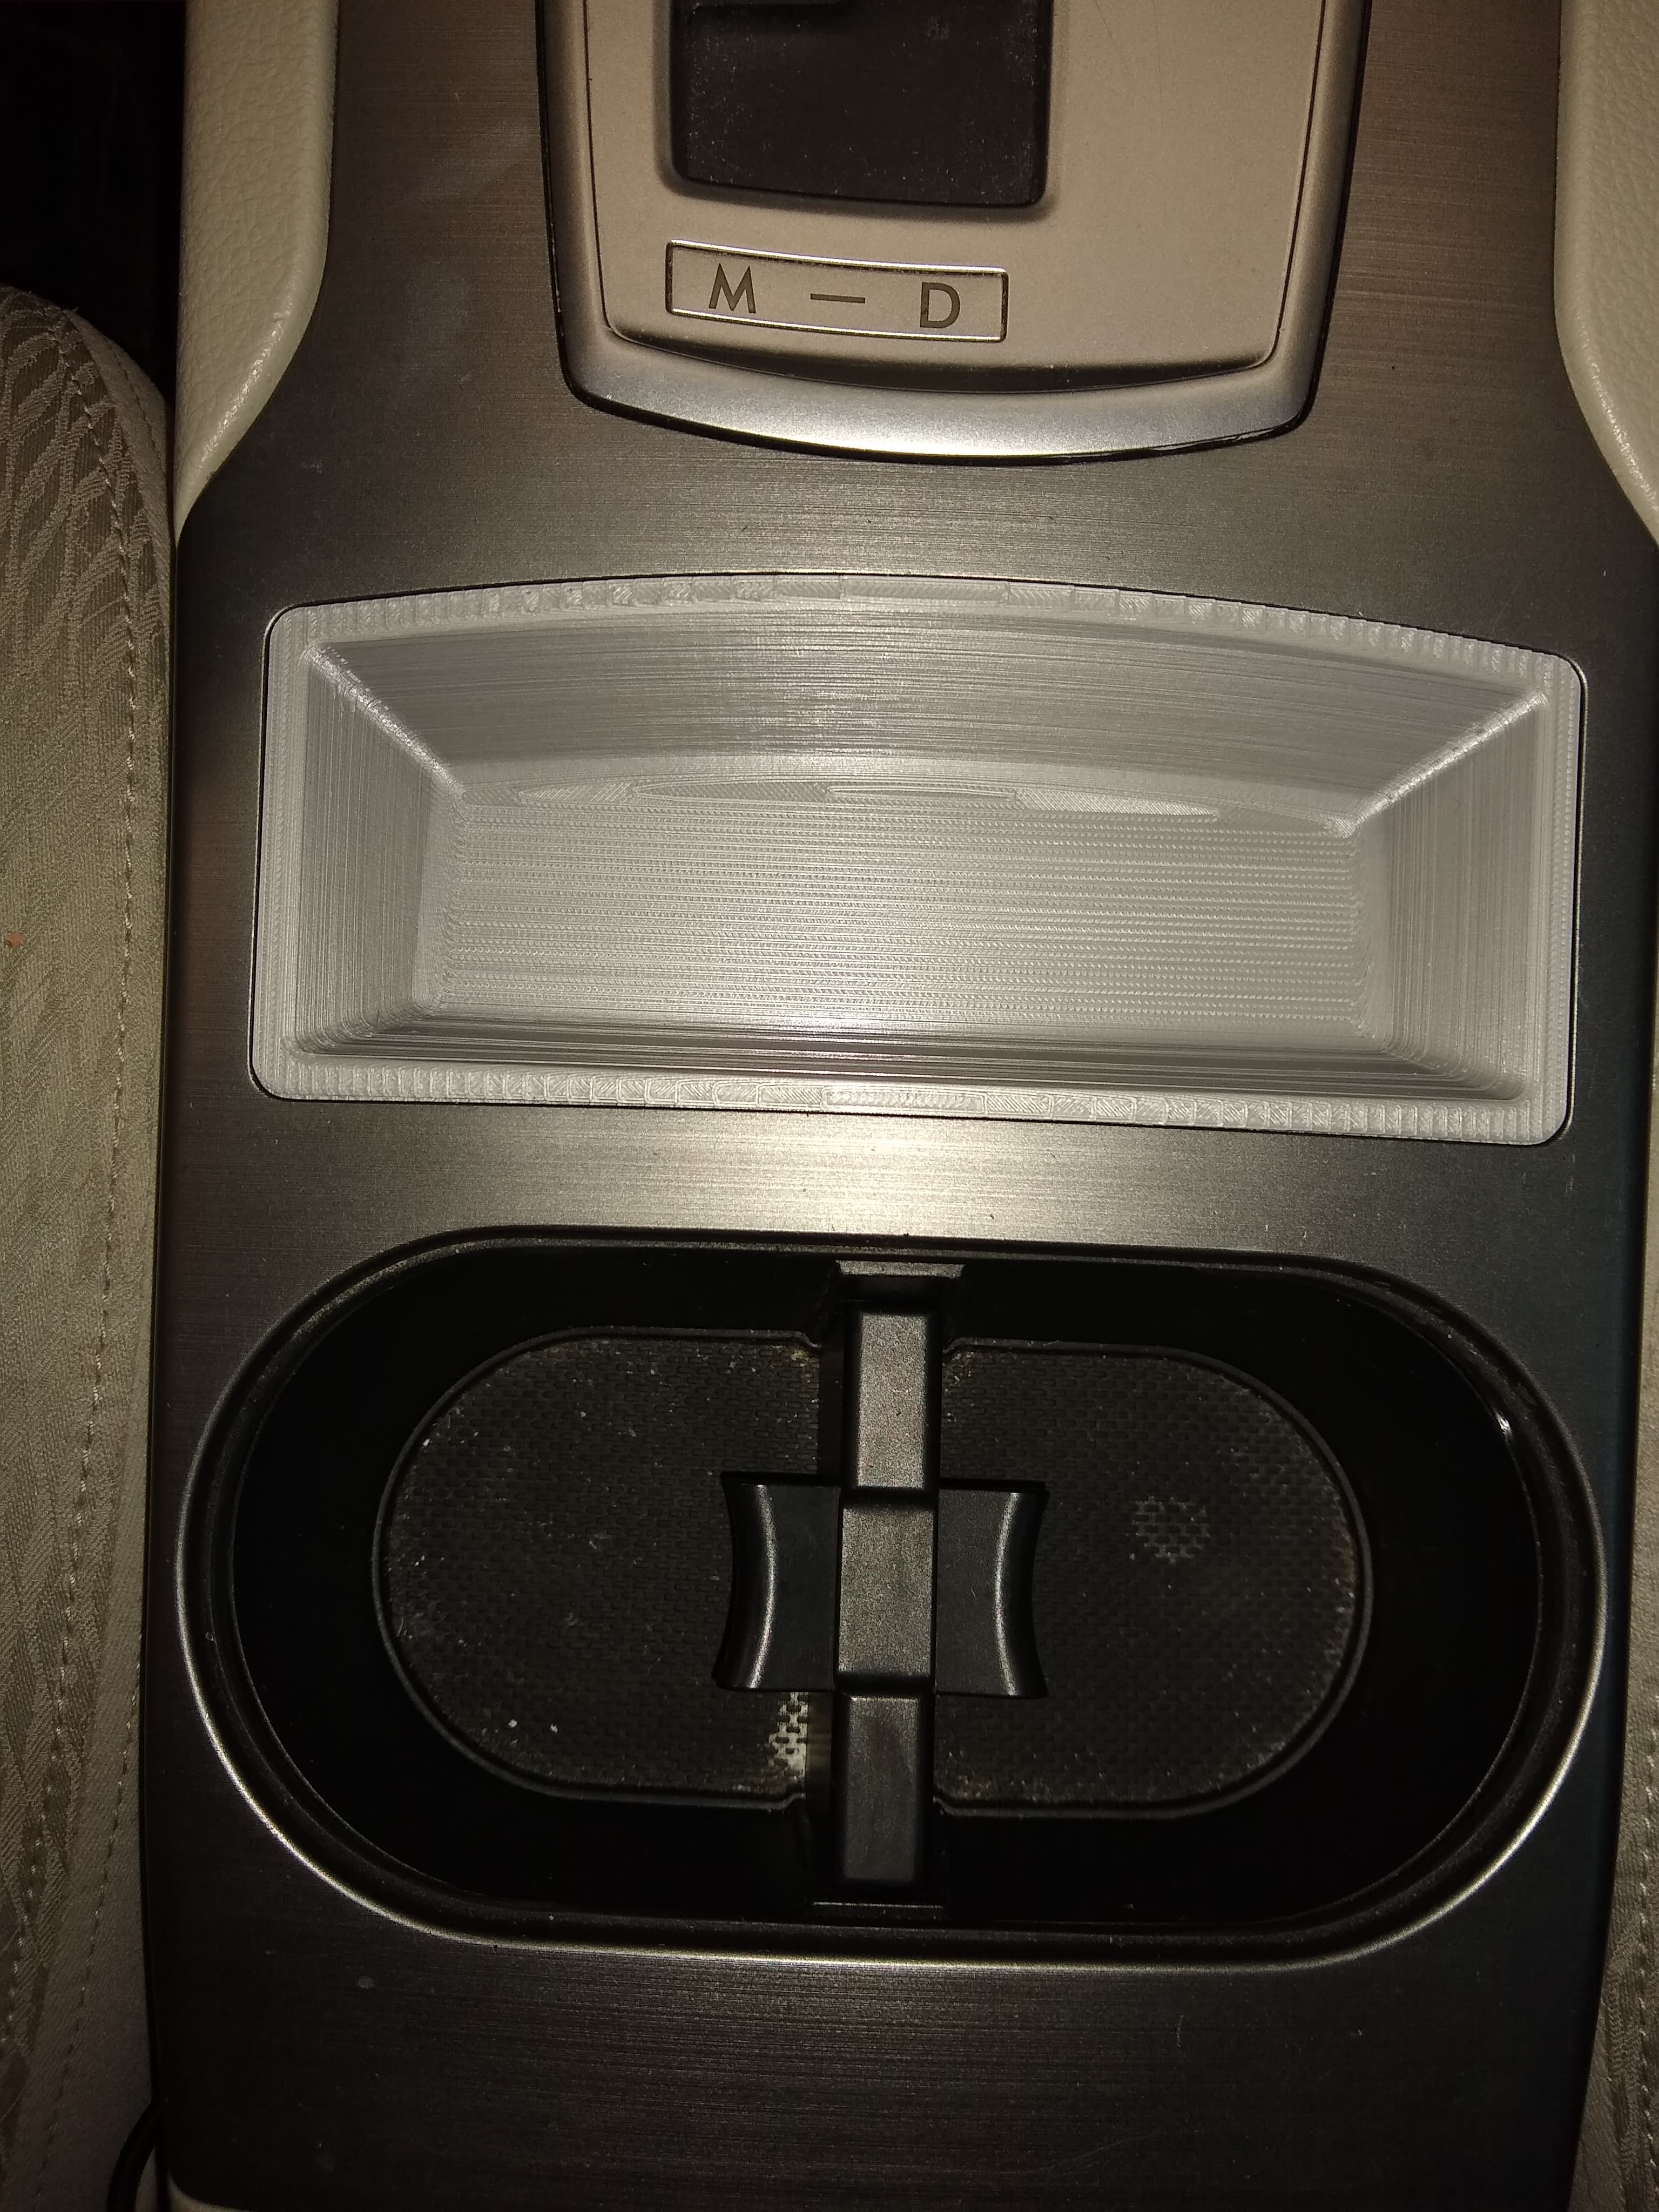
Full Width Console Tray for Subaru Outback 4th Gen
Print this part
Use the part context as a starting point, then confirm geometry-dependent values in your slicer.
Files
1 hosted model file
STL
Material start
PETG
Saved part guidance
Strength start
15-20% infill for durability
Saved part guidance
Orientation / supports
supports likely, verify in slicer
Exact totals
Slice for grams + time
Model geometry and final settings determine both
Vehicle exposure
Cabin/interior use; avoid high-heat zones
Open the STL, 3MF, or OBJ model in your slicer before printing. Exact grams, time, and final support placement come from the actual slice. Test-fit and heat-check the part before installing it in a vehicle.
License & use
The file license permits commercial reuse, subject to any applicable attribution or share-alike terms. License status does not verify vehicle fitment, OEM rights, design patents, or safety.

Shared by
3DPrintedCarPartDescription
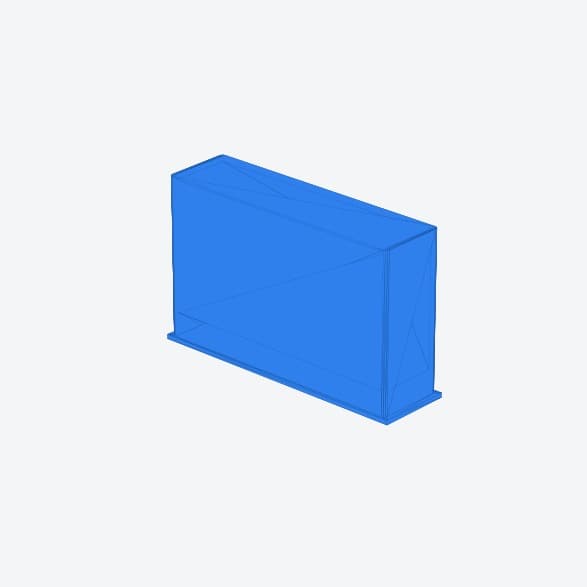
Console tray for 4th Generation (2010-2017) Subaru Outback. I modeled the original part, but without the blank for the ejector switch (or whatever the higher trim level comes with). Original tray was sized to fit 2009 cell phones and mine was always sliding out on turns. The new one is wider and has an adjustable depth. I printed a deep one for me, uploaded a shallow one here. Contact me if you want something else. Thingiverse appears to be mangling the pics so here's the full album: https://imgur.com/a/uFnBTBM Print instructions Category: Automotive Print Settings Printer Brand: Prusa Printer: I3 MK3S Rafts: No Supports: Yes Resolution:.2mm Infill: 15% Filament: Inland PETG Silver Notes: The bottom of the tray has an 8.5° angle to it. So if you align the bottom to the build plate you can manually rotate it 8.5° in the slicer and the top will be level. This creates more support structure, but I think the layer lines end up looking better (see final image in the upload). How I Designed This I took some reference pics of the OEM part with a long lens (200mm) standing from far away to try to minimize distortion. I think imported that image as a background canvas in Fusion 360 so I could trace on top of it. This still wasn't perfect as there is still some distortion but I was able to build the model incrementally (ie first was just a rectangle, then 5 iterations later I added the curve across the top) All in this took about a dozen test parts and 20 hours of CAD / caliper time. My Fusion 360 skills went from a 2 to at least a 4 out of 10.
Compatible Cars
Originally published on printables.com by Gang Stead · License: CC BY
Share whether this print actually fits a real car. Installed photos and material notes make the catalog more trustworthy.
Related Parts
Most specific car + model + year + category matches first, with popular parts mixed in.
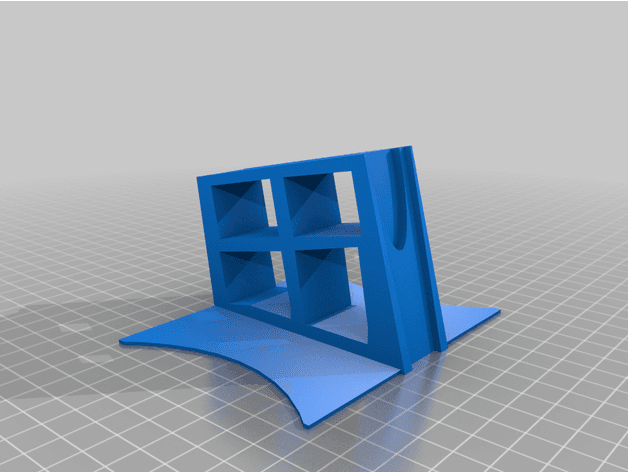
2011 Subaru Outback Cup Holder Divider
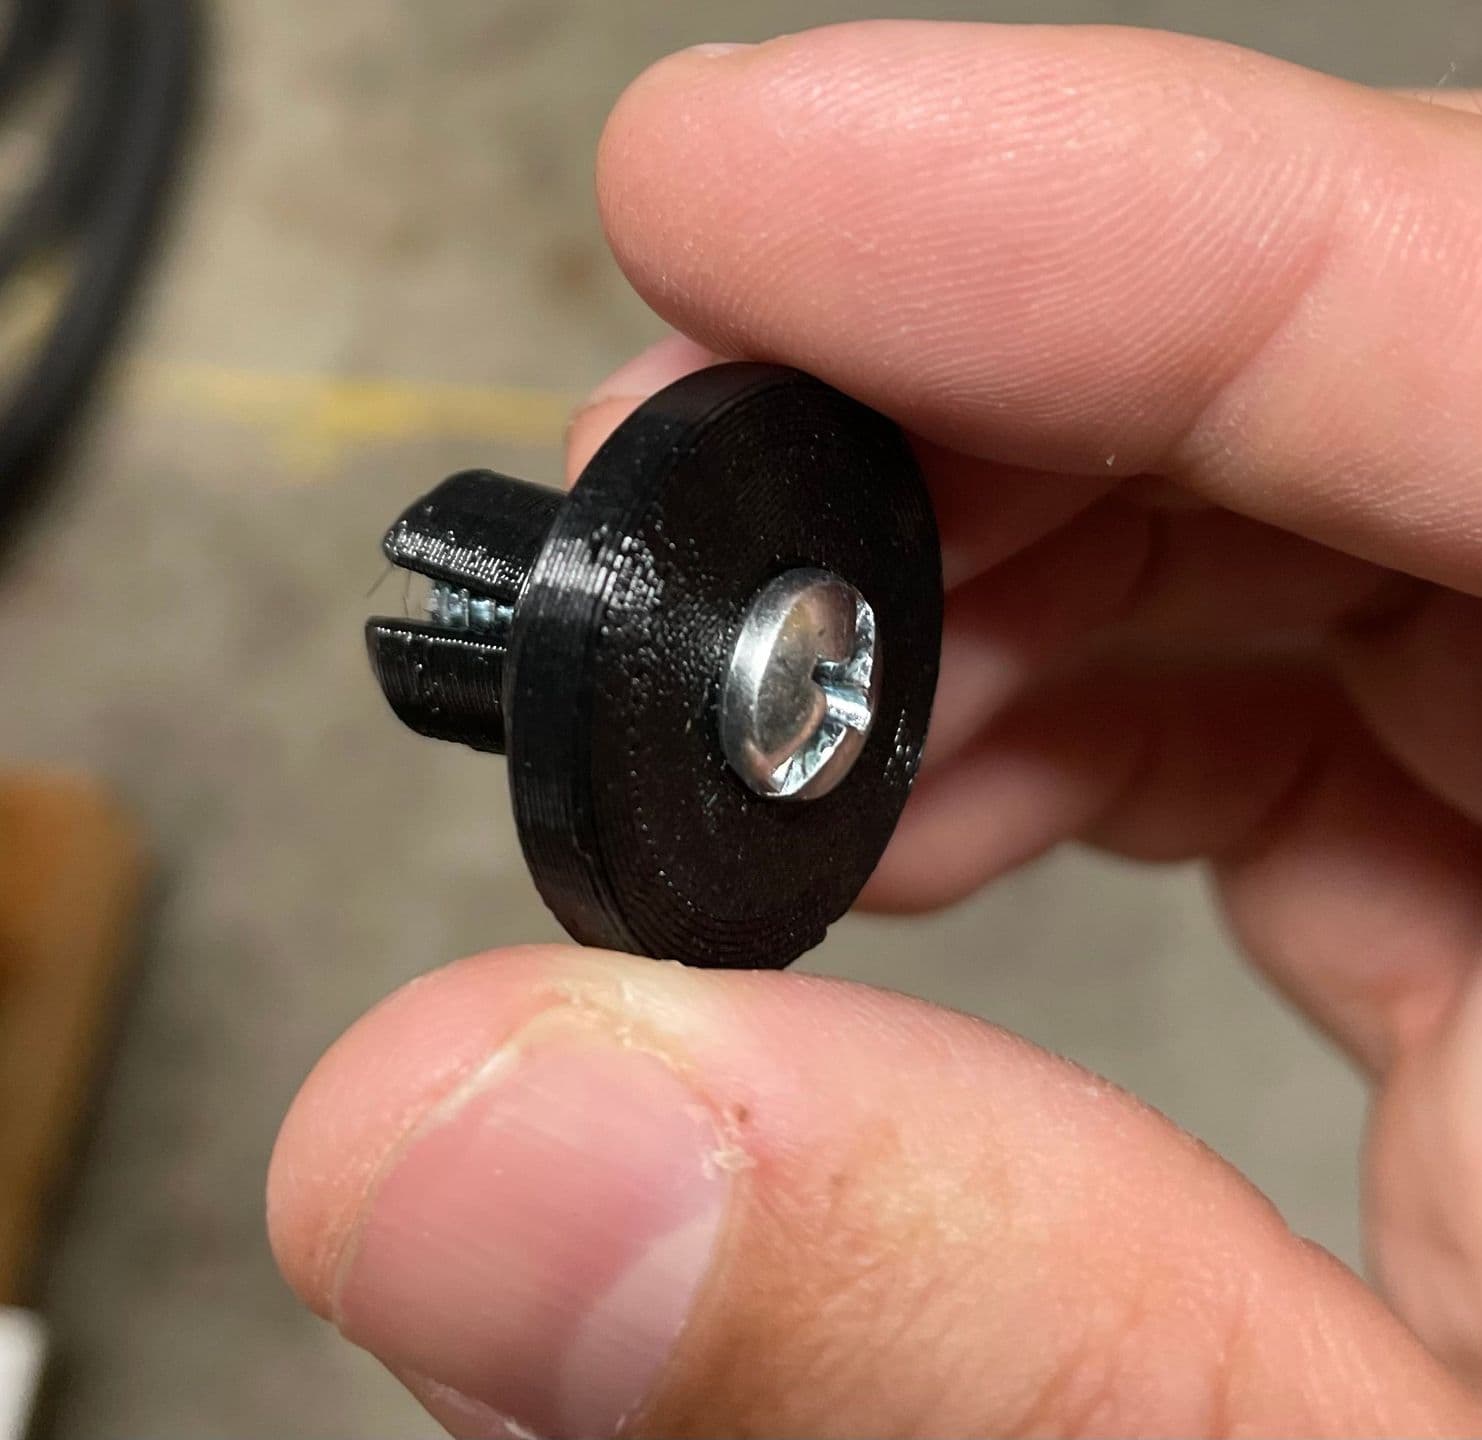
Trim Mount Cam for Subaru Outback 2014
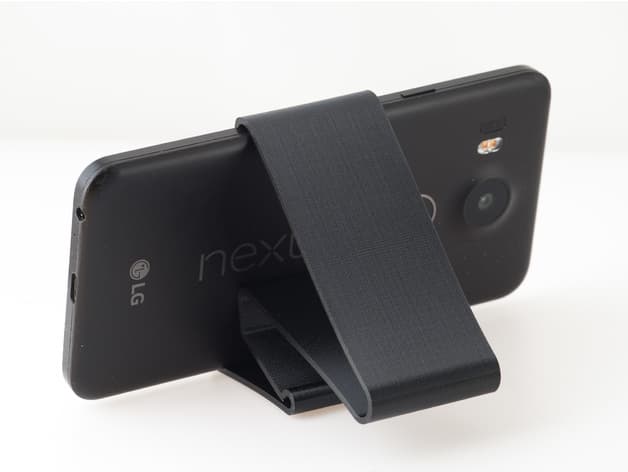
Dashboard Phone Mount (for 2013 Subaru Outback)
Subaru Outback Legacy BH central console pocket

Subaru Legacy Outback Headlight Washer Cover
2004-2010 Hyundai Sonata Headlight Dust cap
Hyundai

