
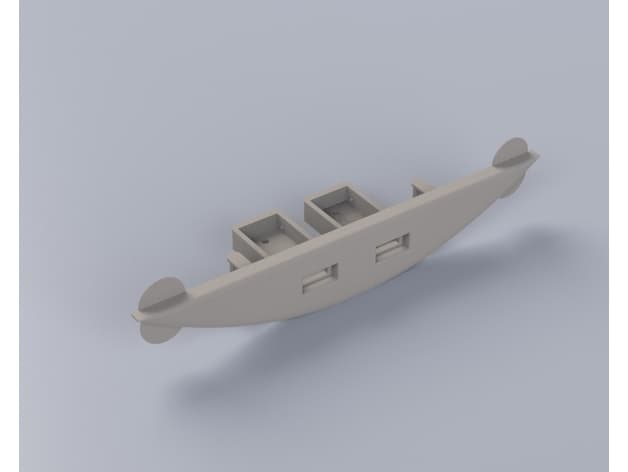
Jaguar S-Type USB Charger
Print this part
Use the part context as a starting point, then confirm geometry-dependent values in your slicer.
Files
Source link only
No hosted model files
Material start
PETG or ASA for durability in a car environment
Saved part guidance
Strength start
20-30% infill for strength and minimal weight
Saved part guidance
Orientation / supports
verify in slicer
Exact totals
Slice for grams + time
Model geometry and final settings determine both
Vehicle exposure
Cabin/interior use; avoid high-heat zones
Download the model at its source, then confirm the format is supported by your slicer. Exact grams, time, and final support placement come from the actual slice. Test-fit and heat-check the part before installing it in a vehicle.
License & use
Files stay with the original publisher; this catalog entry does not grant hosting or resale rights. License status does not verify vehicle fitment, OEM rights, design patents, or safety.

Shared by
3DPrintedCarPartDescription
99-02 Jaguar S-type USB Charger ========== Introduction ------------------- I wanted a proper USB charger for my Jaguar x200 that looks original. As the bottom fascia of my center console is unused, I thought this would be the ideal place for that. I dislike hack 'n slash and want to be able to revert this mod. So, I drew up a new fascia. It's a drop-in replacement that uses the original clip holes. Another upside is that this print clears my 12v lighter from the charger plug as well, so I can finally close the ashtray. Print instructions ------------- Everything is printed separately to optimize layer direction and reduce print time and supports. Simply glue or weld together. I added some support enforcers for the bolt holes on the charger holder. You could as well. The rest doesn't need anything. I added some tie-downs to the faceplate you need to cut off afterwards. But this prevented my part from curling up from the bed. Print ---------- 2 x Jaguar USB Faceplate Clip.STL 1 x Jaguar USB Faceplate.STL 1 x USB_charger Holder.STL You need to flip over everything by 90 degrees on the X-axis. This is a Solidworks thing. Additional parts needed ---------------------- 3 x M4 x 4 knurled nut (heat insert) 3 x m4 x 5 bolt Retainer clips from original part (or alternativaly: https://nl.aliexpress.com/item/32959492086.html?spm=a2g0s.9042311.0.0.566d4c4dTnH7VC) 2 x single version USB Charger PCB https://nl.aliexpress.com/item/32983839710.html?spm=a2g0s.9042311.0.0.2e394c4d9lhiQh Alternatively, you could skip the nuts and bolts and simply glue it. I like that I'm able to replace parts if a charger breaks or I buy a different model. Construction ---------------------- Wire up the USB chargers PCB's. Slide in PCB into 'charger holder'. Glue the two 'clips' in the corresponding holes (they only fit one way), heat insert the knurled nuts and bolt the 'charger holder' to the 'faceplate'. Transplant the clips from the original part to the new clipholders and wire it up in your car. I siphoned power from my 12v cigarette lighter, but there is a multitude of places to draw power from. Mine is currently awaiting painting (I need to find the proper colour and spray paint).
Compatible Cars
Originally published on thingiverse.com by Boy (Pointy) · License: CC BY-NC-SA
Share whether this print actually fits a real car. Installed photos and material notes make the catalog more trustworthy.
Related Parts
Most specific car + model + year + category matches first, with popular parts mixed in.
2010-2014 Kia Sportage Center console
05-14 Mustang center console cover
Kia Sportage 2022 center console (Mittelkonsole) inlay
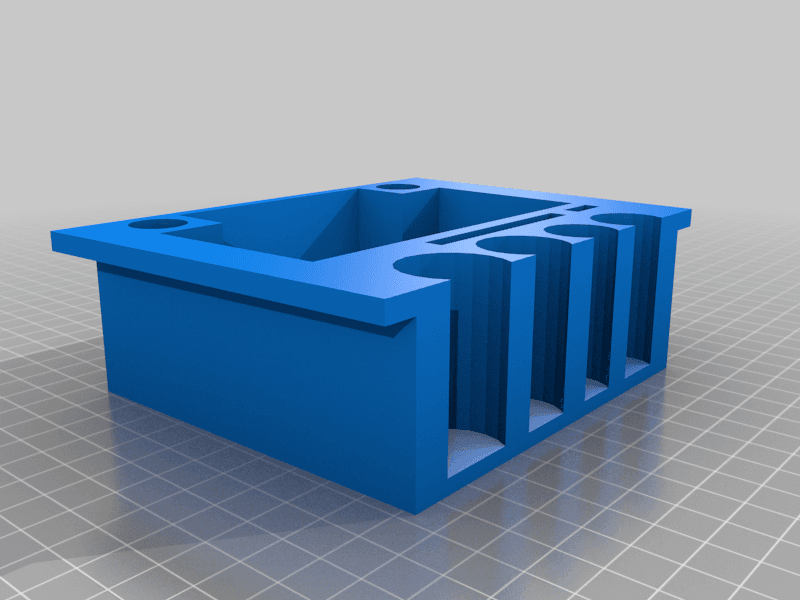
2011-13 Ford Edge Coin Tray
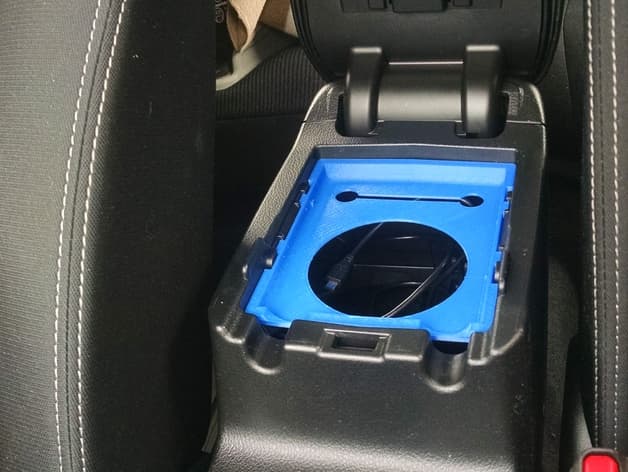
2013 Subaru Impreza/Crosstrek–Compatible Center Console Tray
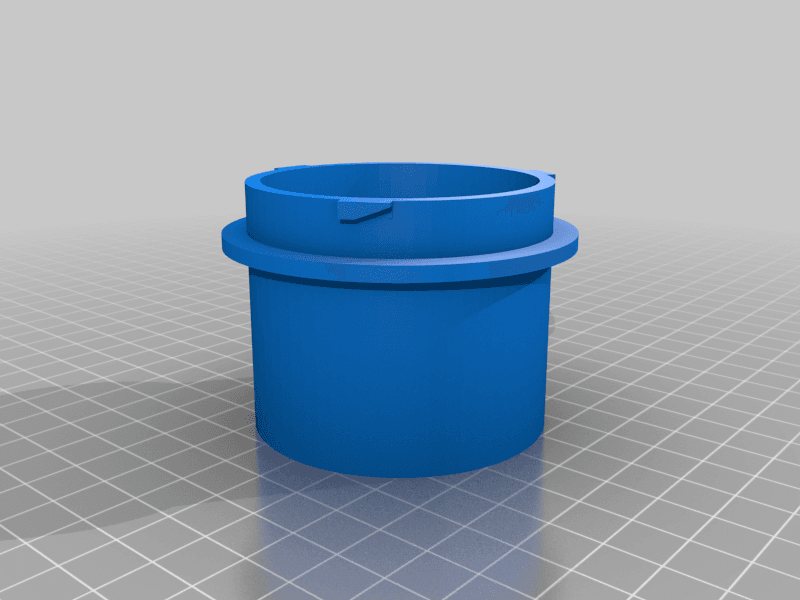
2004-2010 Hyundai Sonata Headlight Dust cap
Hyundai

