
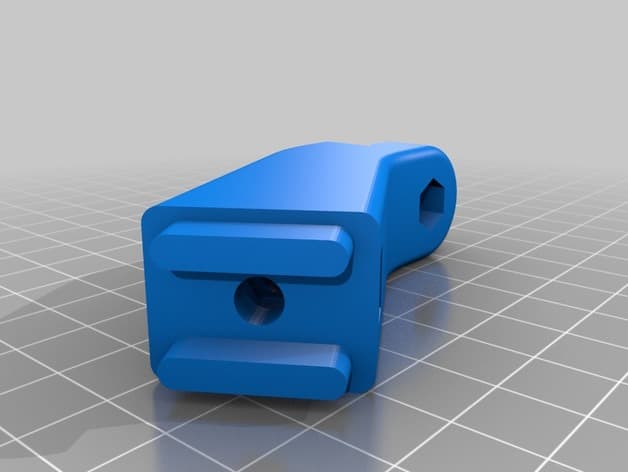
Kenwood TM D710 bracket for Fiat Punto
Print this part
Use the part context as a starting point, then confirm geometry-dependent values in your slicer.
Files
Source link only
No hosted model files
Material start
PETG or ASA
Saved part guidance
Strength start
20-30% infill with 1.2-1.6 mm walls
Saved part guidance
Orientation / supports
verify in slicer
Exact totals
Slice for grams + time
Model geometry and final settings determine both
Vehicle exposure
High cabin heat — validate PETG or choose ASA/ABS
Download the model at its source, then confirm the format is supported by your slicer. Exact grams, time, and final support placement come from the actual slice. Test-fit and heat-check the part before installing it in a vehicle.
License & use
Files stay with the original publisher; this catalog entry does not grant hosting or resale rights. License status does not verify vehicle fitment, OEM rights, design patents, or safety.

Shared by
3DPrintedCarPartDescription
This is a bracket designed to install Kenwood TM D710 mobile ham radiocommand panel in a Fiat Punto Street (2011) with minor mods. The bracket allows regulation of tilt and pan of the panel in order to have the correct wiev of the screen from both seats. The installation of the bracket is fully reversible and won't left any high visible damage-mod in the car. The only hole, necessary but not indispensable, to pass the control cable from the Main unit to the contol Panel will be covered by the original rubber mat when bracket is removed. The bracket is fixed to the top dashboard storage compartment. The bottom plate of the racket fits on the back wall of the compartment and is fixed with a screw in the original fixing hole. To ensure more stability it's advisable to put some double sided foam tape between the bracket plate and the compartment's wall. Assembly =========== + To assemble the bracket you need two M5 screvs with nuts and washers. + The original Kenwood faceplate slide.in bracket is obviouslye needed. To install the Kenwood bracket at the ehd of the arm you need two M4 screws with two spring lock washers. + To install the bracket on the car it's need a screw of about 5 mm diameter and 20 mm length and a Washer. While screwuing this pay attention to not damage anything behind the dashboard. Develops =============== This bracket could be used to install other devices such as smartphones, tablets,GPS and so on designing a fixture to screw to teh end of the arm. NOTE ========== This project is provided for educational an scientific purposes, i'm not responsible for any damage or injury which can occur producing or using this. When you are driving focus your attention only to the road!!!
Originally published on thingiverse.com by Davide Bortoluzzi (DBX92) · License: CC BY-NC-SA
Share whether this print actually fits a real car. Installed photos and material notes make the catalog more trustworthy.
Related Parts
Most specific car + model + year + category matches first, with popular parts mixed in.
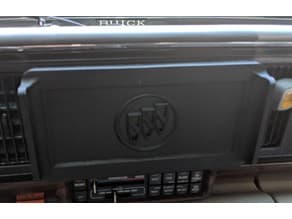
Magnetic Double Din Stereo Cover for Buicks or Roll Your Own
Buick
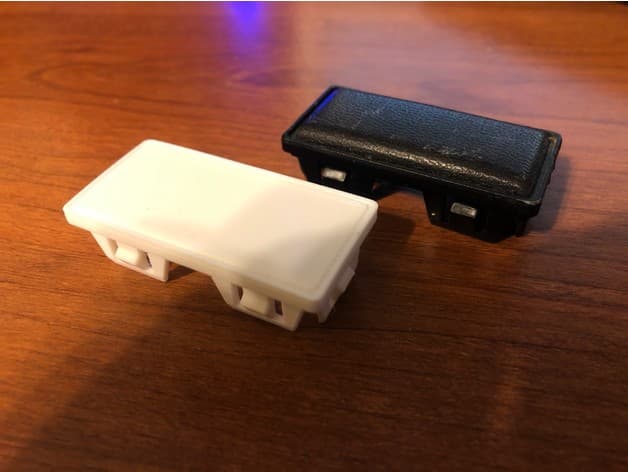
1981-1982 Honda Prelude / Honda Civic Lid Switch Cover
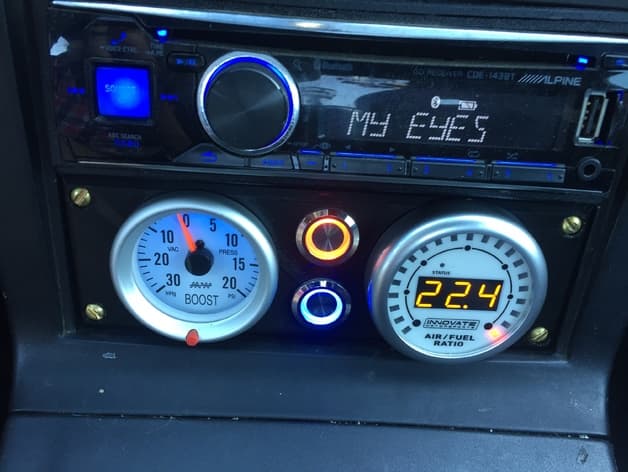
Miata Gauge Panel V3 + V4 - Turbo Boost & AFR Gauge Mount
Mazda MX-5
1969 Mustang Single Din Radio Bezel
Chevrolet Sonic/Aveo instrument Gauges Holder/Case
2004-2010 Hyundai Sonata Headlight Dust cap
Hyundai

