Earn money selling original 3D car part models.
Start sellingEarn money selling original 3D car part models.
Start sellingEarn money selling original 3D car part models.
Start selling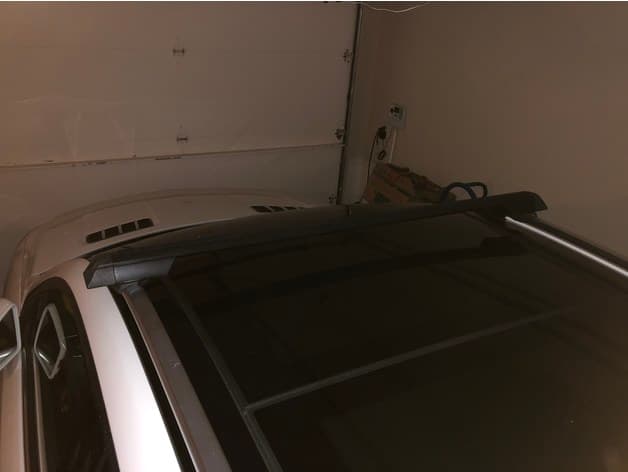
The file license permits commercial reuse, subject to any applicable attribution or share-alike terms. License status does not verify vehicle fitment, OEM rights, design patents, or safety.
Shared by
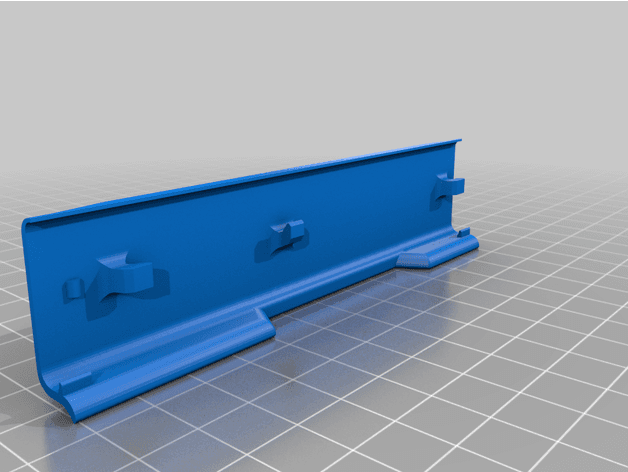
Crazy Collie (crazycollie)For the life of me, I could not find nor order a replacement rubber molding for this darn Mercedes Benz-branded roof rack for my father's ML350. The original piece was gone with the wind on a spirited drive in the suburbs of Atlanta. So, I decided to design and print it in a flexible filament. What a nightmare. The design was easy. I took one of the original trim pieces off the rack. I measured it and made a rough approximation of the insert, which works fine. This is my second ever design, but I knew I'd have to print it without support and have to print it flat. No problem. The original rubber trim piece is longer than my print volume. I knew that this would require me to glue two or three together to make it work. Printing with TPU is a pain in my toe on my left foot. I was using the stock Creality CR-10S with SainSmart's Black TPU. Every thing I read online said it's the easiest flexible to print with... my ash.. The filament would not push through the bowden tube to the hotend. I tried many settings. It was a Charlie Foxtrot. So, I upgraded the extruder and hotend. I purchased and installed the E3D Aero Titan with the V6 nozzle. This puts the extruder right on top of the hotend. Whiskey Tango Foxtrot. It still didn't work. Here is what I did to get it to work. 1.) I moved the bed down a bit. Three paper thicknesses opposed to one. 2.) I increased the flow rate to 140%. 3.) Hotend set to 220C. 4.) Bed temp to 70C. 5.) Used a 7.6cm or 3in of bowden tube on top of the extruder. 6.) I ran the TPU above and straight down into the bowden tube. After I got three printed, I installed them onto the rack. Works like a champ.
Originally published on thingiverse.com by Crazy Collie (crazycollie) · License: CC BY-SA
Browse categories
Jump to interior, exterior, accessories, dashboard, mechanical, or tools hubs when you need a different kind of replacement part.
Share whether this print actually fits a real car. Installed photos and material notes make the catalog more trustworthy.
Most specific car + model + year + category matches first, with popular parts mixed in.
Other projects by us
Building tools that make life easier
Start a fitment, printing, or design discussion with this part already attached.