Earn money selling original 3D car part models.
Start sellingEarn money selling original 3D car part models.
Start sellingEarn money selling original 3D car part models.
Start selling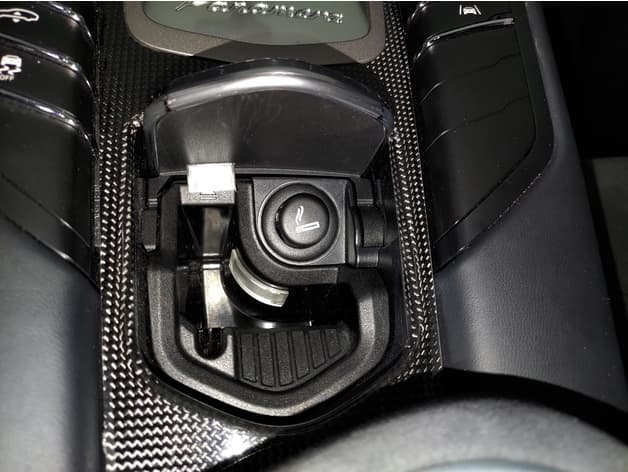
Reference shelf
Product references matched to the published material guidance. Confirm diameter, heat resistance, colour, and printer compatibility.
| Referenced item | What to verify | Price & availability |
|---|---|---|
| PETG filamentAmazon · Affiliate link | Amazon product page for 1.75 mm PETG; confirm colour, spool size, print temperature, seller, and delivery region. | Check price at Amazon |
| ABS filamentAmazon · Affiliate link | Amazon product page for 1.75 mm ABS; use an enclosure and suitable ventilation, and verify temperature requirements and seller. | Check price at Amazon |
Affiliate disclosure: if you buy through an eligible link, 3DPrintedCarPart may earn a commission at no extra cost to you. As an Amazon Associate I earn from qualifying purchases. Confirm product specifications, compatibility, seller terms, and vehicle safety before ordering or using anything. Amazon may redirect you to a nearby supported store; otherwise the original Amazon.com page remains available.
The file license permits commercial reuse, subject to any applicable attribution or share-alike terms. License status does not verify vehicle fitment, OEM rights, design patents, or safety.
Shared by
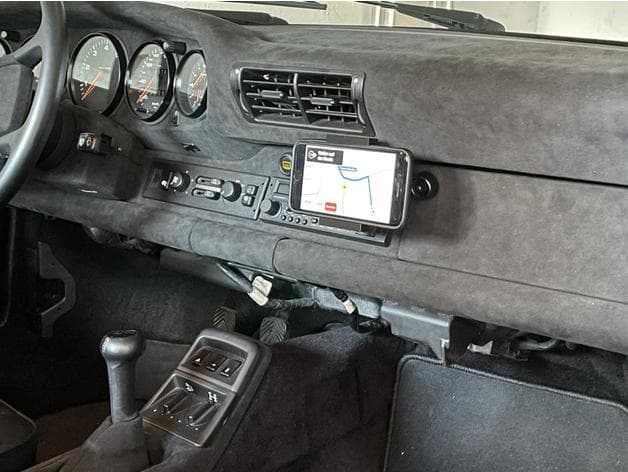
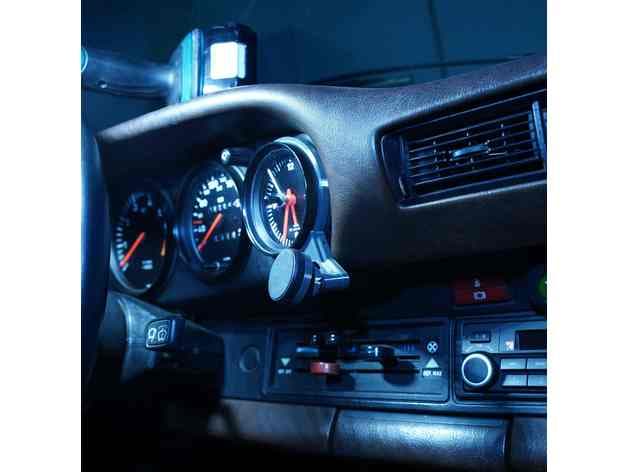
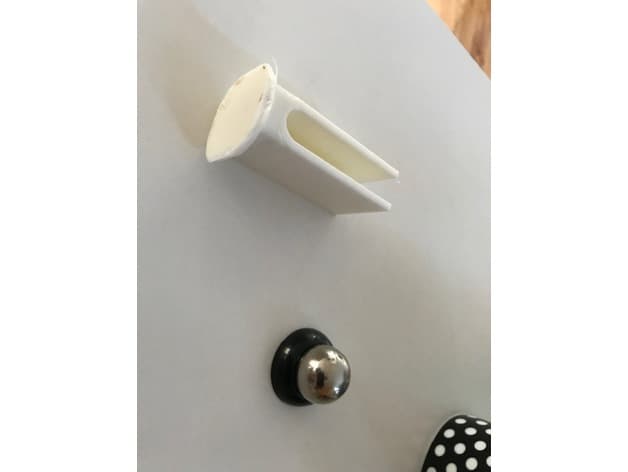
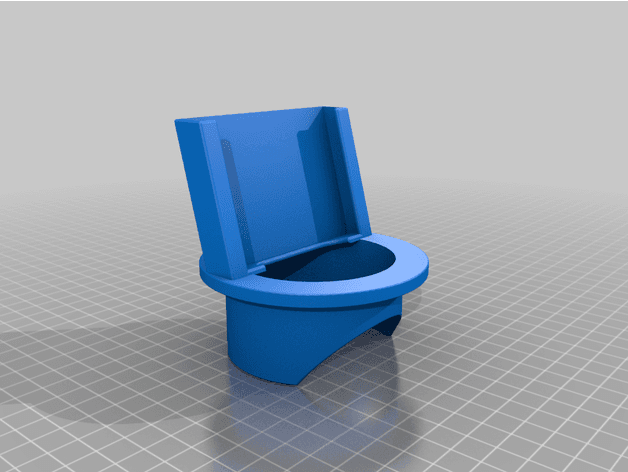
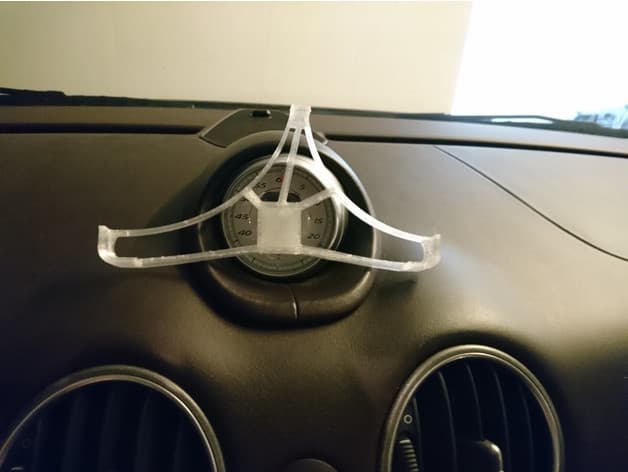
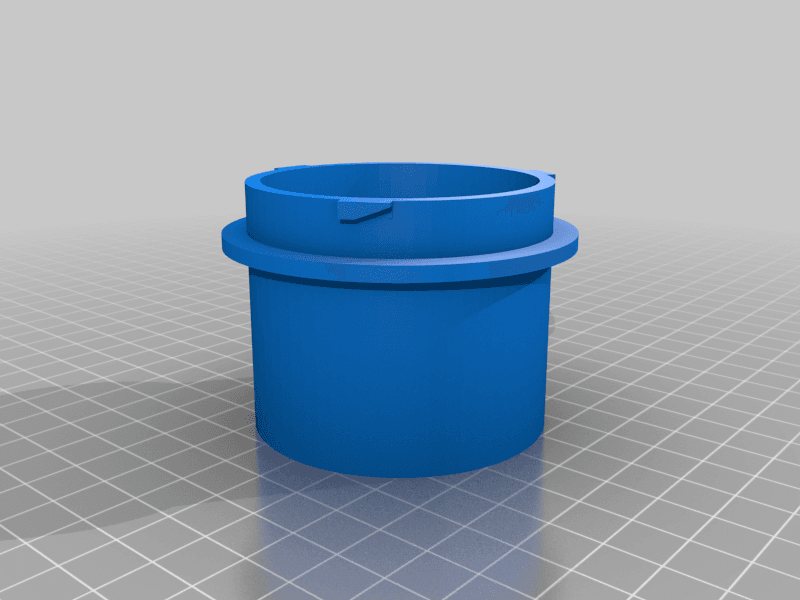
Duane Leinninger (duanel)Introduction ========= There's no attractive and functional phone holder for the Porsche Panamera (especially if you don't want to use adhesives and trip clips). It's a niche project, but works exceptionally well... and who needs an ashtray anyway?! This is compatible with 2010 - 2016 Panamera models (970.1 and 970.2) and is designed for my Asus ROG Phone II (hey, I said it was niche...), but could be modified easily as the phone holder body is just a box. The holder BASE and WEDGE should be printed in TPU or FLEX and are simply inserted into the ashtray. No clips, no adhesive, no modifications to your car. The TinkerCAD is maintained here: https://www.tinkercad.com/things/2BlIoSTxllE. Printing Instructions: ================ * Print the WEDGE in TPU or FLEX. I used clear TPU from SAINSMART. Printing with a.10mm layer thickness works well. Print bottom-down (normal orientation). No supports are needed. * Print the BASE in TPU or FLEX. I used the same SAINSMART TPU. I recommend printing at a relatively large layer height. Either.20 or.30mm leaves nice ridges on the sides that seem to grip the ashtray nicely. Print top-down (slot facing down) and you won't need any supports. * Print the ARM in something heat appropriate. PLA might get a little flexy in hot climates. I used PETG, but ABS would work well too (if you can get it to not warp... also keep in mind tolerances and material shrinkage if you use ABS). Print upside down, with the mounting face on the print bed and the supports for the screw recesses will be minimal. I printed without supports while testing and the results were acceptable, but I wanted more strength. Layer height is at your discretion. Thicker layers print faster and have a different aesthetic. I printed my parts at.15mm. * Print the BODY in the same kind of material as the ARM using the same settings, but _WITH_ supports. Print normal orientation (back on the print bed)... I experimented printing vertically, but had some warping because it took longer. YMMV. Assembly Instructions: ================= * You will need (4) 10-32 x ~3/8 long screws and nuts with a shallow head to attach the body to the arm. * Insert the WEDGE between the ashtray and console opening just above the release point (see ashtray photo above). This prevents accidental ejection of the ashtray as well as firms up the mounting for the holder. * Insert the ARM through the "t" shaped opening on the front of the BODY with the ARM angled _towards_ the bottom of the body. (See photos for reference.) * Use the 4 10-32 screws the BODY to the ARM. You may need to use a screwdriver as the tolerance is very tight. Tighten the 4 nuts _reasonably_ onto the screws. Some washers will prevent crushing the plastic. * Insert the ARM of the assembly into the slot in the BAS. Note the orientation of the BASE relative to the ashtray. * Gently insert the BASE fully into the ashtray. Removal Instructions: ================= * Gently lift the BODY/ARM/BASE assembly straight out of the ashtray. * Remove the stabilizing WEDGE from between the ashtray and the console opening.
Originally published on thingiverse.com by Duane Leinninger (duanel) · License: CC BY
Browse categories
Jump to interior, exterior, accessories, dashboard, mechanical, or tools hubs when you need a different kind of replacement part.
Share whether this print actually fits a real car. Installed photos and material notes make the catalog more trustworthy.
Most specific car + model + year + category matches first, with popular parts mixed in.
Other projects by us
Building tools that make life easier
Start a fitment, printing, or design discussion with this part already attached.