Earn money selling original 3D car part models.
Start sellingEarn money selling original 3D car part models.
Start sellingEarn money selling original 3D car part models.
Start selling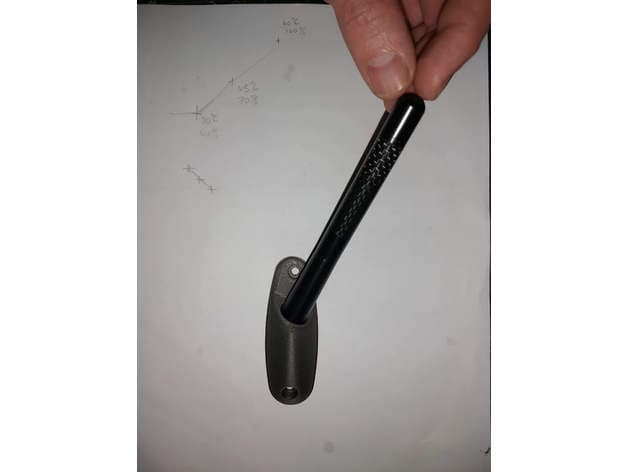
Files stay with the original publisher; this catalog entry does not grant hosting or resale rights. License status does not verify vehicle fitment, OEM rights, design patents, or safety.
Shared by
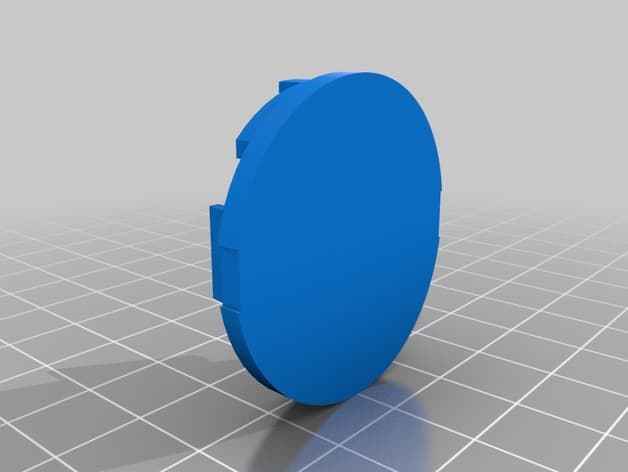
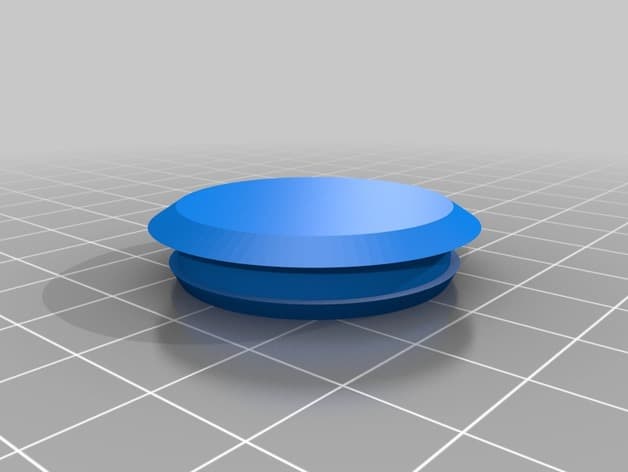
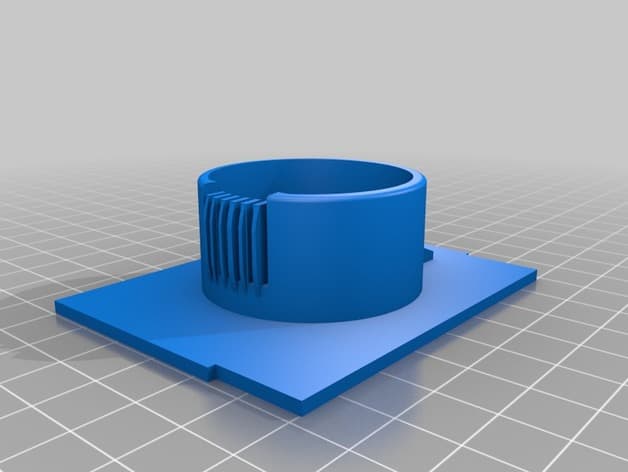
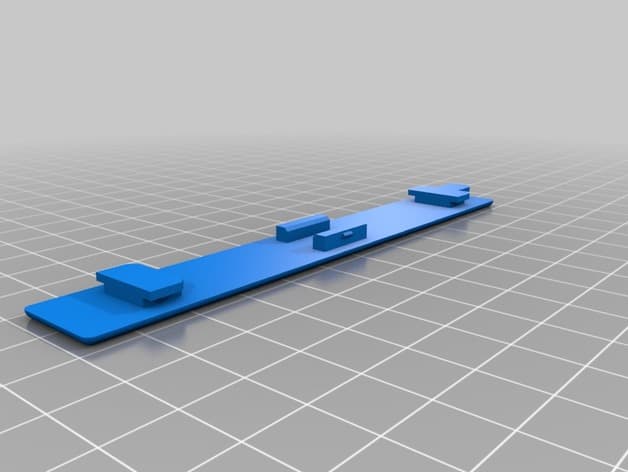
Alex Macfarlane (AlexBSM)Antenna mounting to fix the "universal carbon fiber antenna" to the pre-2018 Suzuki Jimny. Like many other Jimny owners I managed to snap off that horrible solid antenna on a low hanging branch. Since the OEM antenna is very poorly designed and placed, I decided to rather get an aftermarket unit. So I did what any other maker would do and designed my own. So here it is for free, so long as you do not commercialize it. If you live in South Africa contact Sean at Provolution (https://provolution.co.za/) for a professional print in Onyx (Its where I had mine done after prototyping in PLA). He also has permission to comercialise my design so you can contact him directly and he should be able to print for you without you needing to download any of the files to send to him. Printing: Flat mounting to bed Support required *would recommend a high infill like ~50% Assembly Parts: 1x printed antenna mount 1x universal 12cm carbon fiber antenna (I got it from Banggood.com, ebay should work too) 1x M5 nut 1x laser cut ground clamp 1.6mm galvanized steel (DXF included, but a twist of wire around the bolt should work too). This will have to be done professionally, no desktop laser cutter can cut this. Just give them the dxf and material type and thickness. 1x 5m Motorola connector car aerial cable (I got mine from a local shop, though you could probably salvage the cable from the old antenna or ebay) 1x tub/tube of epoxy Assembly Steps: FOR ASSEMBLY REFER TO THE PDF 1) Push the hex nut into the hexagonal depression in the base of the mount (using an M5 threaded rod another nut and a washer will allow you to "pull" the nut into place through the antenna hole) 2) Drill and prep the end of the shortest included stud (antenna kit from banggood) to allow you to solder the antenna cable to it 3) thread the stud from the exterior, down the antenna hole, into the nut from step 1. Screw until the stud is stiff 4) Strip back the antenna cable, its a coax type cable. You want to solder the center wire to the base of the stud inside the antenna 5) Solder the shield shield to the ground clamp. Very important ensure the shield and coax centre do not touch. 6) Pot the base of the antenna in epoxy. (fill up the cavity in the antenna mount). Watch out you do not get epoxy in the mounting holes. 7) Let the expoxy fully set, last thing you want to do is accidentally epoxy your new antenna to your jimny. 8) Thread the rubber gusset from the old OEM antenna, over the antenna cable, onto the base of your new mounting. it should sit between your vehicle body and antenna mounting. 9) Thread the new cable using the old line as a fish line (I just cut the old line with a side cutter along with the plastic tube thingy) 10) screw in place using the old OEM screws 11) Test the continuity between the ground of your Motorola plug to the chassis of your vehicle. If you get continuity then the grounding clamp it doing its job. Otherwise re-seat the grounding clamp 12) plug the Motorola plug into the back of your radio.
Originally published on thingiverse.com by Alex Macfarlane (AlexBSM) · License: CC BY-NC-SA
Browse categories
Jump to interior, exterior, accessories, dashboard, mechanical, or tools hubs when you need a different kind of replacement part.
Share whether this print actually fits a real car. Installed photos and material notes make the catalog more trustworthy.
Most specific car + model + year + category matches first, with popular parts mixed in.
Other projects by us
Building tools that make life easier
Start a fitment, printing, or design discussion with this part already attached.