Earn money selling original 3D car part models.
Start sellingEarn money selling original 3D car part models.
Start sellingEarn money selling original 3D car part models.
Start selling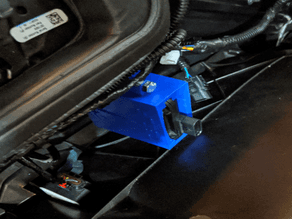
Reference shelf
Product references matched to the published material guidance. Confirm diameter, heat resistance, colour, and printer compatibility.
| Referenced item | What to verify | Price & availability |
|---|---|---|
| PETG filamentAmazon · Affiliate link | Amazon product page for 1.75 mm PETG; confirm colour, spool size, print temperature, seller, and delivery region. | Check price at Amazon |
| ASA filamentAmazon · Affiliate link | Amazon product page for 1.75 mm ASA; use an enclosure and suitable ventilation, and confirm seller and regional availability. | Check price at Amazon |
Affiliate disclosure: if you buy through an eligible link, 3DPrintedCarPart may earn a commission at no extra cost to you. As an Amazon Associate I earn from qualifying purchases. Confirm product specifications, compatibility, seller terms, and vehicle safety before ordering or using anything. Amazon may redirect you to a nearby supported store; otherwise the original Amazon.com page remains available.
The file license permits commercial reuse, subject to any applicable attribution or share-alike terms. License status does not verify vehicle fitment, OEM rights, design patents, or safety.
Shared by
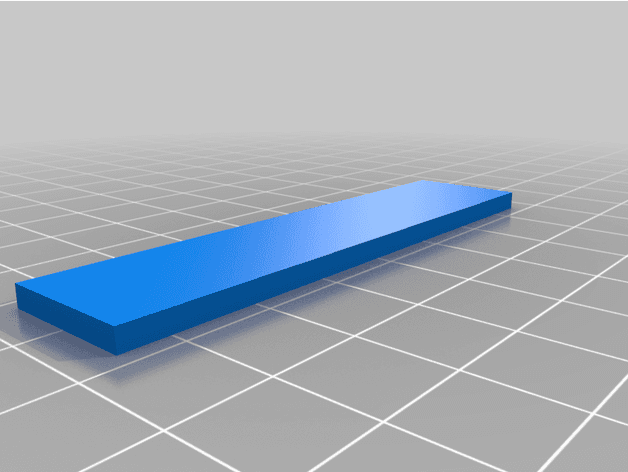
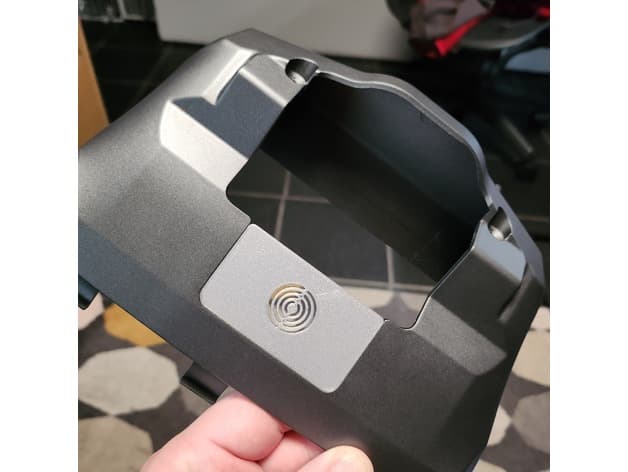
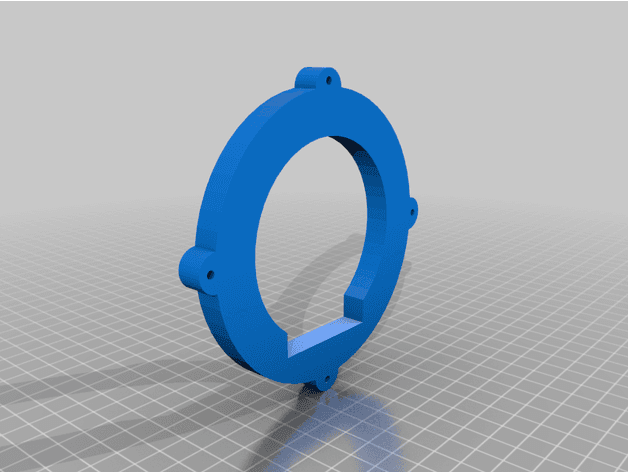
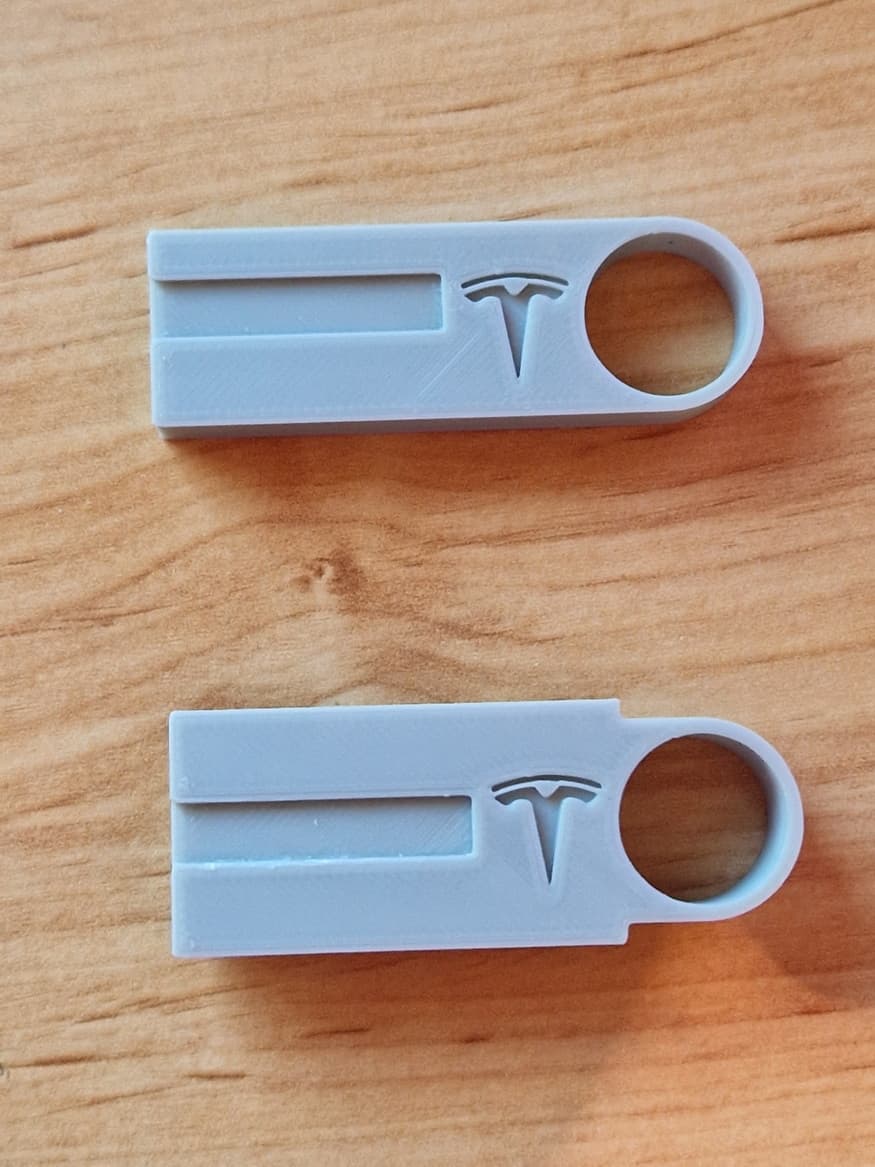
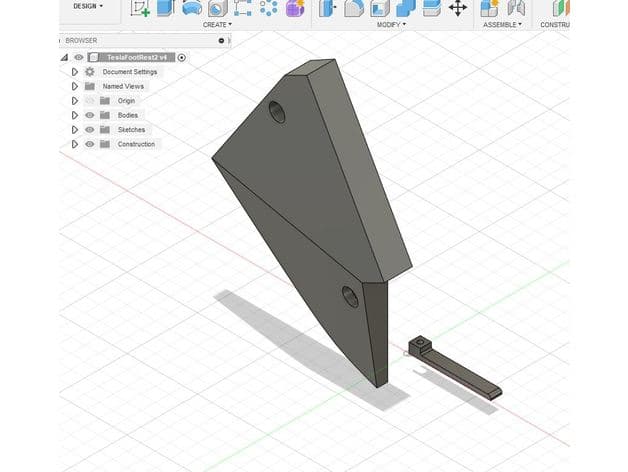
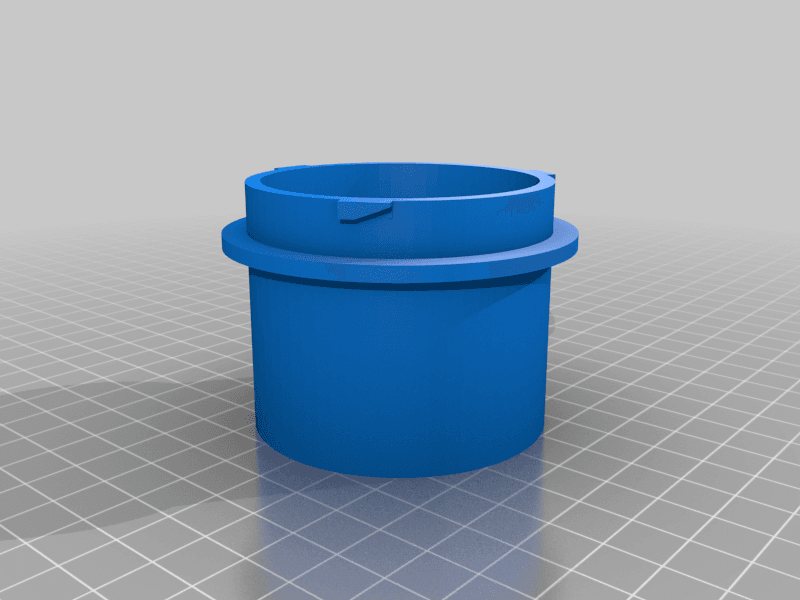
Richard Hovey (rhovey)Tesla M3 HomeLink Module Install - DIY 1. Acquire a 2019 HomeLink module, $150 eBay example, http://bit.ly/homelink_module_ebay. - DO NOT pay more than $150, else it's cheaper to simply buy a new $300 module, https://shop.tesla.com/product/automatic-garage-opener - See required 30 minute (mobile) service call below. 2. Remove the frunk, http://bit.ly/frunk_removal. 3. 3D print custom HomeLink bracket - 3D STL model ready to print, http://bit.ly/homelink_bracket. - Example online 3D printing service, http://bit.ly/example_3D_printing_service. - Mounting bolt, http://bit.ly/homelink_module_mounting_bolt. 4. HomeLink hardware module installation - Part# 114984-00-B - YouTube video of the hardware installation, less than 15 minutes (including frunk removal), http://bit.ly/tesla_m3_homelink_module_install - Unclear why Tesla techs removed the front bumper with all its' sensors. That complexity (and effort) is not required, http://bit.ly/overly_complex_module_install. 5. Install, activate and configure HomeLink module firmware/software - Tesla indicates a minimum 30 minute mobile service call ($97) is REQUIRED, http://bit.ly/tesla_service_north_america - Not very DYI and unnecessary, rolling a mobile tech for something as simple as software activation is ludicrous. - PLEASE apply push back on Tesla's service chain to make this step an online, over-the-air activation.
Originally published on thingiverse.com by Richard Hovey (rhovey) · License: CC BY
Browse categories
Jump to interior, exterior, accessories, dashboard, mechanical, or tools hubs when you need a different kind of replacement part.
Share whether this print actually fits a real car. Installed photos and material notes make the catalog more trustworthy.
Most specific car + model + year + category matches first, with popular parts mixed in.
Other projects by us
Building tools that make life easier
Start a fitment, printing, or design discussion with this part already attached.