Earn money selling original 3D car part models.
Start sellingEarn money selling original 3D car part models.
Start sellingEarn money selling original 3D car part models.
Start selling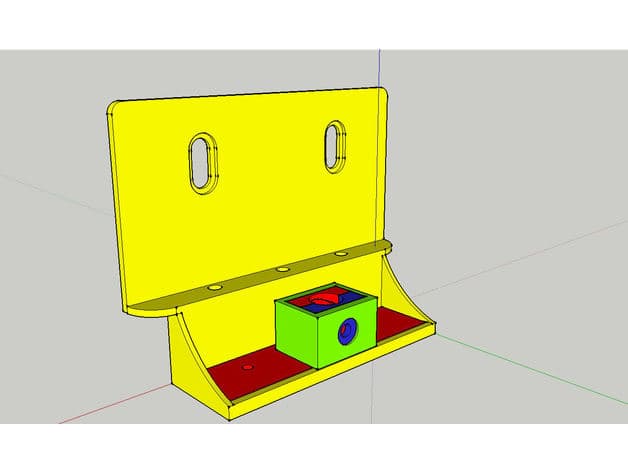
Files stay with the original publisher; this catalog entry does not grant hosting or resale rights. License status does not verify vehicle fitment, OEM rights, design patents, or safety.
Shared by
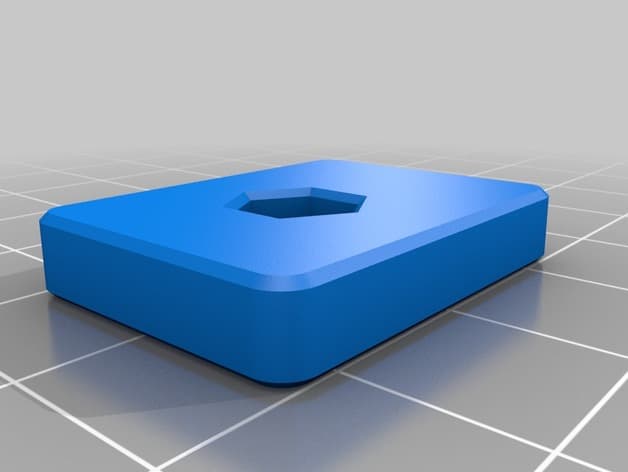
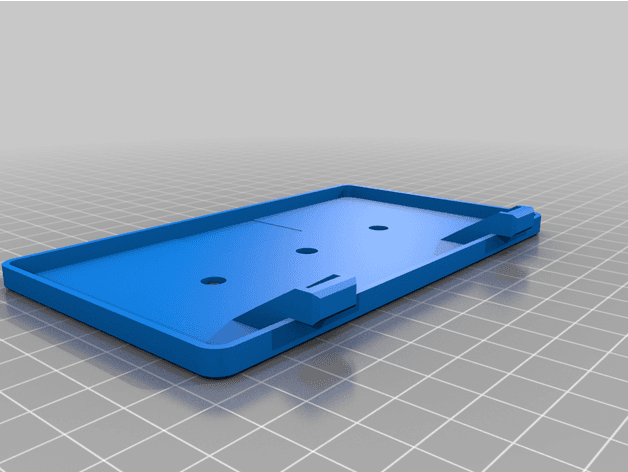
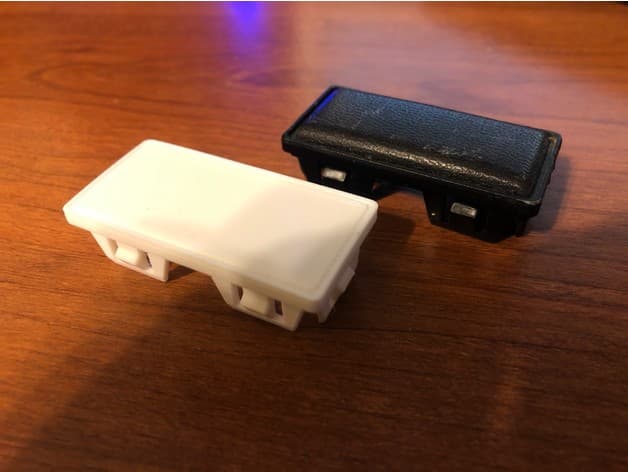
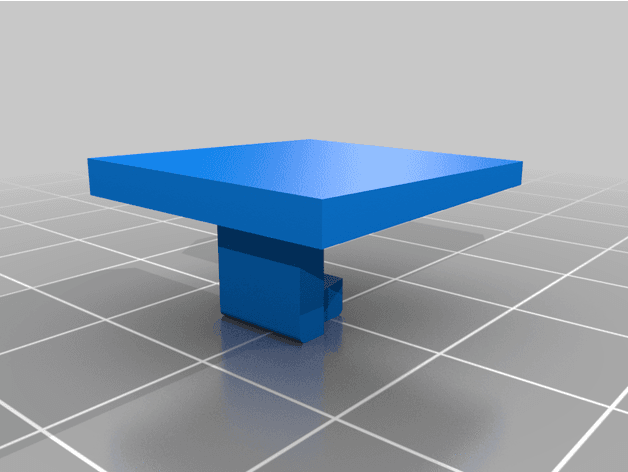
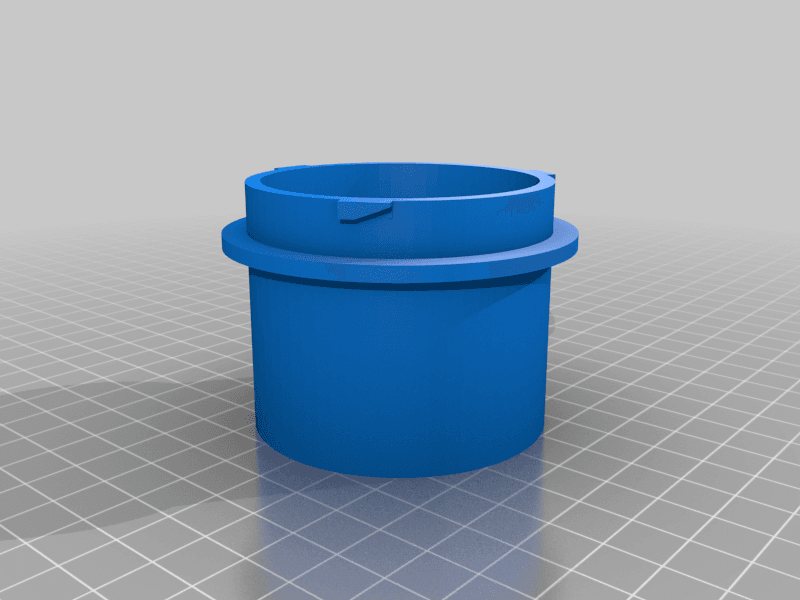
Carl Arney (Cargy)My new car stereo unit presented me with a slight problem: The previous one had onboard USB. But my new unit uses a non-removable USB flylead designed to dangle down behind the dash, presumably intended to exit via the glovebox or something. Or maybe it's supposed to be poked through some dirty great hole drilled in the dash? I dunno; there were no suggestions in the instructions, and neither idea appealed to me very much!! What was needed was a panel mount. But I didn't want something that looked horrendous or bodged. So I formulated some criteria with that goal in mind: 1. I didn't want any visible fixings - they're fine on the back of a telly or PC, but on a dashboard they just look cheap and amateurish. 2. I wasn't willing to disfigure any VISIBLE part of the factory dashboard - One day I might want to refit the original stereo and sell the car, and something like that can impact the resale value. 3. I wanted the USB to be placed to the left of the head unit - Well away from the driving controls of a UK right hand drive vehicle. (Good news for any overseas makers: A simple mirror-flip of the main part of this design will cater for those uncivilised fools who still insist on having their steering wheel attached to the wrong side of the car!) 4. I didn't want to use any sort of extension lead - In the automotive environment it's asking for trouble. It's just something else to rattle behind the dashboard, with the added risk of dirty contacts, and the potential for it to vibrate undone at some point down the line. (...And, no; I don't know why this criterion is displaying in a larger font either!! If you want to fit an aftermarket stereo to a Swift you have to buy a fascia plate to fill the large void left by the removal of the factory stereo. This worked in my favour, as it has a large area of vacant real estate on each side of the head unit aperture. Ok, so I WOULD have to hack out a small chunk of dash behind the fascia plate in order to clear the new USB location. But as it would always be concealed behind the aftermarket fascia (or by the original factory stereo if it was ever refitted), I decided it was an acceptable sacrifice. The next problem was going to be mounting the unit to the fascia. Most double DIN stereos mount using a metal cage in the dash. Not so on the MK3 Swift though; the adaptor plate has a pair of small auxilliary cheek plates, peppered with an assortment of various fixing holes, and they're held to each side of the main fascia by 3 screws. To put it another way: I had a ready made fixing point already in situ! I figured out that extending the left hand plate towards the fascia's panel front would do the trick, and would actually result in a more solid fixing for the stereo unit into the bargain. So I temporarily fitted the head unit into the fascia plate and noted which fixing holes would be needed in the fascia's left hand cheek plate for the position I wanted. All the other holes were irrelevant for me, so I ignored them. I then drew up a vastly simplified copy of the left cheek plate and added an extra bracket that would finish a little way behind the front of the stereo. A little measuring and checking, and I soon worked out a good position where the connector would be centralised on the faceplate, I then added a rectangular hole to the new bracket, one that the USB would just pass through tightly. Once it had printed, I test fitted it with the stereo in place. This allowed me to use a pillar drill (fitted with a very small bit) to mark the corners of the opening accurately in the fascia surface. these were linked with pencil lines, and the area within cut and filed to size. With the USB aperture in the right place I could determine how far the socket would need to protrude to emerge flush with the fascia front. From this I was able to draw up a bracket assembly to hold it in place. It's basically just a glorified USB sleeve in two halves, with the socket retained in place with a rectangular locking sleeve. My plan was to use a small bolt each side to secure the USB socket from moving. But, in practice, the screws aren't needed as the sleeve is a very tight fit: It ain't goin' nowhere! Once printed and assembled it was time to test fit everything into the dash, and to see how much I would have to cut away behind the fascia to clear the mount and cable. The game plan was "as little as possible", so I started by removing small sections at a time, and testing until I found the clearance was sufficient. Then I removed another few millimeters all around just to avoid any potential rubbing points that might cause annoying noises at a later date. Once satisfied it was OK, I reconnected the wiring, and pushed it all into place to give it a quick test run. Everything worked as it should, so I now turned my attention to the new stereo's outer bezel trim. I knew this was going to be a problem because the aftermarket fascias are designed for the stereo to sit slightly proud of the apertur.
Originally published on thingiverse.com by Carl Arney (Cargy) · License: CC BY-NC-SA
Browse categories
Jump to interior, exterior, accessories, dashboard, mechanical, or tools hubs when you need a different kind of replacement part.
Share whether this print actually fits a real car. Installed photos and material notes make the catalog more trustworthy.
Most specific car + model + year + category matches first, with popular parts mixed in.
Other projects by us
Building tools that make life easier
Start a fitment, printing, or design discussion with this part already attached.