2006 Hyundai Elantra Key Fob Case Replacement
Files (3)
Reference shelf
Recommended filament for this print
Product references matched to the published material guidance. Confirm diameter, heat resistance, colour, and printer compatibility.
| Referenced item | What to verify | Price & availability |
|---|---|---|
| PETG filamentAmazon · Affiliate link | Amazon product page for 1.75 mm PETG; confirm colour, spool size, print temperature, seller, and delivery region. | Check price at Amazon |
Affiliate disclosure: if you buy through an eligible link, 3DPrintedCarPart may earn a commission at no extra cost to you. As an Amazon Associate I earn from qualifying purchases. Confirm product specifications, compatibility, seller terms, and vehicle safety before ordering or using anything. Amazon may redirect you to a nearby supported store; otherwise the original Amazon.com page remains available.
License & use
The file license permits commercial reuse, subject to any applicable attribution or share-alike terms. License status does not verify vehicle fitment, OEM rights, design patents, or safety.
Shared by
Andrew Laws (adlaws)Designers selling from the US, Canada, the UK, the EU/EEA (except Iceland), Switzerland and Gibraltar can also list separate original designs for sale and receive 80% of the listing price, paid out by Stripe in your local currency (conversion fees may apply). Claiming credits you here; it doesn't put this imported part up for sale.
Description
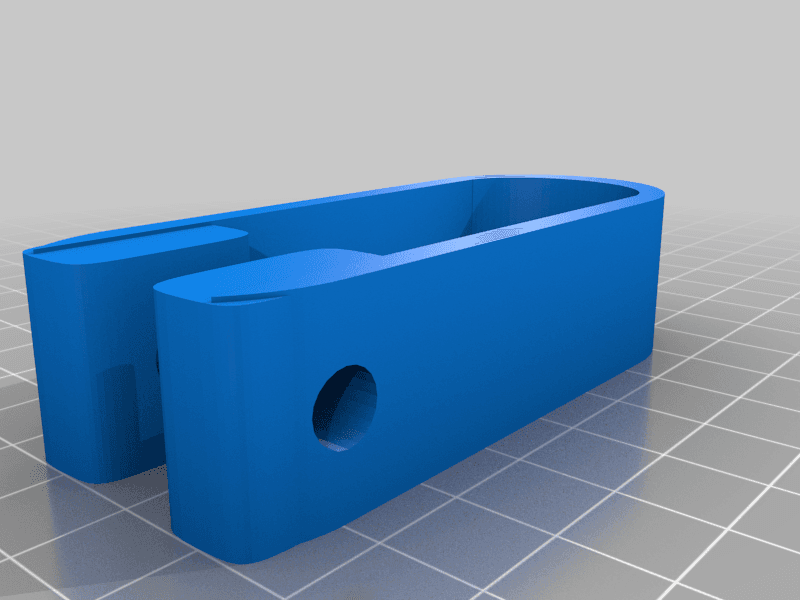
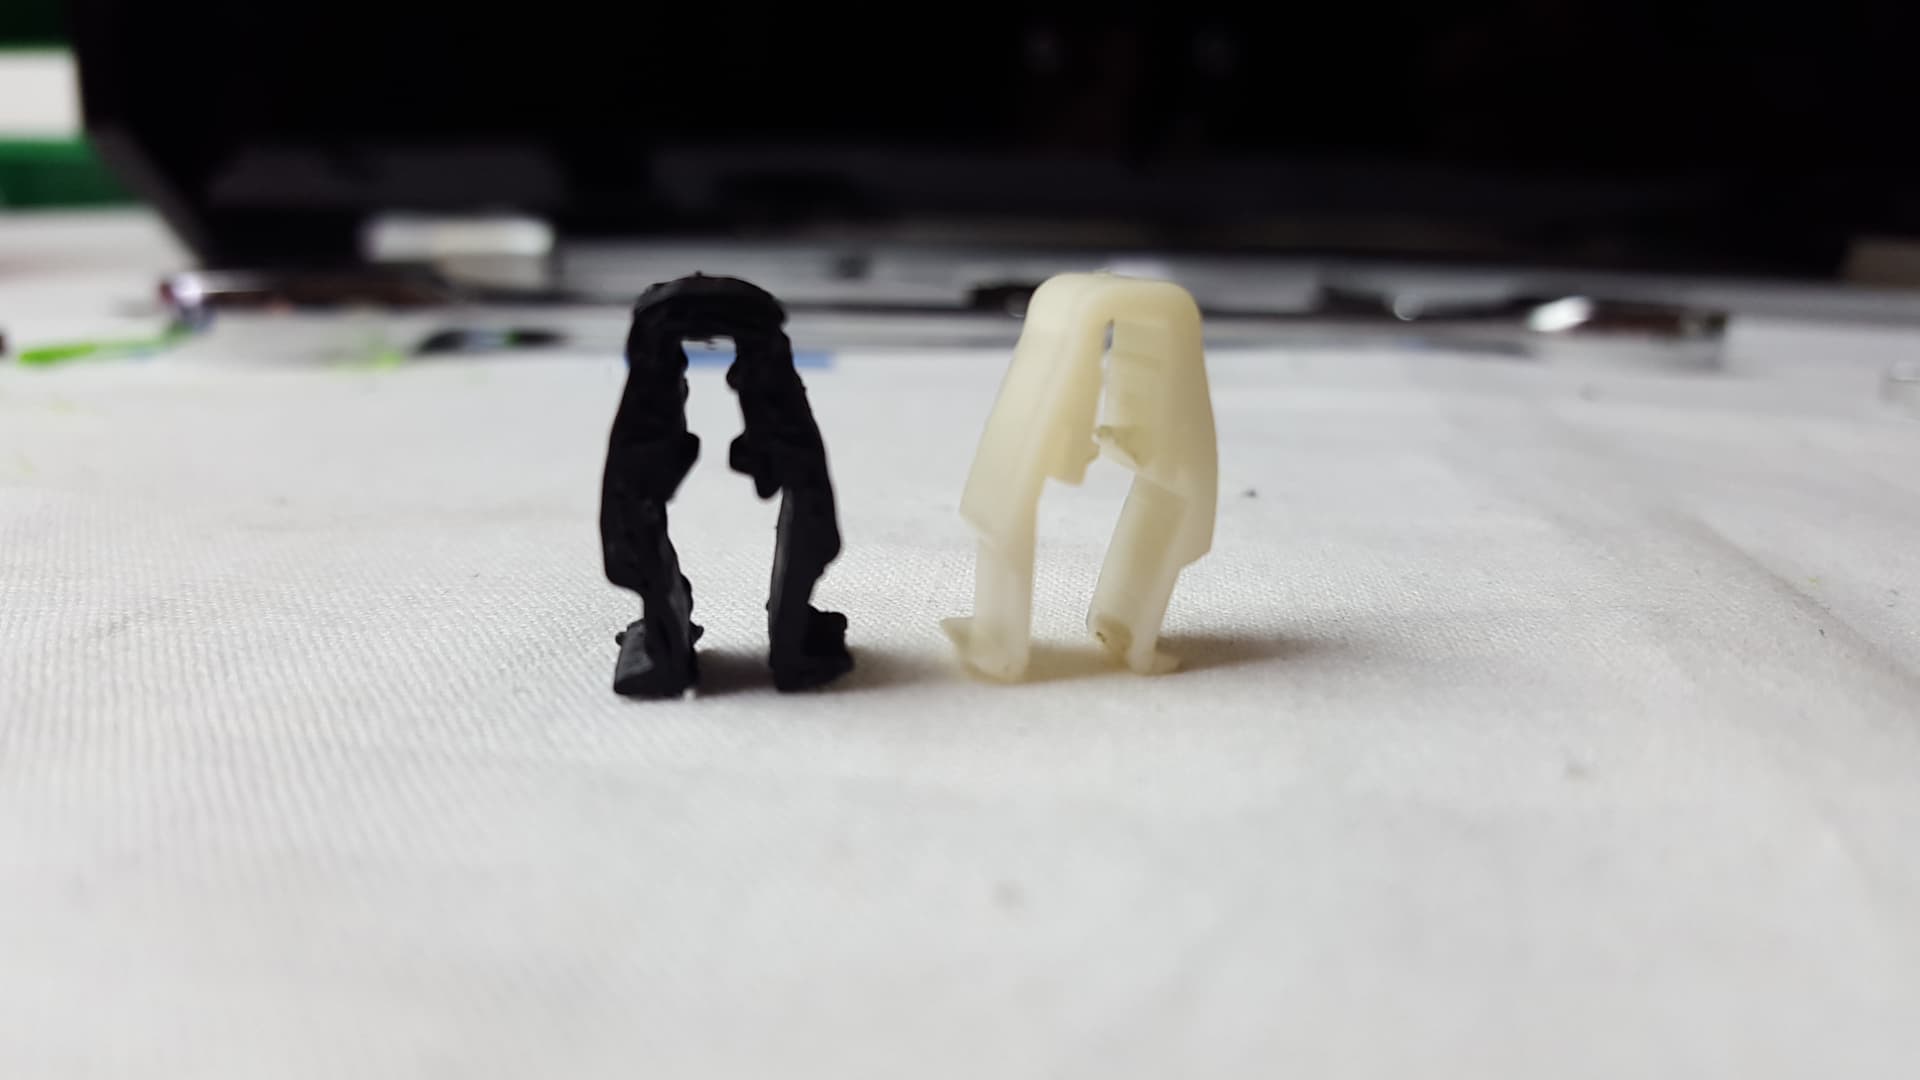
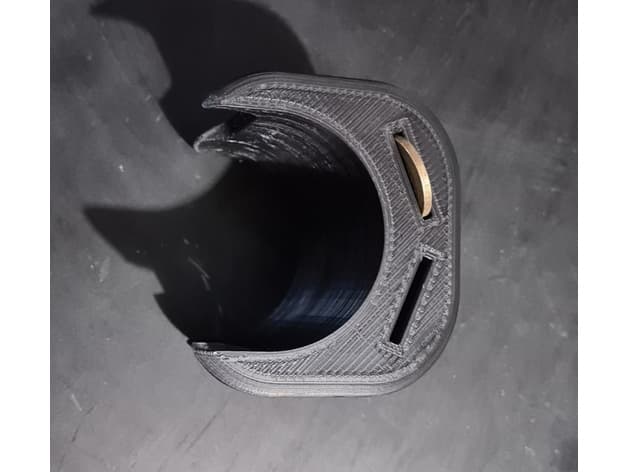
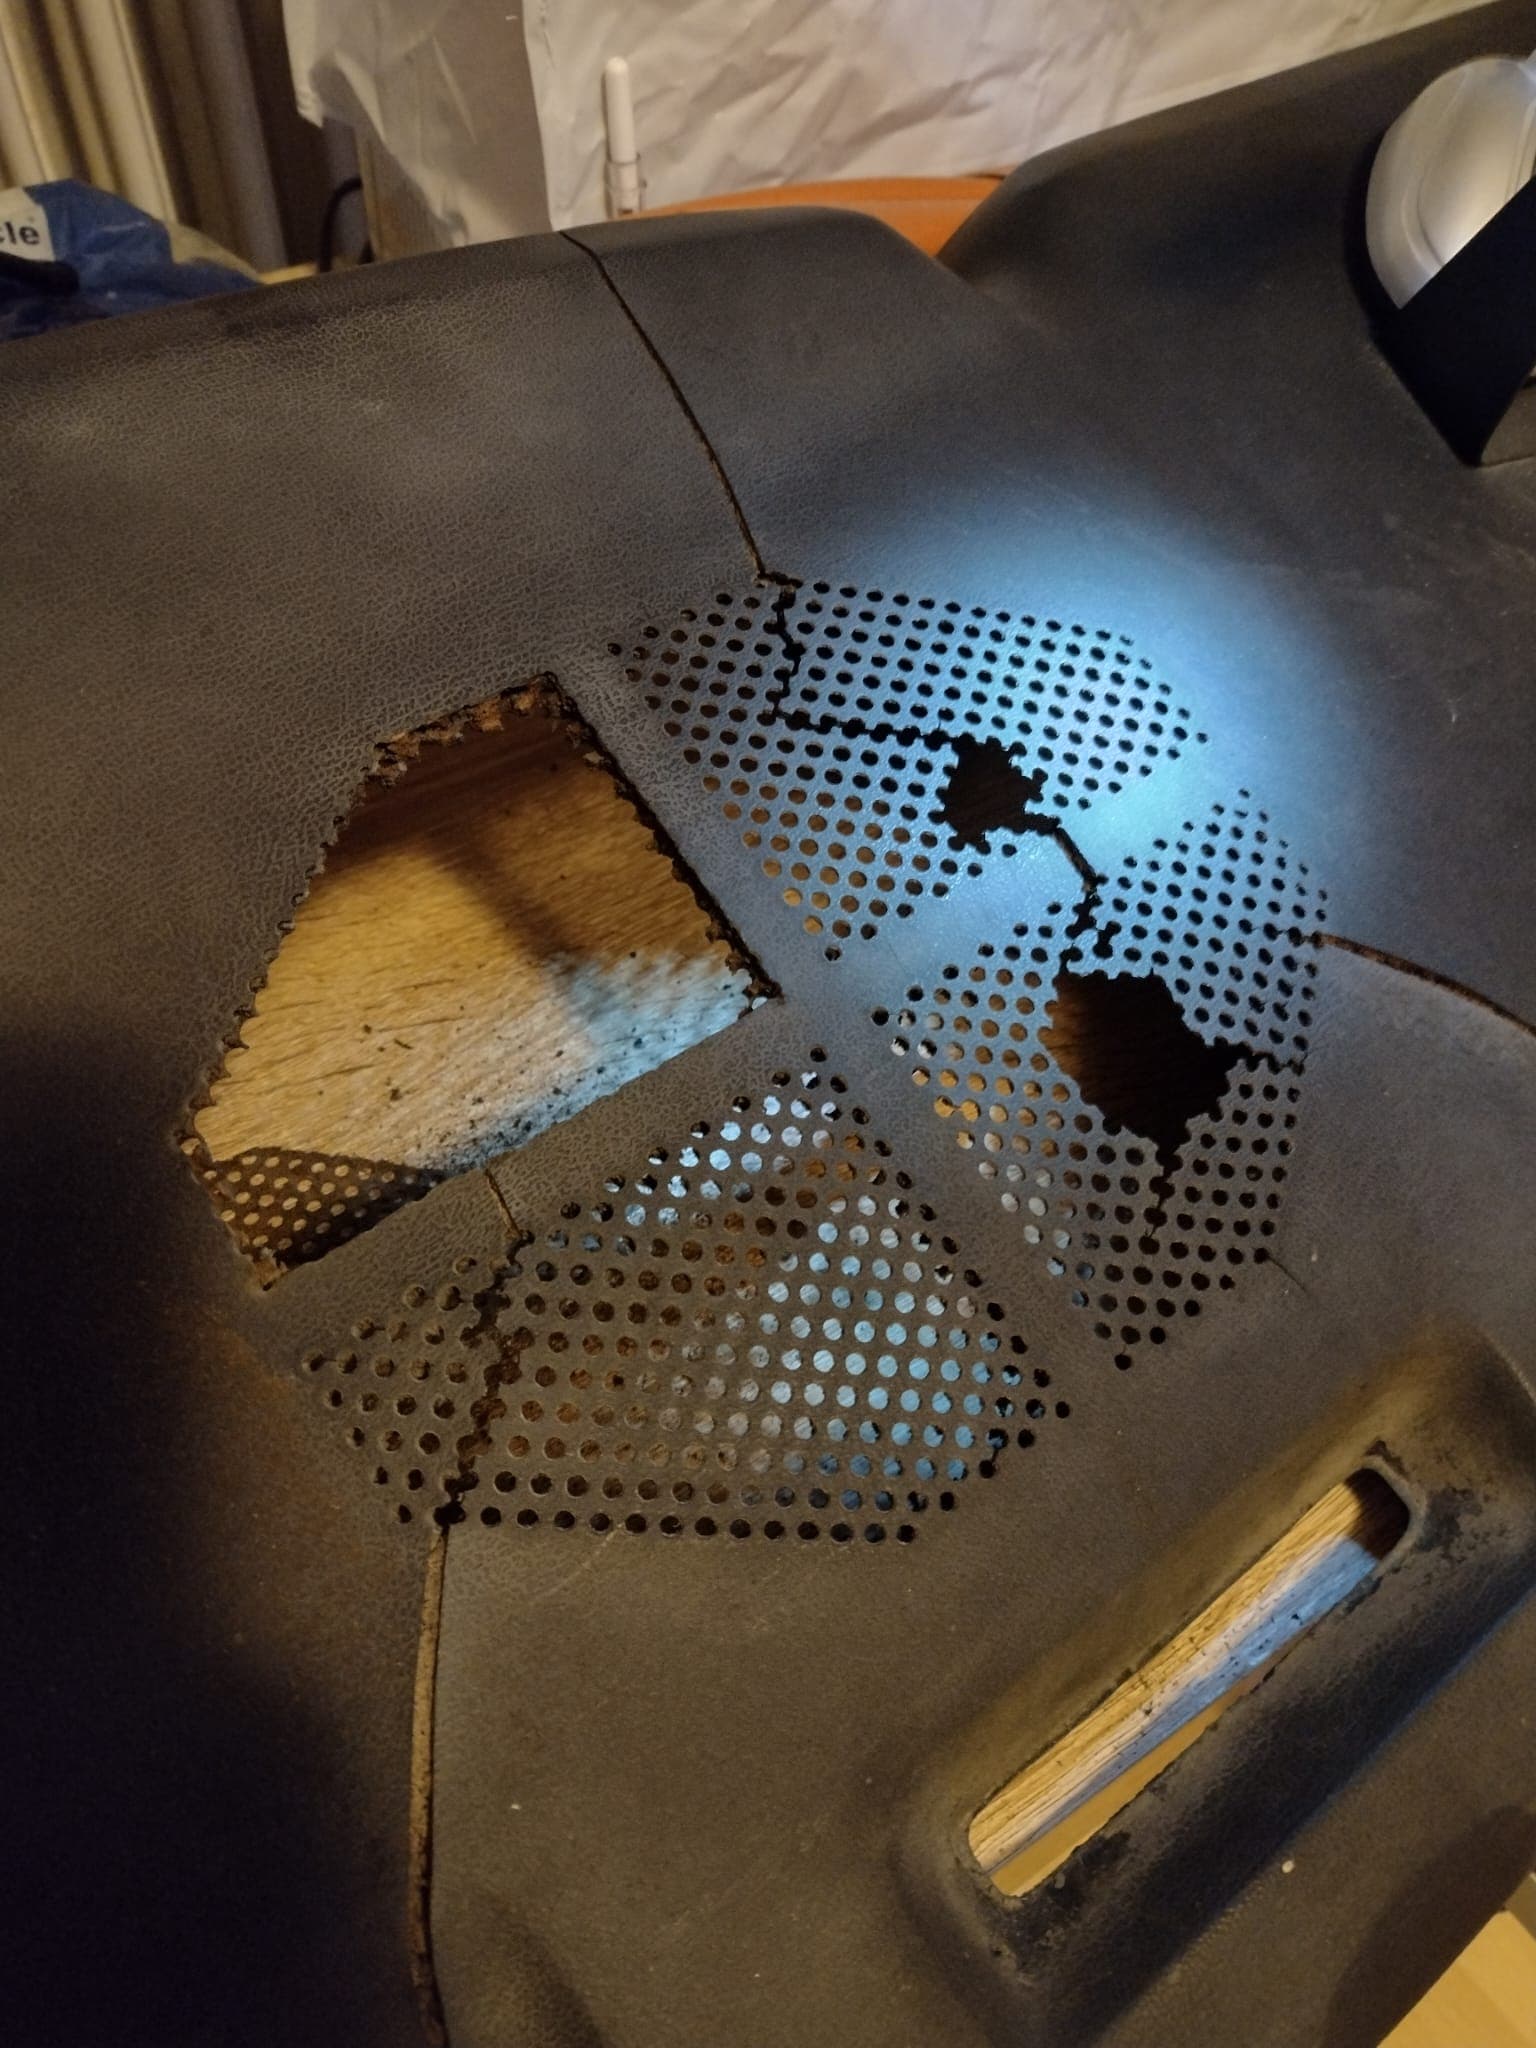
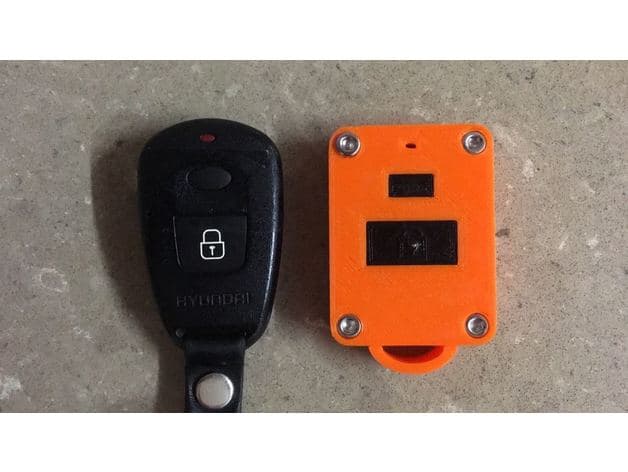
2006 Hyundai Elantra Key Fob Case Replacement ======================================= Why? -------- The key fob case on both key fobs I got when I bought the car were starting to crack and fall apart in the exact same way (see the photos). Given that the car is almost 15 years old, I wasn't overly surprised, but when I called up about the cost of replacing the fobs I was told they were in the region of A$450. Each. Not wanting to spend close to A$1000 to replace them, I instead bought a cheap 3D printer with the intention of replacing the case (since everything else was fine) with one of my own design. Yes - this problem is the reason I bought a 3D printer. How much did it save me? By my reckoning (ignoring the time spent designing and working out the kinks), about $700 in the clear. Take that, key fob industry! What? -------- There are three parts to the print: - the front and back of the case in PLA - the button in flexible PLA. You will also need... - four 8mm M3 screws and nuts - the ones I used have a hex key bit rather than screwdriver bits, so the heads are quite tall. If you are using screws with more traditional Phillips heads you might well get away with 6mm. - a scrap of kitchen foil for the bottom battery contact - a tiny amount of superglue to make the "window" for the LED indicator light to improve water resistance. How? ------- First print the parts, and then just quickly do a test by pushing them all together and making sure it all fits - the friction fit between the two half of the case should be quite tight, and hold itself together nicely. Next, before doing the final assembly, put the screws and nuts in and screw it all together as if it were the final assembly. The case is designed for the screw heads and nuts to sink into the case, but the fit is quite tight - just screw it all together first to get all of that in place - the nuts on the bottom should wedge in place, and then you can remove the screws. Grab the kitchen foil scrap and press it into the bottom half of the case where the battery compartment is with your thumb, and lift it out again. Use the impression made in the foil to cut it out to the right size, and then place it in the bottom half of the case. Make a second thin piece to go from the base and up the "ramp" to the top contact point to ensure a good connection with the circuit board. Put the battery in place (positive terminal is downward, as indicated in the case itself). Grab the circuit board, and place it with the chips etc upward on top of the case, oriented with the LED indicator end _away_ from where the strap attachment is. Get the lid, and mix up a small amount of superglue - NOTE: this _isn't_ to stick the key fob together! Using a toothpick or similar, dip it in the superglue and fill the tiny hole in the lid with a _small_ amount of glue. This will create a water-tight transparent window for the LED to shine through so you can see it flash when the buttons are pressed. Wait for the superglue to set, as per directions on the packet of whatever brand you are using. Next, fit the button to the lid, and then fit the halves together. Holding it together with your fingers, do a quick button press test to make sure that it works. I haven't had much trouble with this, but if it doesn't work... - make sure that nothing has shifted inside - that the battery is in the right way - the kitchen foil connection is alright - check everything is in its place and the right way around Once you're satisfied that it's all good, do up the screws nice and tight, test again, and you're done!
Compatible Vehicles
Originally published on thingiverse.com by Andrew Laws (adlaws) · License: CC BY 4.0
Browse categories
Browse other part families
Jump to interior, exterior, accessories, dashboard, mechanical, or tools hubs when you need a different kind of replacement part.
Verified by drivers
Share whether this print actually fits a real car. Installed photos and material notes make the catalog more trustworthy.
Comments (0)
Part lists
Ask the community about this part
Start a fitment, printing, or design discussion with this part already attached.
Related Parts
Most specific car + model + year + category matches first, with popular parts mixed in.