Files (4)
Reference shelf
Recommended filament for this print
Product references matched to the published material guidance. Confirm diameter, heat resistance, colour, and printer compatibility.
| Referenced item | What to verify | Price & availability |
|---|---|---|
| PETG filamentAmazon · Affiliate link | Amazon product page for 1.75 mm PETG; confirm colour, spool size, print temperature, seller, and delivery region. | Check price at Amazon |
| ASA filamentAmazon · Affiliate link | Amazon product page for 1.75 mm ASA; use an enclosure and suitable ventilation, and confirm seller and regional availability. | Check price at Amazon |
Affiliate disclosure: if you buy through an eligible link, 3DPrintedCarPart may earn a commission at no extra cost to you. As an Amazon Associate I earn from qualifying purchases. Confirm product specifications, compatibility, seller terms, and vehicle safety before ordering or using anything. Amazon may redirect you to a nearby supported store; otherwise the original Amazon.com page remains available.
3000GT / Stealth Dual Gauge Pod
License & use
The file license permits commercial reuse, subject to any applicable attribution or share-alike terms. License status does not verify vehicle fitment, OEM rights, design patents, or safety.

Shared by
3DPrintedCarPartDescription
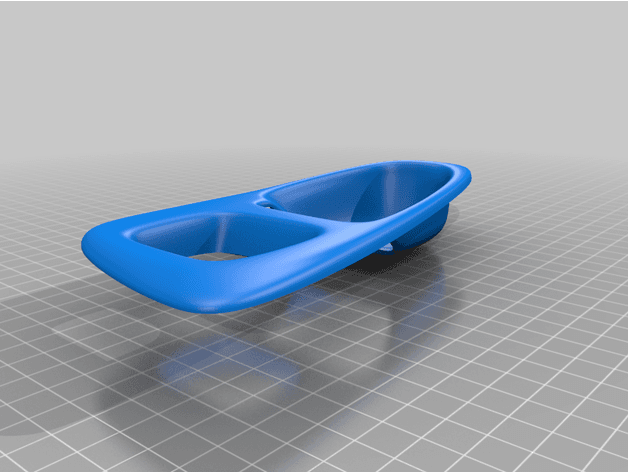
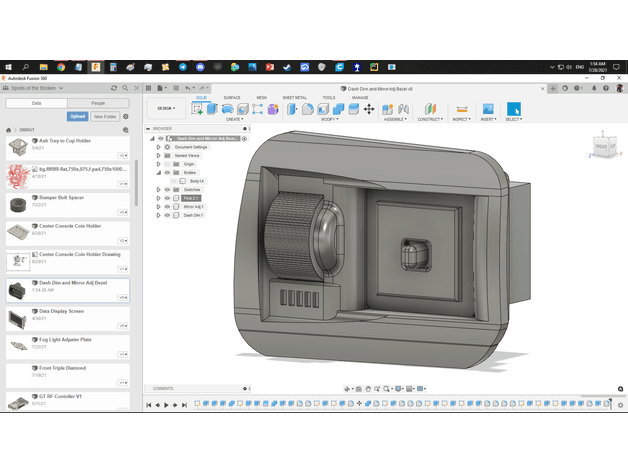
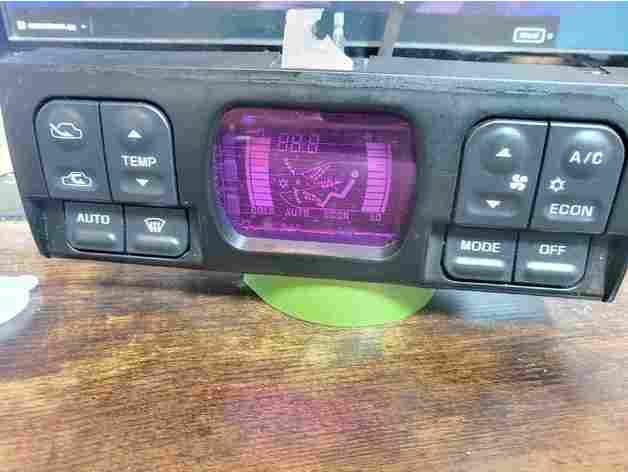
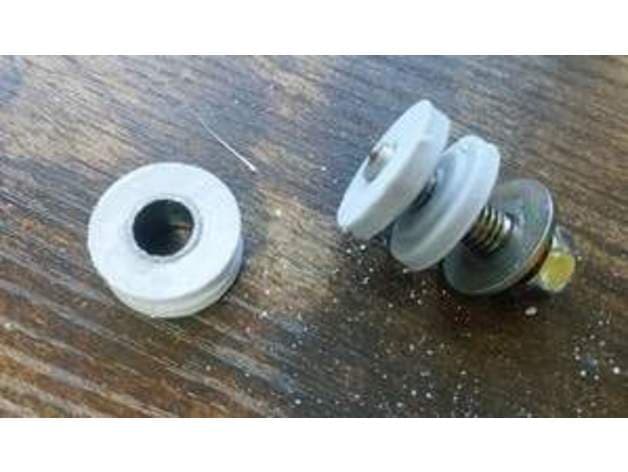
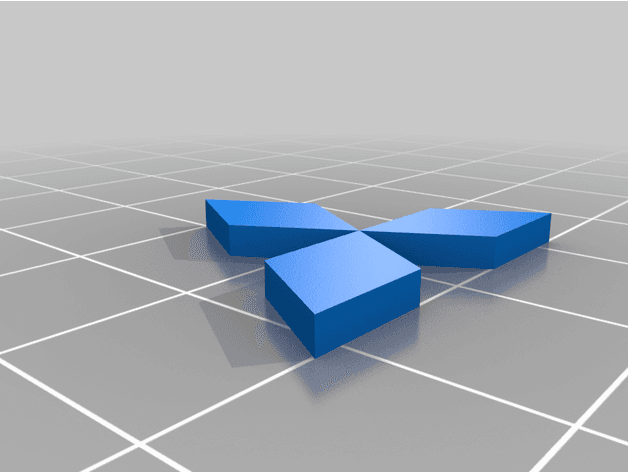
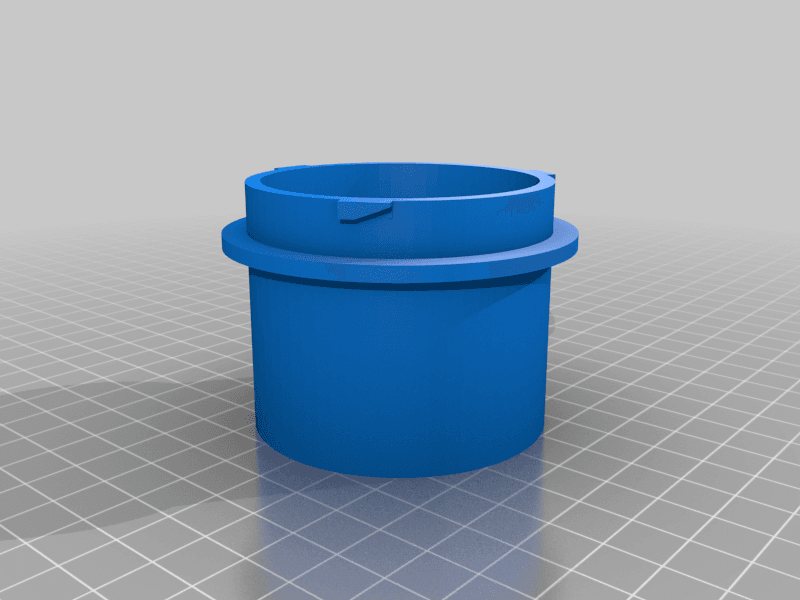
This is an alternate mounting location for a pair of 52 mm (2 1/16") gauges on a Mitsubishi 3000GT or Dodge Stealth. It mounts to the dash without any screws or double-sided tape, by replacing an existing dash trim piece with the printed Pod Base.stl part. The second image shows the factory trim piece removed, the third shows it compared to the Pod Base.stl part. Remove the factory piece, and transfer the metal clip and screw to the printed part. The fourth image shows how the Pod Base.stl part installs, however recommend you preassemble all the pieces with your gauges (as in the fifth picture) before installing the complete assembly. The Pod Base and Adapter pieces are a pretty snug fit, which is intentional to minimize movement if you bump into the pod. I don't intent to use this setup permanently, but only while I troubleshoot, so feel free to modify the STL files to adjust the setup and make things more rigid if needed. The order of assembly from front to back is Pod Front, Pod Back, Adapter, Pod Base. I tucked the vacuum line and wiring in a loom and routed it behind the carpet right behind the pod.
Compatible Vehicles
Originally published on thingiverse.com by Andy Hein (nils302) · License: CC BY 4.0
Browse categories
Browse other part families
Jump to interior, exterior, accessories, dashboard, mechanical, or tools hubs when you need a different kind of replacement part.
Share whether this print actually fits a real car. Installed photos and material notes make the catalog more trustworthy.
Related Parts
Most specific car + model + year + category matches first, with popular parts mixed in.