Earn money selling original 3D car part models.
Start sellingEarn money selling original 3D car part models.
Start sellingEarn money selling original 3D car part models.
Start selling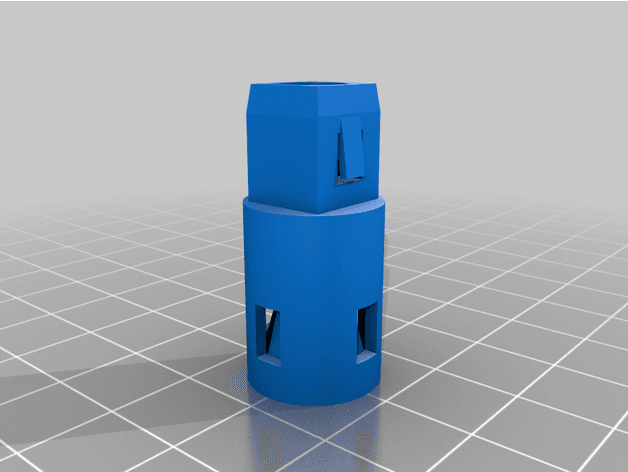
Reference shelf
Product references matched to the published material guidance. Confirm diameter, heat resistance, colour, and printer compatibility.
| Referenced item | What to verify | Price & availability |
|---|---|---|
| PETG filamentAmazon · Affiliate link | Amazon product page for 1.75 mm PETG; confirm colour, spool size, print temperature, seller, and delivery region. | Check price at Amazon |
| ASA filamentAmazon · Affiliate link | Amazon product page for 1.75 mm ASA; use an enclosure and suitable ventilation, and confirm seller and regional availability. | Check price at Amazon |
Affiliate disclosure: if you buy through an eligible link, 3DPrintedCarPart may earn a commission at no extra cost to you. As an Amazon Associate I earn from qualifying purchases. Confirm product specifications, compatibility, seller terms, and vehicle safety before ordering or using anything. Amazon may redirect you to a nearby supported store; otherwise the original Amazon.com page remains available.
The file license permits commercial reuse, subject to any applicable attribution or share-alike terms. License status does not verify vehicle fitment, OEM rights, design patents, or safety.
Shared by
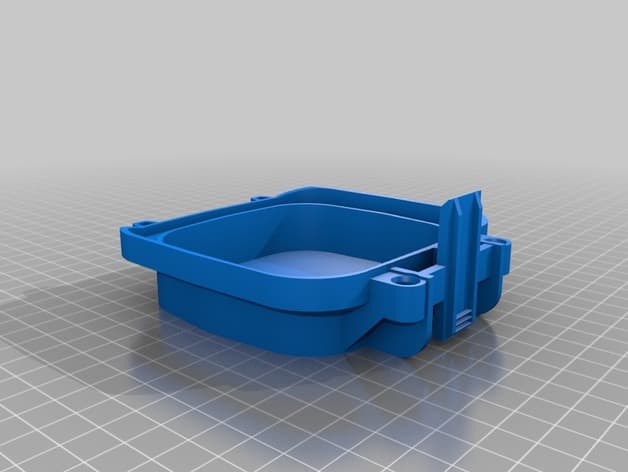
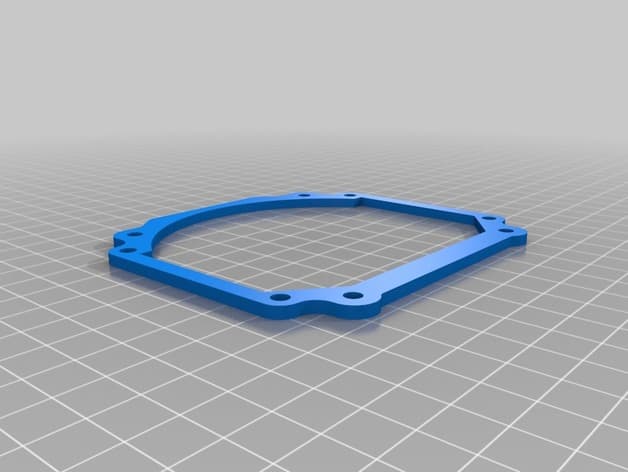
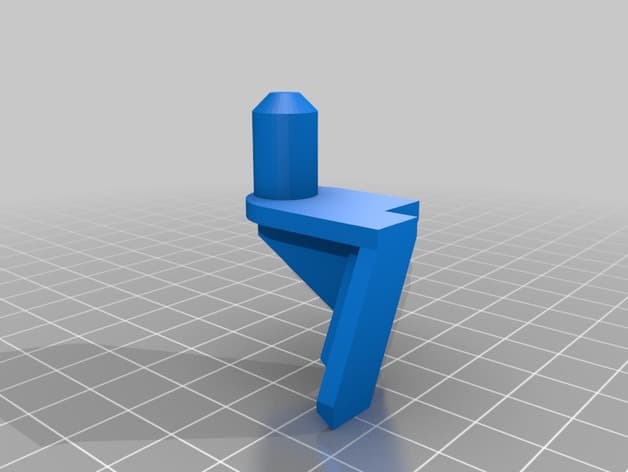
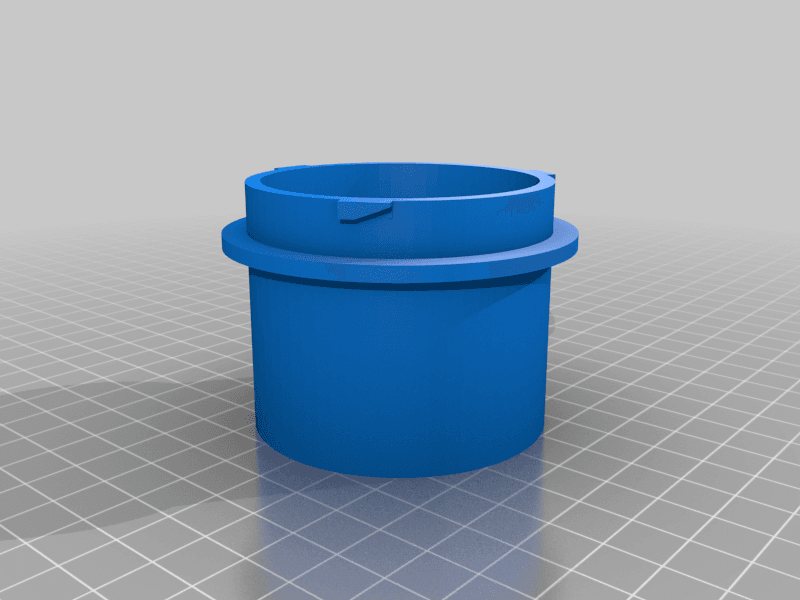
Jonas Karlsson (jonaskarlsson)I have a US spec Audi Coupe Quattro. I replaced the US headlights with B3 80 reproductions from Depo. They work well. Previously I had obtained a set of headlight beam control motors, and when I went to install them the clip was missing. This is a clip that attaches to the headlight beam control motor and allows it to clip to the lens frame for adjustments. To install: Remove lens from headlight Remove the "fixed length" pivot point Unscrew the screw from the motor Place screw through this custom piece and screw back onto motor Insert the motor into the headlight, guiding the clip into the square slot of the lens frame NOTE the securing tabs must be in the vertical orientation as shown, the square slot is actually slightly rectangular. Reassemble lens. wiring diagram here http://s2central.com/S2_Schematics/D/D05.pdf The picture of the motor with the wires shows the pins numbers that correspond to the wiring diagram. Both motors are identical. Also, the pictures shows my original version which was 7mm too short, I had to use washers to extend its position. Still works well but I revised the STL, which is why it will look a little different.
Originally published on thingiverse.com by Jonas Karlsson (jonaskarlsson) · License: CC BY
Browse categories
Jump to interior, exterior, accessories, dashboard, mechanical, or tools hubs when you need a different kind of replacement part.
Share whether this print actually fits a real car. Installed photos and material notes make the catalog more trustworthy.
Most specific car + model + year + category matches first, with popular parts mixed in.
Other projects by us
Building tools that make life easier
Start a fitment, printing, or design discussion with this part already attached.