Earn money selling original 3D car part models.
Start sellingEarn money selling original 3D car part models.
Start sellingEarn money selling original 3D car part models.
Start selling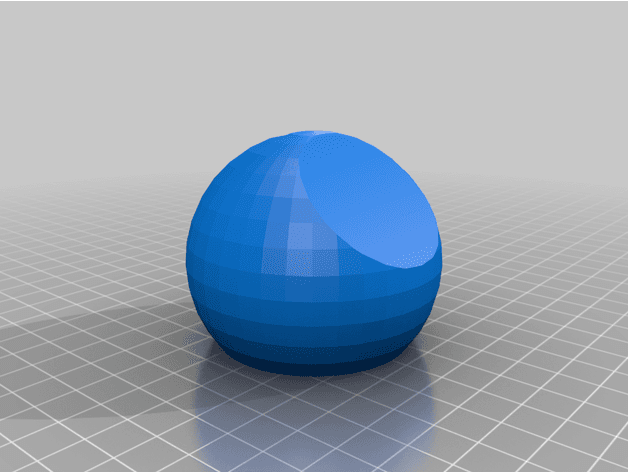
Reference shelf
Product references matched to the published material guidance. Confirm diameter, heat resistance, colour, and printer compatibility.
| Referenced item | What to verify | Price & availability |
|---|---|---|
| PETG filamentAmazon · Affiliate link | Amazon product page for 1.75 mm PETG; confirm colour, spool size, print temperature, seller, and delivery region. | Check price at Amazon |
| ASA filamentAmazon · Affiliate link | Amazon product page for 1.75 mm ASA; use an enclosure and suitable ventilation, and confirm seller and regional availability. | Check price at Amazon |
Affiliate disclosure: if you buy through an eligible link, 3DPrintedCarPart may earn a commission at no extra cost to you. As an Amazon Associate I earn from qualifying purchases. Confirm product specifications, compatibility, seller terms, and vehicle safety before ordering or using anything. Amazon may redirect you to a nearby supported store; otherwise the original Amazon.com page remains available.
The file license permits commercial reuse, subject to any applicable attribution or share-alike terms. License status does not verify vehicle fitment, OEM rights, design patents, or safety.
Shared by
DIY Electronics (DIYElectronics)Last year my brother purchased a 2006 Mercedes A200, as to be expected with a car of that age there were certain things that needed to be fixed. The original gear shifter was very worn and the leather was peeling off. Initially he purchased an aftermarket gear shifter but once installed it was found to not fit securely onto the gear stick. As we were in lockdown my brother asked if I could design and 3D print a gear shifter for his car and I, with my limited knowledge of Tinkercad, took on the project. After taking multiple measurements and doing rough sketches of the design I began trying to create it in Tinkercad. Having limited experience, even in Tinkercad, it took many tries, lots of coffee and plenty of head scratching in order to get the first prototype. From the first prototype I was able to try various designs and adjustments, each with their own benefits and pitfalls. After many prototype prints I reached the final design and with the help of my brother we set about installing it. Filament Used: CCTREE Sparkle Grey PLA Hello3D Silky Rainbow PLA Other Items: - 3D Printer. - Bolt and nut. - Washer. - Common tools. Note about the Liverpool Version: Liverpool Logo Designer - fraser0206 Thing: 3254108 Thingiverse Link Instructions: 1.Remove the shifter skirt: You should be able to unscrew the plastic connector and pull down the leather skirt. 2.Remove the shifter head: Remove the shifter head, make sure to carefully unhook any clips holding it to the gear stick. 3 Attach your 3D printed gear shifter: Insert the shifter head into the custom gear shifter so that the large holes line up. Slide in Bolt, washer and nut. 4.Assemble the gear shifter: Place the gear shifter back onto the stick, make sure that it clips into place properly, some force may be required. Review: The image showing the Silky Rainbow gear Shifter is the review print. As this project was completed in April 2020 I have had 8 months of feedback on the final design. This gear shifter has proven to be very durable even though it was printed in PLA. it has lasted hundreds of kilometers of driving as well as time in the sun. I hope you enjoyed reading about this project as much as I enjoyed designing and testing it. If you want to read about other projects we have done please check out the other posts on our blog Check out the full blog post for this print here
Originally published on thingiverse.com by DIY Electronics (DIYElectronics) · License: CC BY
Browse categories
Jump to interior, exterior, accessories, dashboard, mechanical, or tools hubs when you need a different kind of replacement part.
Share whether this print actually fits a real car. Installed photos and material notes make the catalog more trustworthy.
Other projects by us
Building tools that make life easier
Start a fitment, printing, or design discussion with this part already attached.



