Files (1)
Reference shelf
Recommended filament for this print
Product references matched to the published material guidance. Confirm diameter, heat resistance, colour, and printer compatibility.
| Referenced item | What to verify | Price & availability |
|---|---|---|
| PETG filamentAmazon · Affiliate link | Amazon product page for 1.75 mm PETG; confirm colour, spool size, print temperature, seller, and delivery region. | Check price at Amazon |
| ASA filamentAmazon · Affiliate link | Amazon product page for 1.75 mm ASA; use an enclosure and suitable ventilation, and confirm seller and regional availability. | Check price at Amazon |
Affiliate disclosure: if you buy through an eligible link, 3DPrintedCarPart may earn a commission at no extra cost to you. As an Amazon Associate I earn from qualifying purchases. Confirm product specifications, compatibility, seller terms, and vehicle safety before ordering or using anything. Amazon may redirect you to a nearby supported store; otherwise the original Amazon.com page remains available.
Ford Ranger PJ/PK modular switch panel
License & use
The file license permits commercial reuse, subject to any applicable attribution or share-alike terms. License status does not verify vehicle fitment, OEM rights, design patents, or safety.

Shared by
3DPrintedCarPartDescription
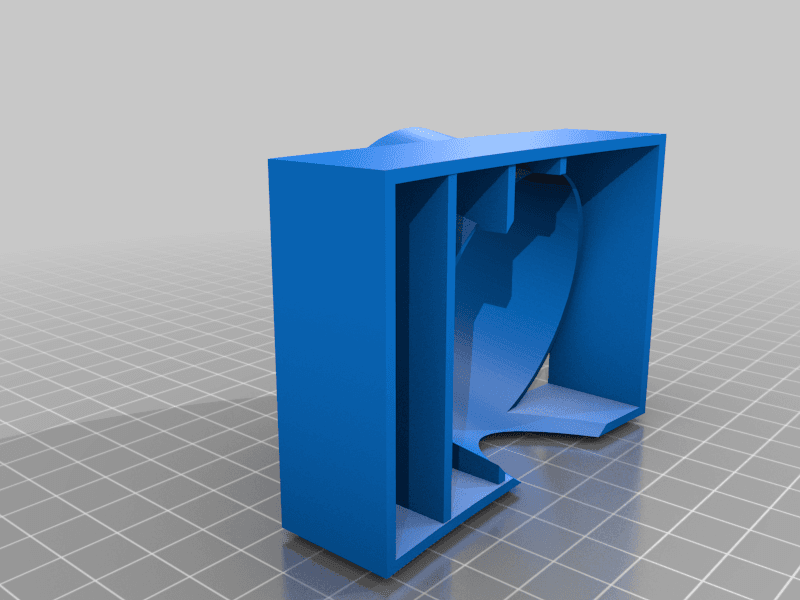
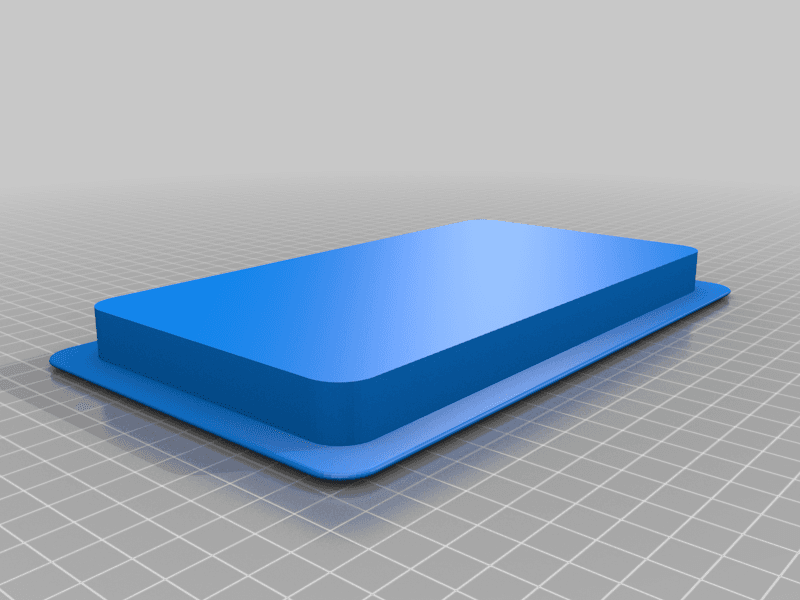
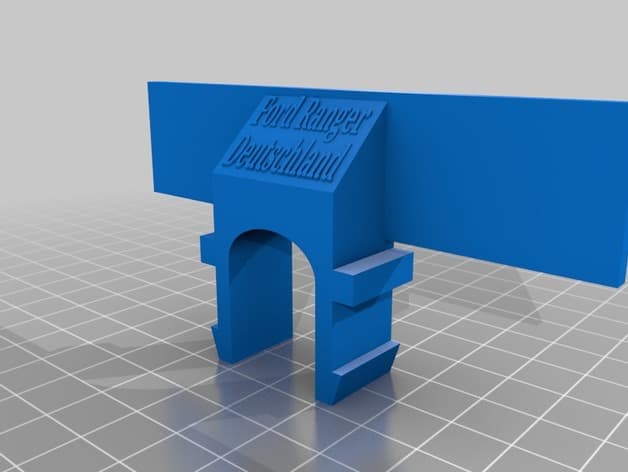
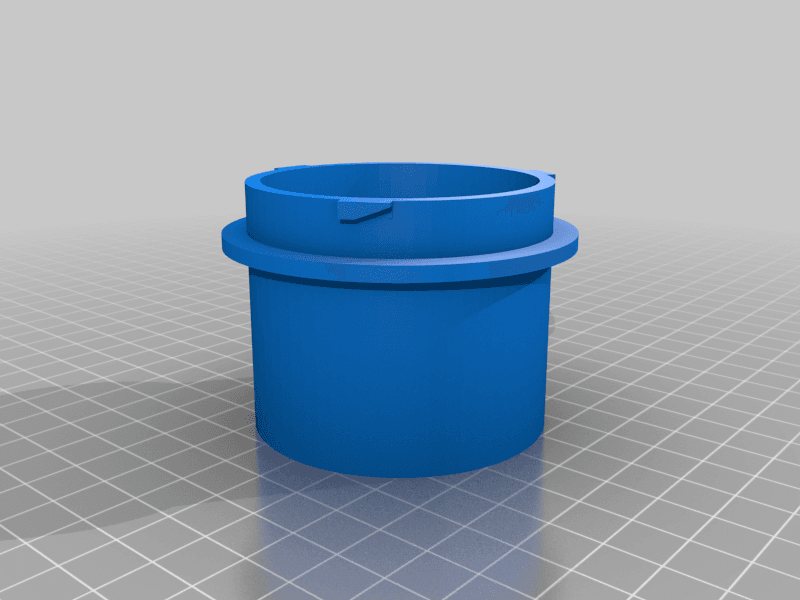
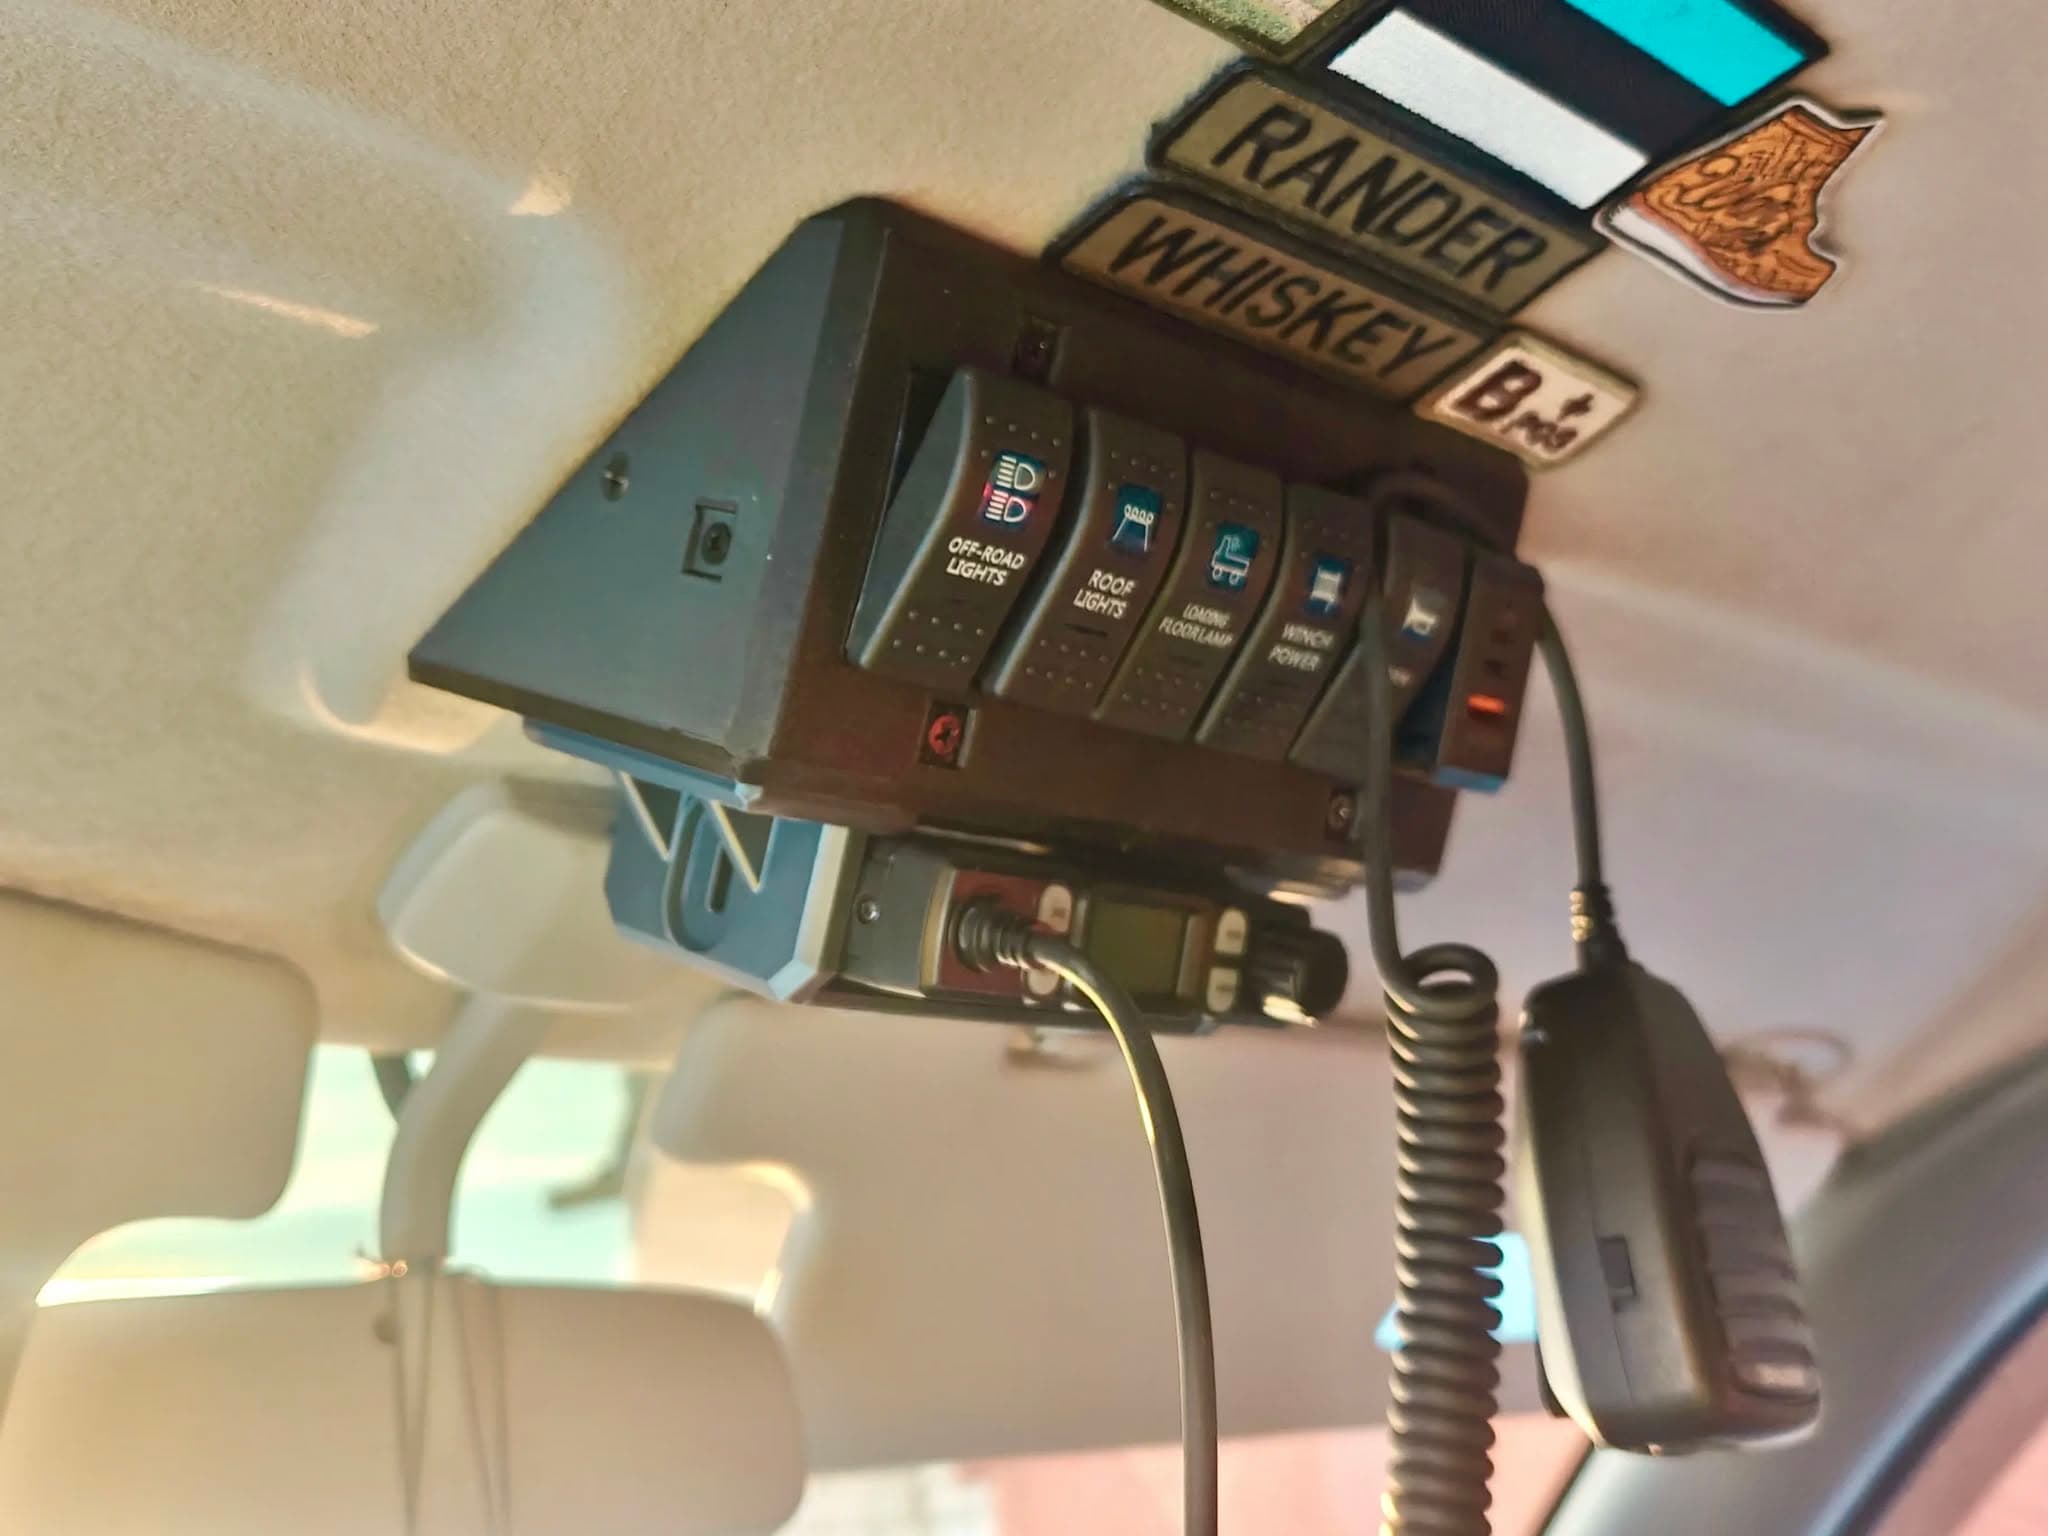
Fits 6x standard Carling 32x21mm switches or essentially anything which fits the measure. My current setup includes the following: 5x https://www.aliexpress.com/item/1005003506138964.html 1x https://www.aliexpress.com/item/1005007982389122.html The panel is modular which means you can attach more useful things to the face-plate, the left and right side and also the bottom. On the attached demo photo I have attached a CB radio mount to the bottom modular area. HIROYASU CB-1011 CB Walkie Talkie 27MHz 40Ch FM/AM 8W Mini 26.565-27.99125MHz Mobile Radio for EU PL DE CE UK IN US IT Countries - AliExpress 509 For the assembly you need at least 4x screws to hook up the panel to the ceiling bracket and for the full modular additional 12x screws. I have used those very generic M4x10 PC fan screws, but I could only assume that anything fits really. https://www.aliexpress.com/item/1005003576210952.html Installation: Measure the hole you need to cut into the ceiling liner. It is easiest to measure the inner dimensions of the top_mount and use that. I made a 115x180mm opening to my liner. Attach one side_clip to each side of the top_mount using two screws. Make sure the top_mount (with side_clips on it) fits nicely inbetween the metal and the liner and then glue it to the metal. Run your wiring loom from the panel, between the body and the liner towards the front left A-pillar and use the plastic as the cover to get the wiring loom under the dashboard. Fasten the panel to the glued top_mount using two screws.
Compatible Vehicles
Originally published on printables.com by Marek Rander · License: Public Domain
Browse categories
Browse other part families
Jump to interior, exterior, accessories, dashboard, mechanical, or tools hubs when you need a different kind of replacement part.
Share whether this print actually fits a real car. Installed photos and material notes make the catalog more trustworthy.
Related Parts
Most specific car + model + year + category matches first, with popular parts mixed in.