
Files (2)
Reference shelf
Recommended filament for this print
Product references matched to the published material guidance. Confirm diameter, heat resistance, colour, and printer compatibility.
| Referenced item | What to verify | Price & availability |
|---|---|---|
| ASA filamentAmazon · Affiliate link | Amazon product page for 1.75 mm ASA; use an enclosure and suitable ventilation, and confirm seller and regional availability. | Check price at Amazon |
| ABS filamentAmazon · Affiliate link | Amazon product page for 1.75 mm ABS; use an enclosure and suitable ventilation, and verify temperature requirements and seller. | Check price at Amazon |
Affiliate disclosure: if you buy through an eligible link, 3DPrintedCarPart may earn a commission at no extra cost to you. As an Amazon Associate I earn from qualifying purchases. Confirm product specifications, compatibility, seller terms, and vehicle safety before ordering or using anything. Amazon may redirect you to a nearby supported store; otherwise the original Amazon.com page remains available.
FRS, BRZ, GT86 3rd Brake Light Lowering Kit
License & use
The file license permits commercial reuse, subject to any applicable attribution or share-alike terms. License status does not verify vehicle fitment, OEM rights, design patents, or safety.

Shared by
3DPrintedCarPartDescription
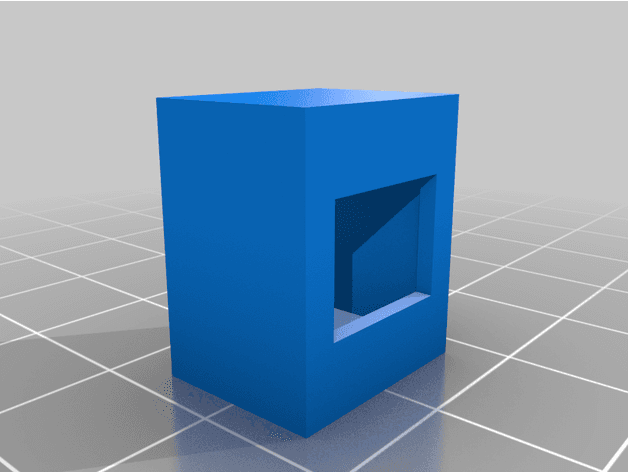
This is a bracket that replaces the 3rd Brake Light standoff in the BRZ, FRS, GT86. The 3rd brake light is obstructive, and makes driving in traffic more difficult than it needs to be. There are other kits on the market, ranging from $50 - $100 and their price point makes up for the material cost required, but I figured there was a simpler and cheaper way. I used a assortment of automotive clips to attach the bracket to the rear parcel shelf. To install: Remove 3rd brake light. Instructions are online, but pry up from the front of the light, and pull straight forward towards the front of the car. It gets caught for no reason, so be careful, but probably not gentle. Remove rear parcel shelf. There are clips exposed and clips not exposed. You can see clips in my pictures. Drill out rivets using a 3/8" drill bit or similar. You dont have to drill very far, as these rivets are just mashed onto the existing parcel shelf bracket. You will have to drill out all 5. Use some automotive clips from your assortment to replace the two rivets in the rear of the parcel shelf. Print using ABS. You will need 2 clips and 1 bracket. The clips are glued using a 5 minute epoxy to the side opposite of the two circular standoffs. These are glued flush as shown in my pictures. Note: PLA will melt in a car, so use ABS or ASA. You can use nylon or PETG, but I trust ABS and have no issues with printing it. Install the bracket to the 3rd Brake Light. Then mount bracket to the parcel shelf. It may be a good idea to test fit the bracket first using your automotive clip assortment. If you need to change the geometry, I have added the solidworks part file. You will see that I trimmed one clip to keep it from interfering with the brake light housing. Install the parcel shelf back into the car and test it. Make sure you plug in the brake light.
Compatible Vehicles
Originally published on thingiverse.com by Christian Gotsch (pieindaface) · License: CC BY
Browse categories
Browse other part families
Jump to interior, exterior, accessories, dashboard, mechanical, or tools hubs when you need a different kind of replacement part.
Share whether this print actually fits a real car. Installed photos and material notes make the catalog more trustworthy.
Related Parts
Finding specific fitment/category matches first.

