Files (1)
Reference shelf
Recommended filament for this print
Product references matched to the published material guidance. Confirm diameter, heat resistance, colour, and printer compatibility.
| Referenced item | What to verify | Price & availability |
|---|---|---|
| PETG filamentAmazon · Affiliate link | Amazon product page for 1.75 mm PETG; confirm colour, spool size, print temperature, seller, and delivery region. | Check price at Amazon |
| ASA filamentAmazon · Affiliate link | Amazon product page for 1.75 mm ASA; use an enclosure and suitable ventilation, and confirm seller and regional availability. | Check price at Amazon |
Affiliate disclosure: if you buy through an eligible link, 3DPrintedCarPart may earn a commission at no extra cost to you. As an Amazon Associate I earn from qualifying purchases. Confirm product specifications, compatibility, seller terms, and vehicle safety before ordering or using anything. Amazon may redirect you to a nearby supported store; otherwise the original Amazon.com page remains available.
03-04 Cobra Bumper Fog Light Adapter
License & use
The file license permits commercial reuse, subject to any applicable attribution or share-alike terms. License status does not verify vehicle fitment, OEM rights, design patents, or safety.

Shared by
3DPrintedCarPartDescription
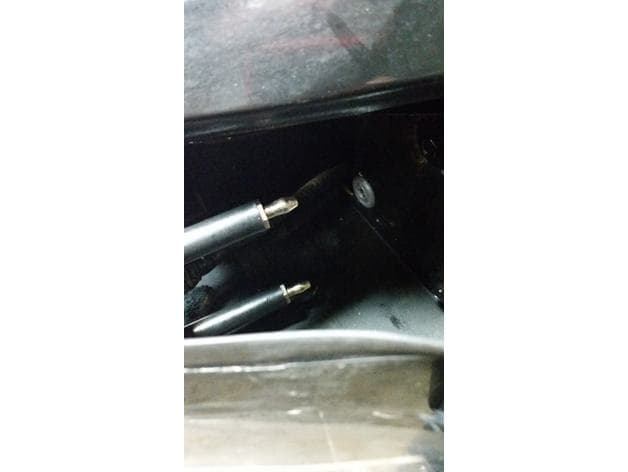
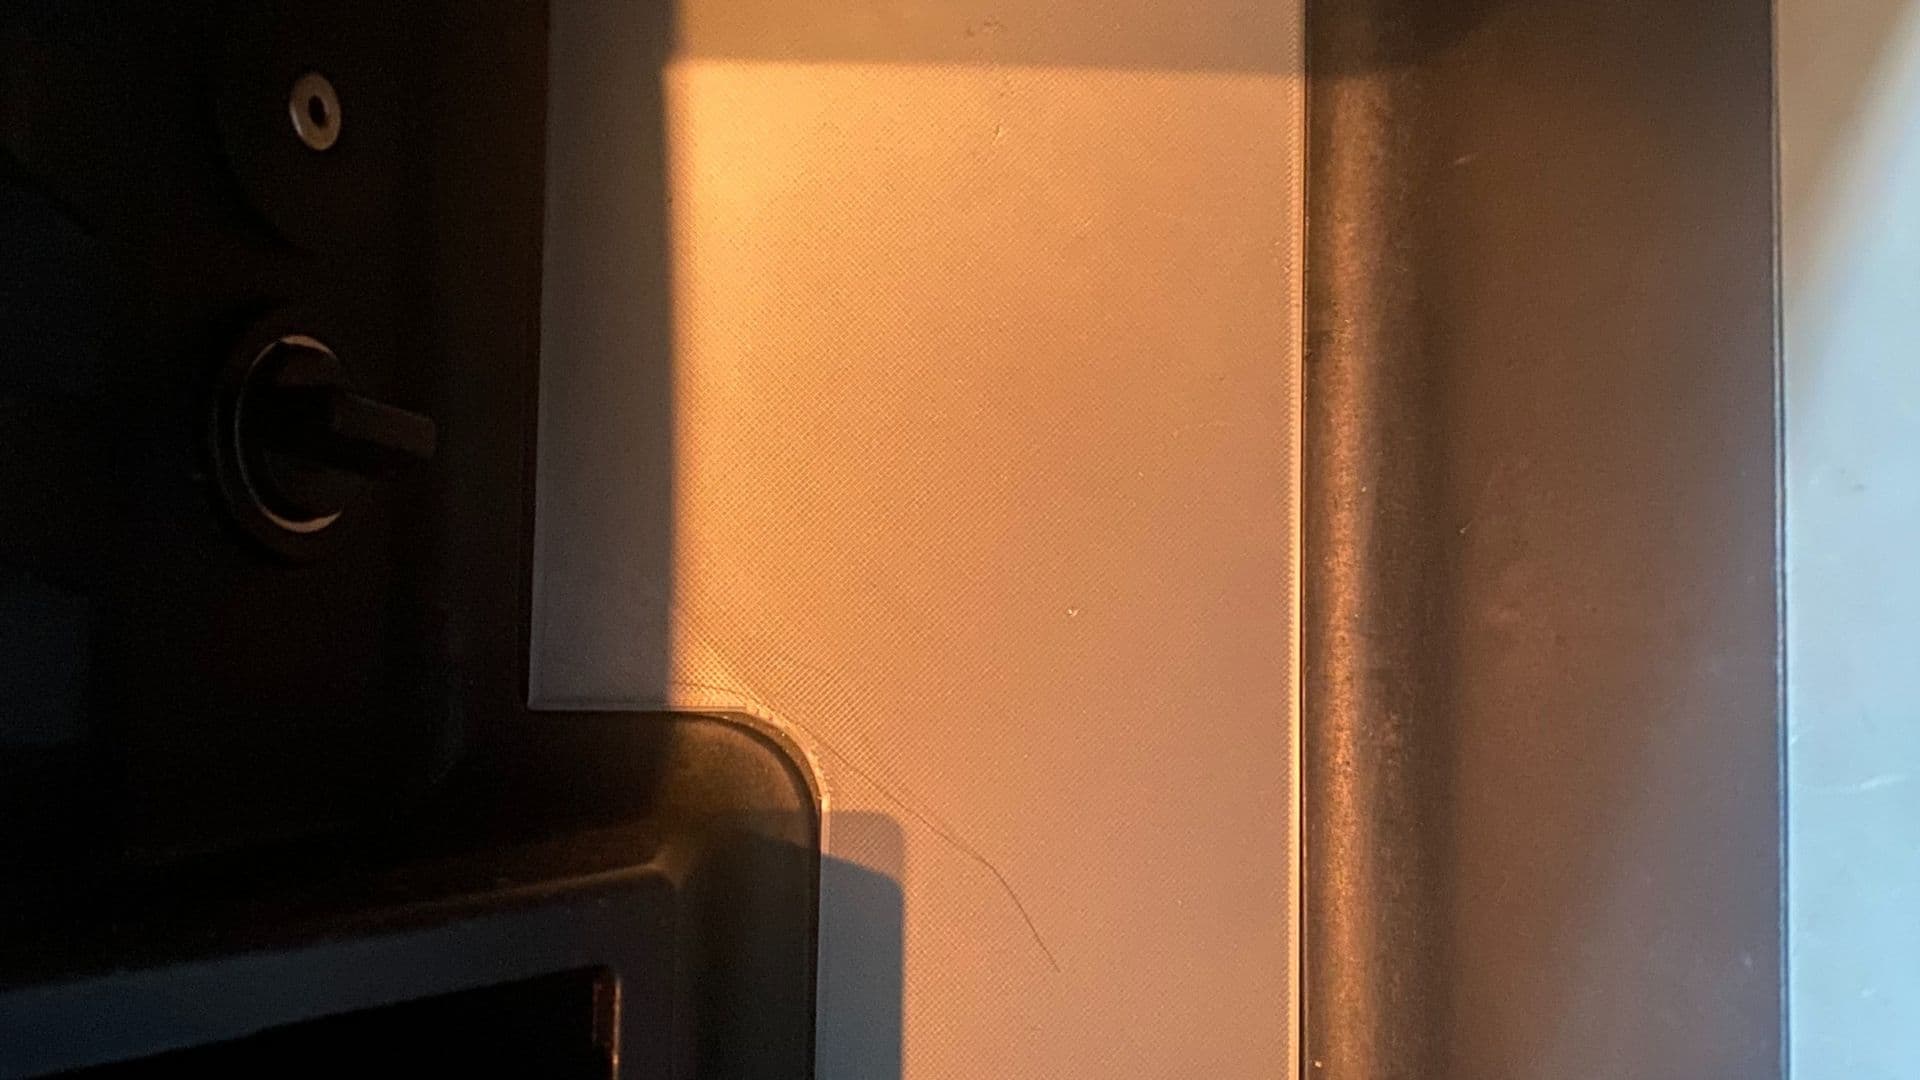
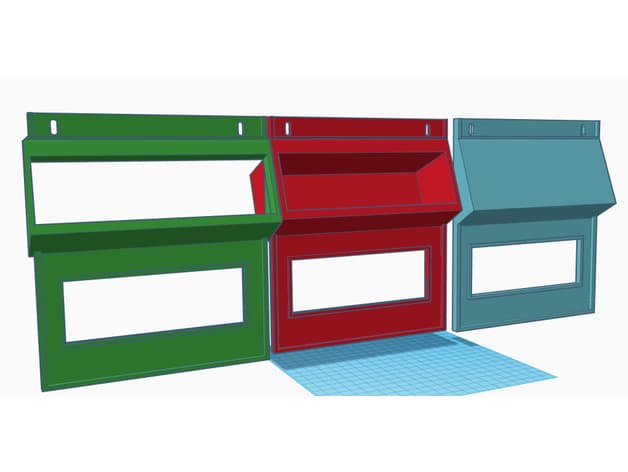
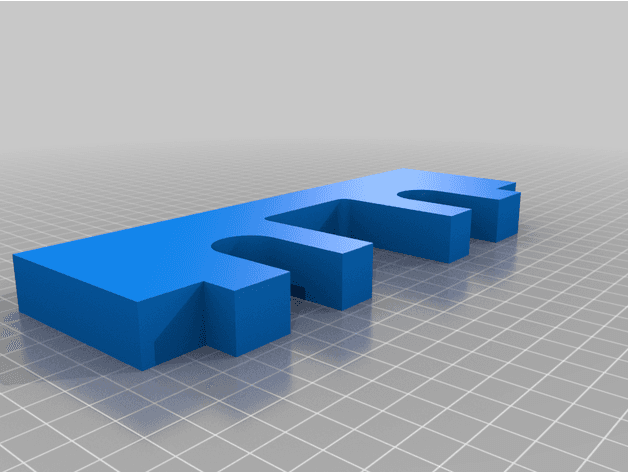
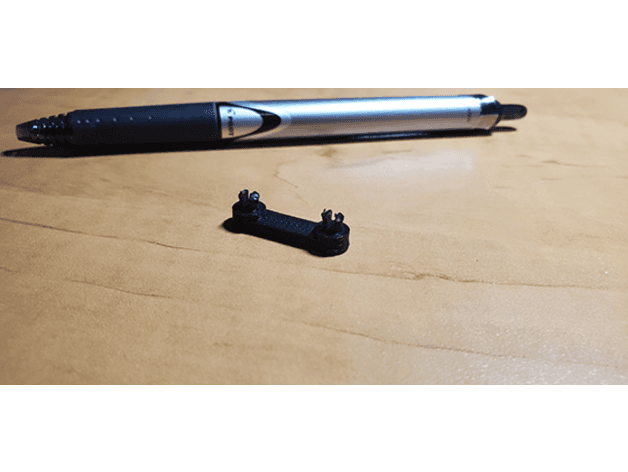
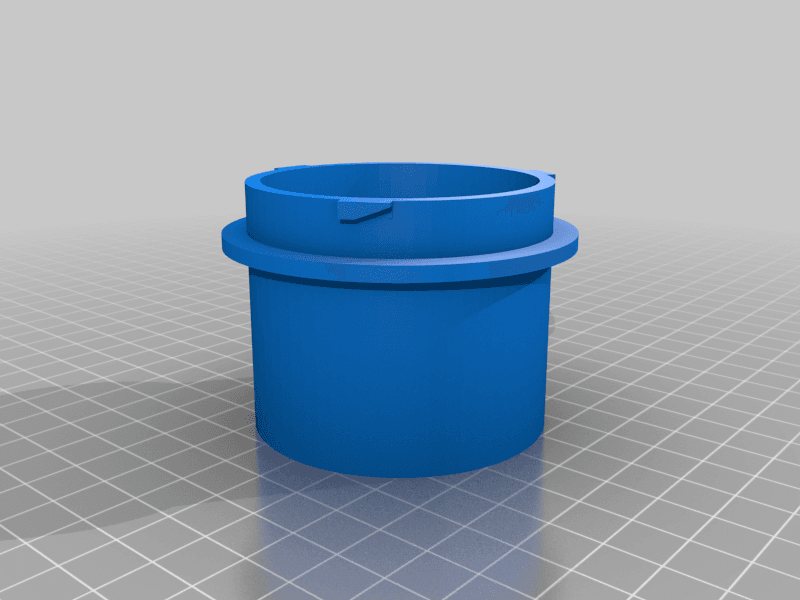
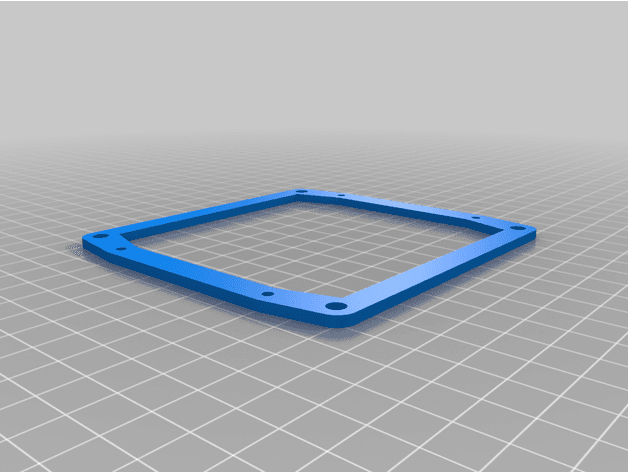
Designed to adapter 4" LED Jeep fog lights to the 2003-2004 SVT Cobra bumper allowing for a wider range of Fog Light options for this bumper. Link below for the one I purchased. IMPORTNANT NOTE: The fog lights I used were not a direct plug and play to the OEM Cobra Fog Light Harness. You will likely need to do some custom electrical wiring/splicing to make these work as desired. Printing: - Printed at 30% Infill (100% will be stronger but not needed) - No Supports Needed Adapter Assembly: - 2x Brackets - 8x M3x20mm Bolts - 8x M3 Nuts - (Optional #10 Screws) Fog Lights I used: https://www.amazon.com/dp/B088ZQMSFK?ref=ppx_yo2_dt_b_product_details&th=1 Instructions: The Fog Lights I purchased (link below) came with two mounting brackets. The one we want uses the normal rectangular mounting pattern. You may need to swap them, as mine had the other bracket pre-installed. Completing step 1 during this will make your life easier. Step 1: Insert the adapter plate between the lens and the mounting bracket. Step 2: Feed the M3 Bolt through the back of the mounting bracket so the tip of the bolt faces towards the direction the lens is facing. Step 3: Then place the M3 nuts onto the M3 bolts (before feeding the M3 bolts into the adapter plate) and sandwich the fog light between the head of the M3 bolt and the M3 nut. I recommend leaving them slightly loosened for now to make the next step easier. Step 4: The M3 bolts will then screw into the adapter plate to secure the adapter to the mounting brackets. You can secure the plate with M3 nuts, but mine threaded right into the adapter plate and were plenty secure. I screwed them until a tiny amount of threading was poking out. Step 5: Tighten the M3 Nuts to ensure the fog light is secure. Step 6: Mount the new fog lights via the adapter plate. Once in, you can use the M3 screws to pull the headlight closer to the bumper, but I felt with only a small amount of the thread exposed in step 4, it left a negligible gap and not really needed but will help incase fitment varies. Step 7: Wire the fog lights up and enjoy. Tiktok Video: (Shows backet attached to the fog light as example) https://vm.tiktok.com/ZMdV4wV2w/
Compatible Vehicles
Originally published on thingiverse.com by Agent Orange (AgentOrange2V) · License: CC BY 4.0
Browse categories
Browse other part families
Jump to interior, exterior, accessories, dashboard, mechanical, or tools hubs when you need a different kind of replacement part.
Share whether this print actually fits a real car. Installed photos and material notes make the catalog more trustworthy.
Related Parts
Most specific car + model + year + category matches first, with popular parts mixed in.