Files (1)
Reference shelf
Recommended filament for this print
Product references matched to the published material guidance. Confirm diameter, heat resistance, colour, and printer compatibility.
| Referenced item | What to verify | Price & availability |
|---|---|---|
| PETG filamentAmazon · Affiliate link | Amazon product page for 1.75 mm PETG; confirm colour, spool size, print temperature, seller, and delivery region. | Check price at Amazon |
| ASA filamentAmazon · Affiliate link | Amazon product page for 1.75 mm ASA; use an enclosure and suitable ventilation, and confirm seller and regional availability. | Check price at Amazon |
Affiliate disclosure: if you buy through an eligible link, 3DPrintedCarPart may earn a commission at no extra cost to you. As an Amazon Associate I earn from qualifying purchases. Confirm product specifications, compatibility, seller terms, and vehicle safety before ordering or using anything. Amazon may redirect you to a nearby supported store; otherwise the original Amazon.com page remains available.
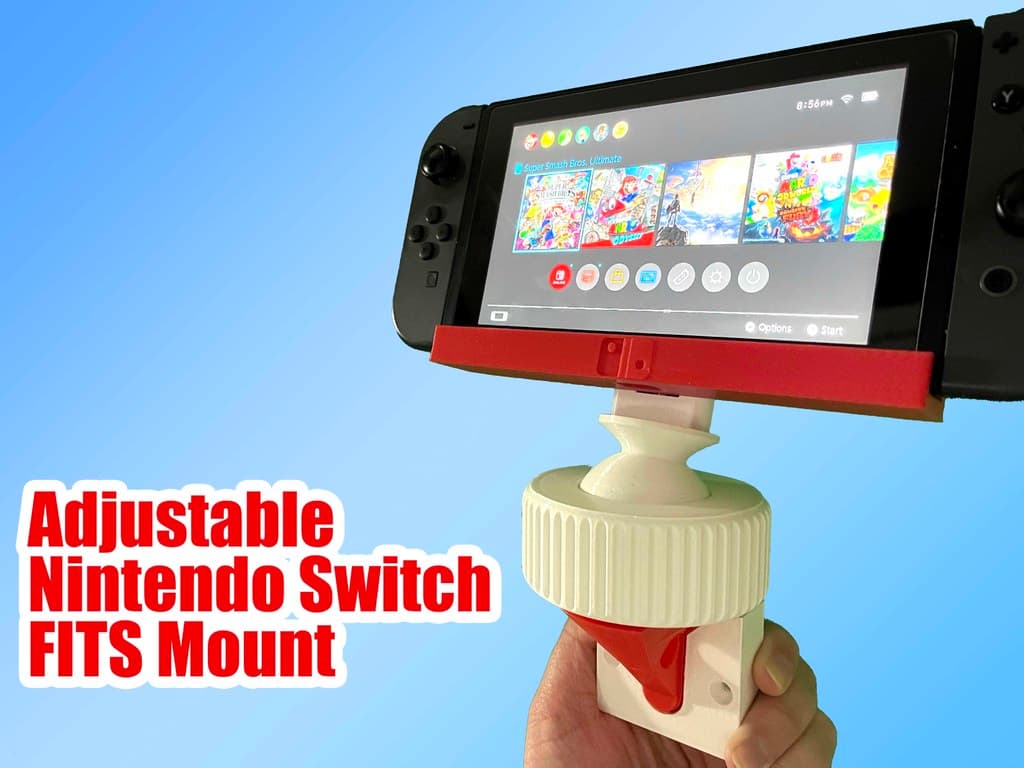
Ford Maverick Nintendo Switch FITS Slot Adapter Mount with Adjustable Orientation
License & use
The file license permits commercial reuse, subject to any applicable attribution or share-alike terms. License status does not verify vehicle fitment, OEM rights, design patents, or safety.

Shared by
3DPrintedCarPartDescription
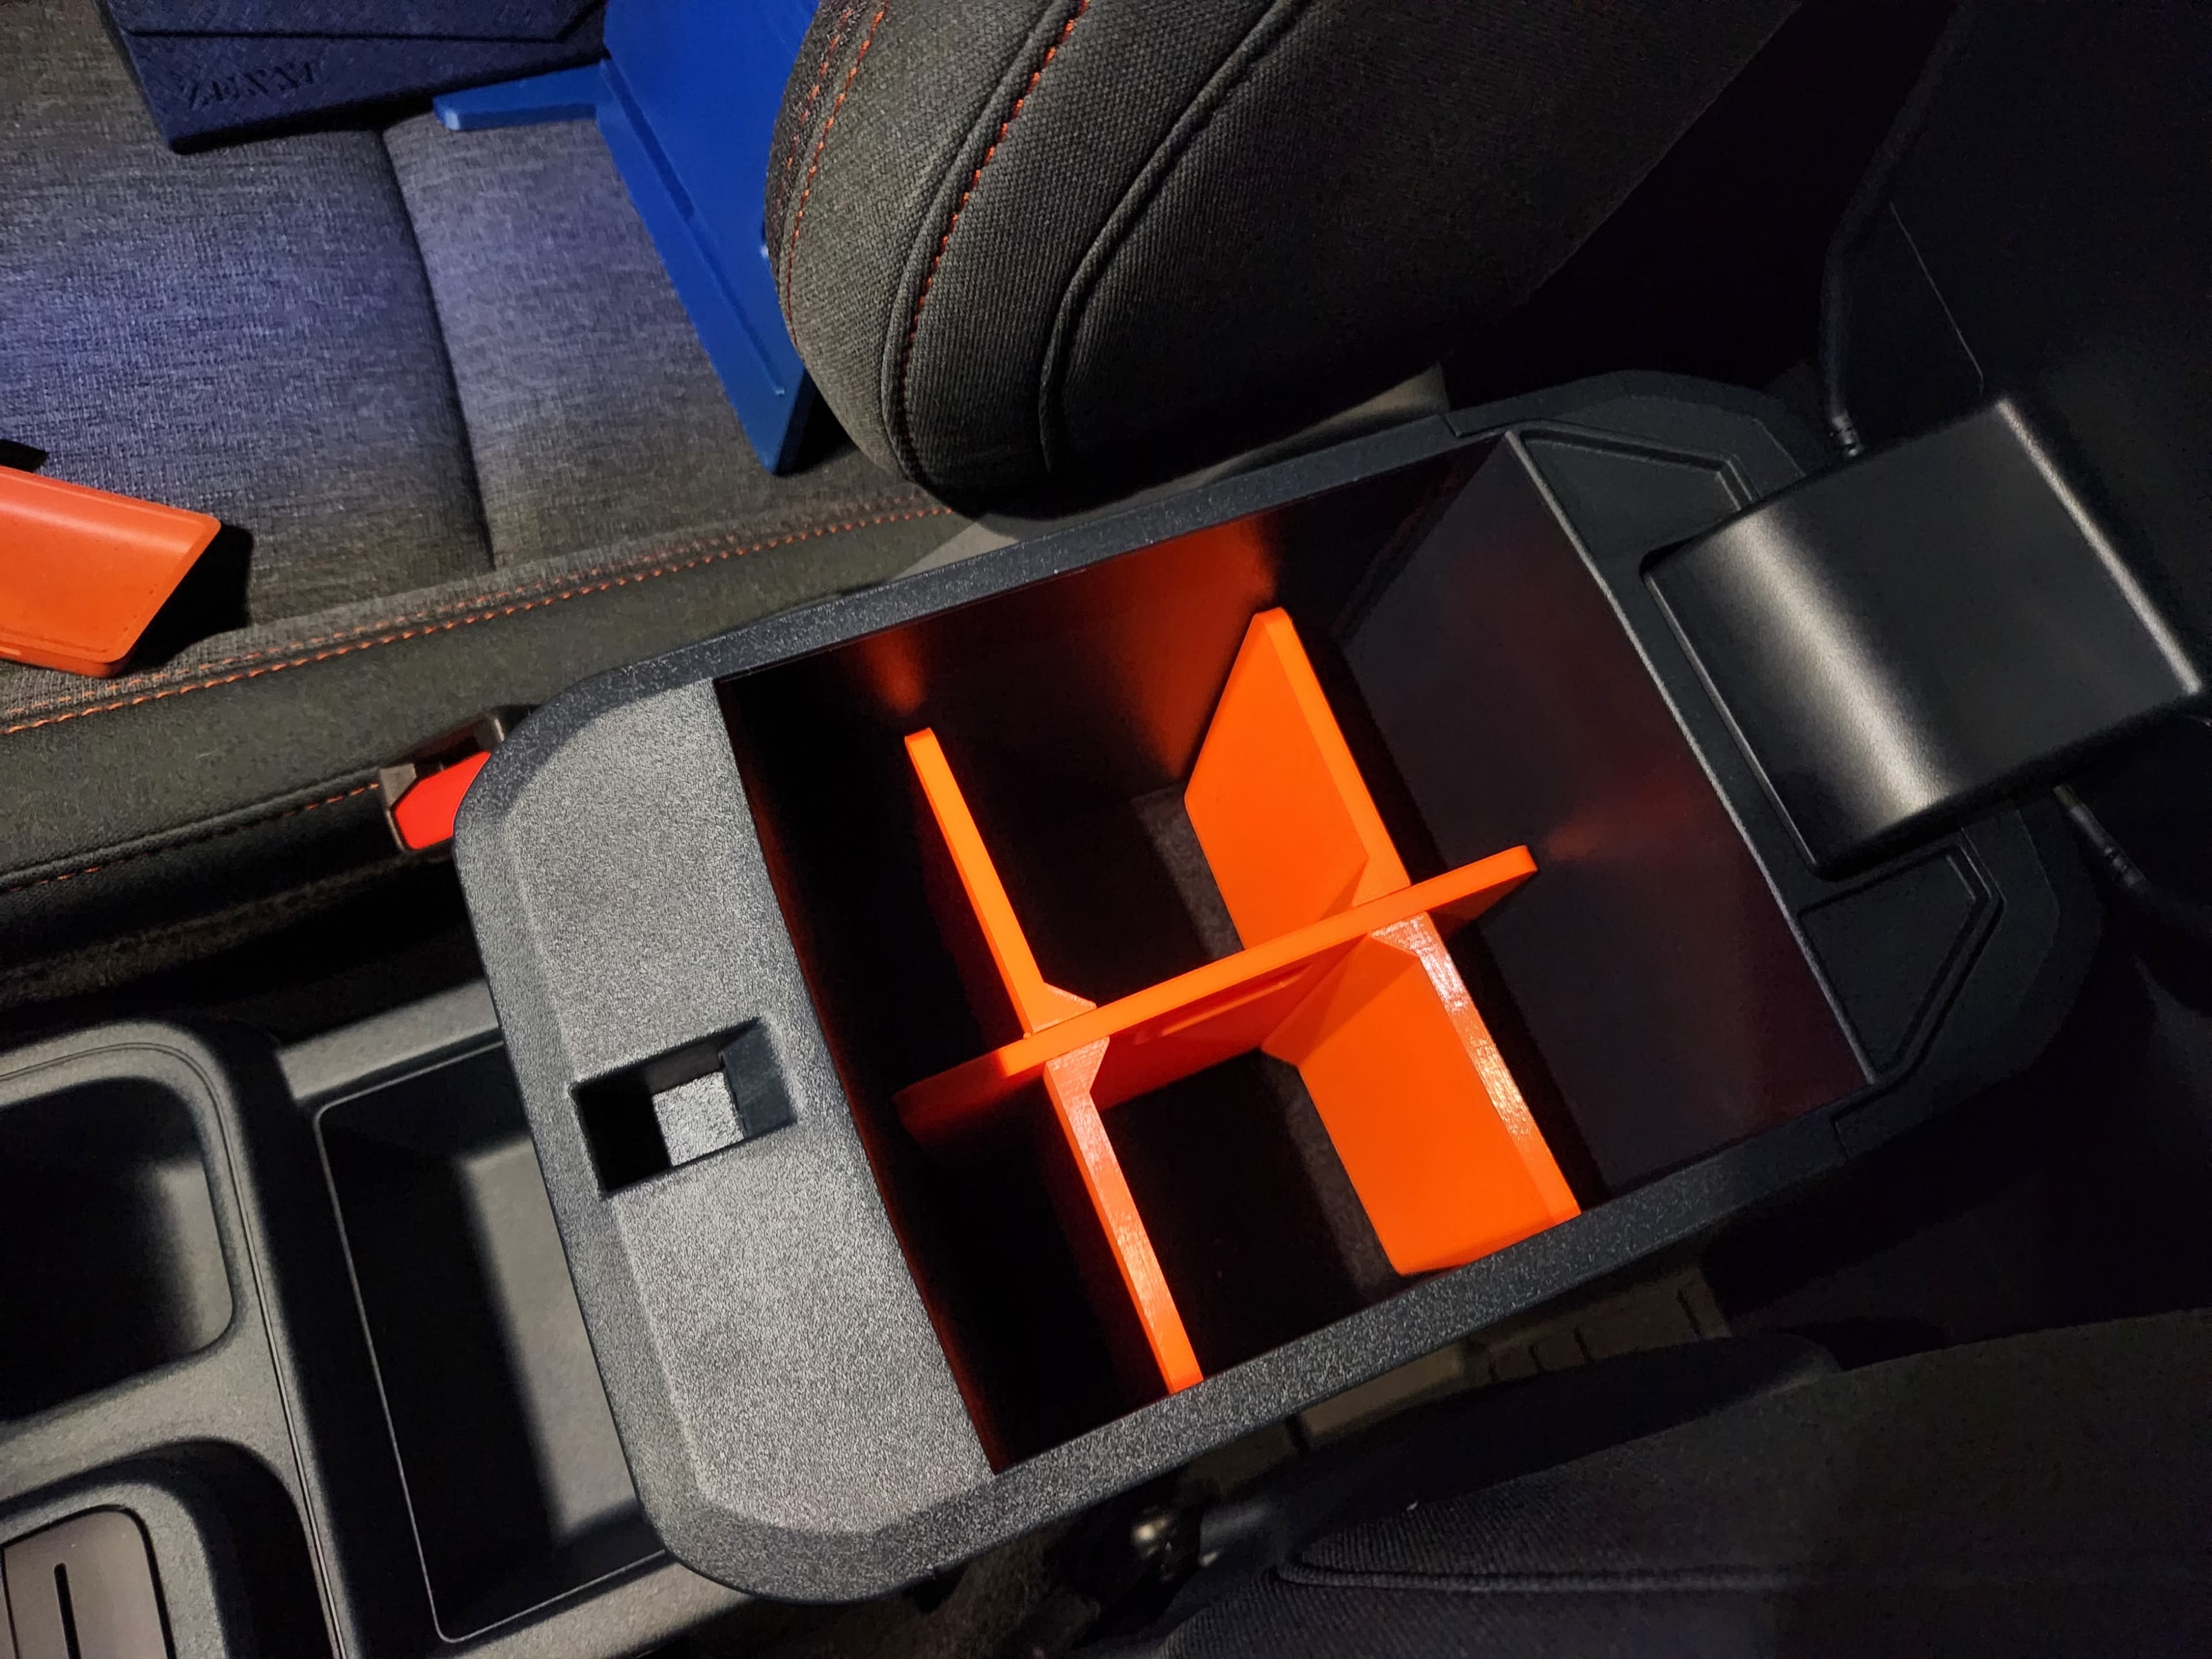
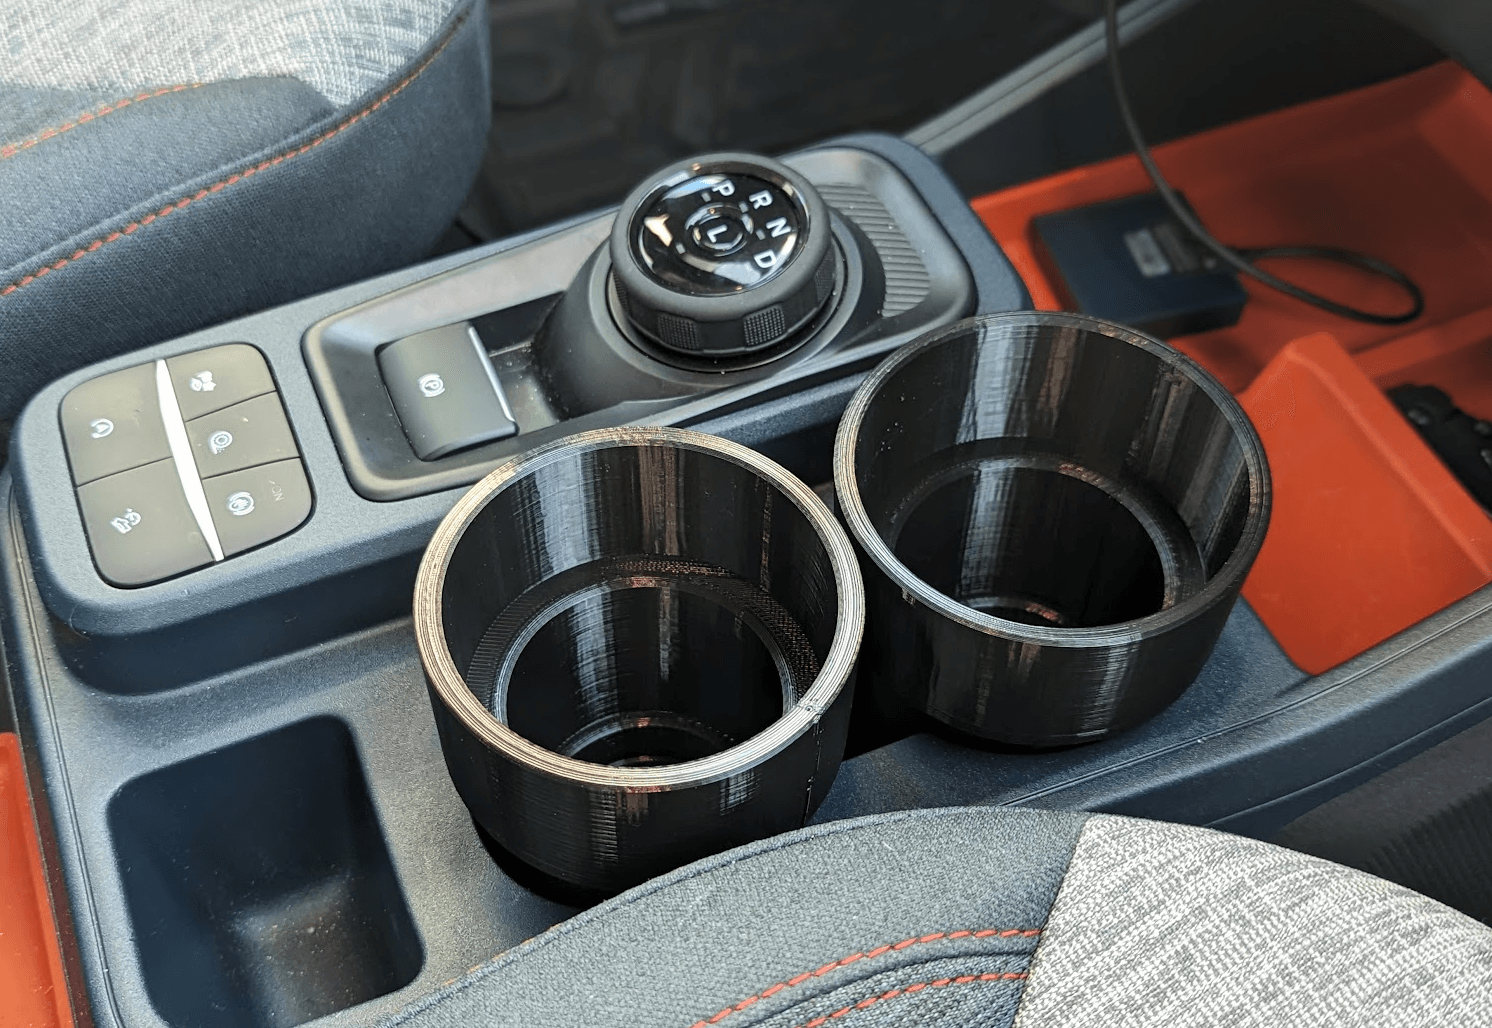
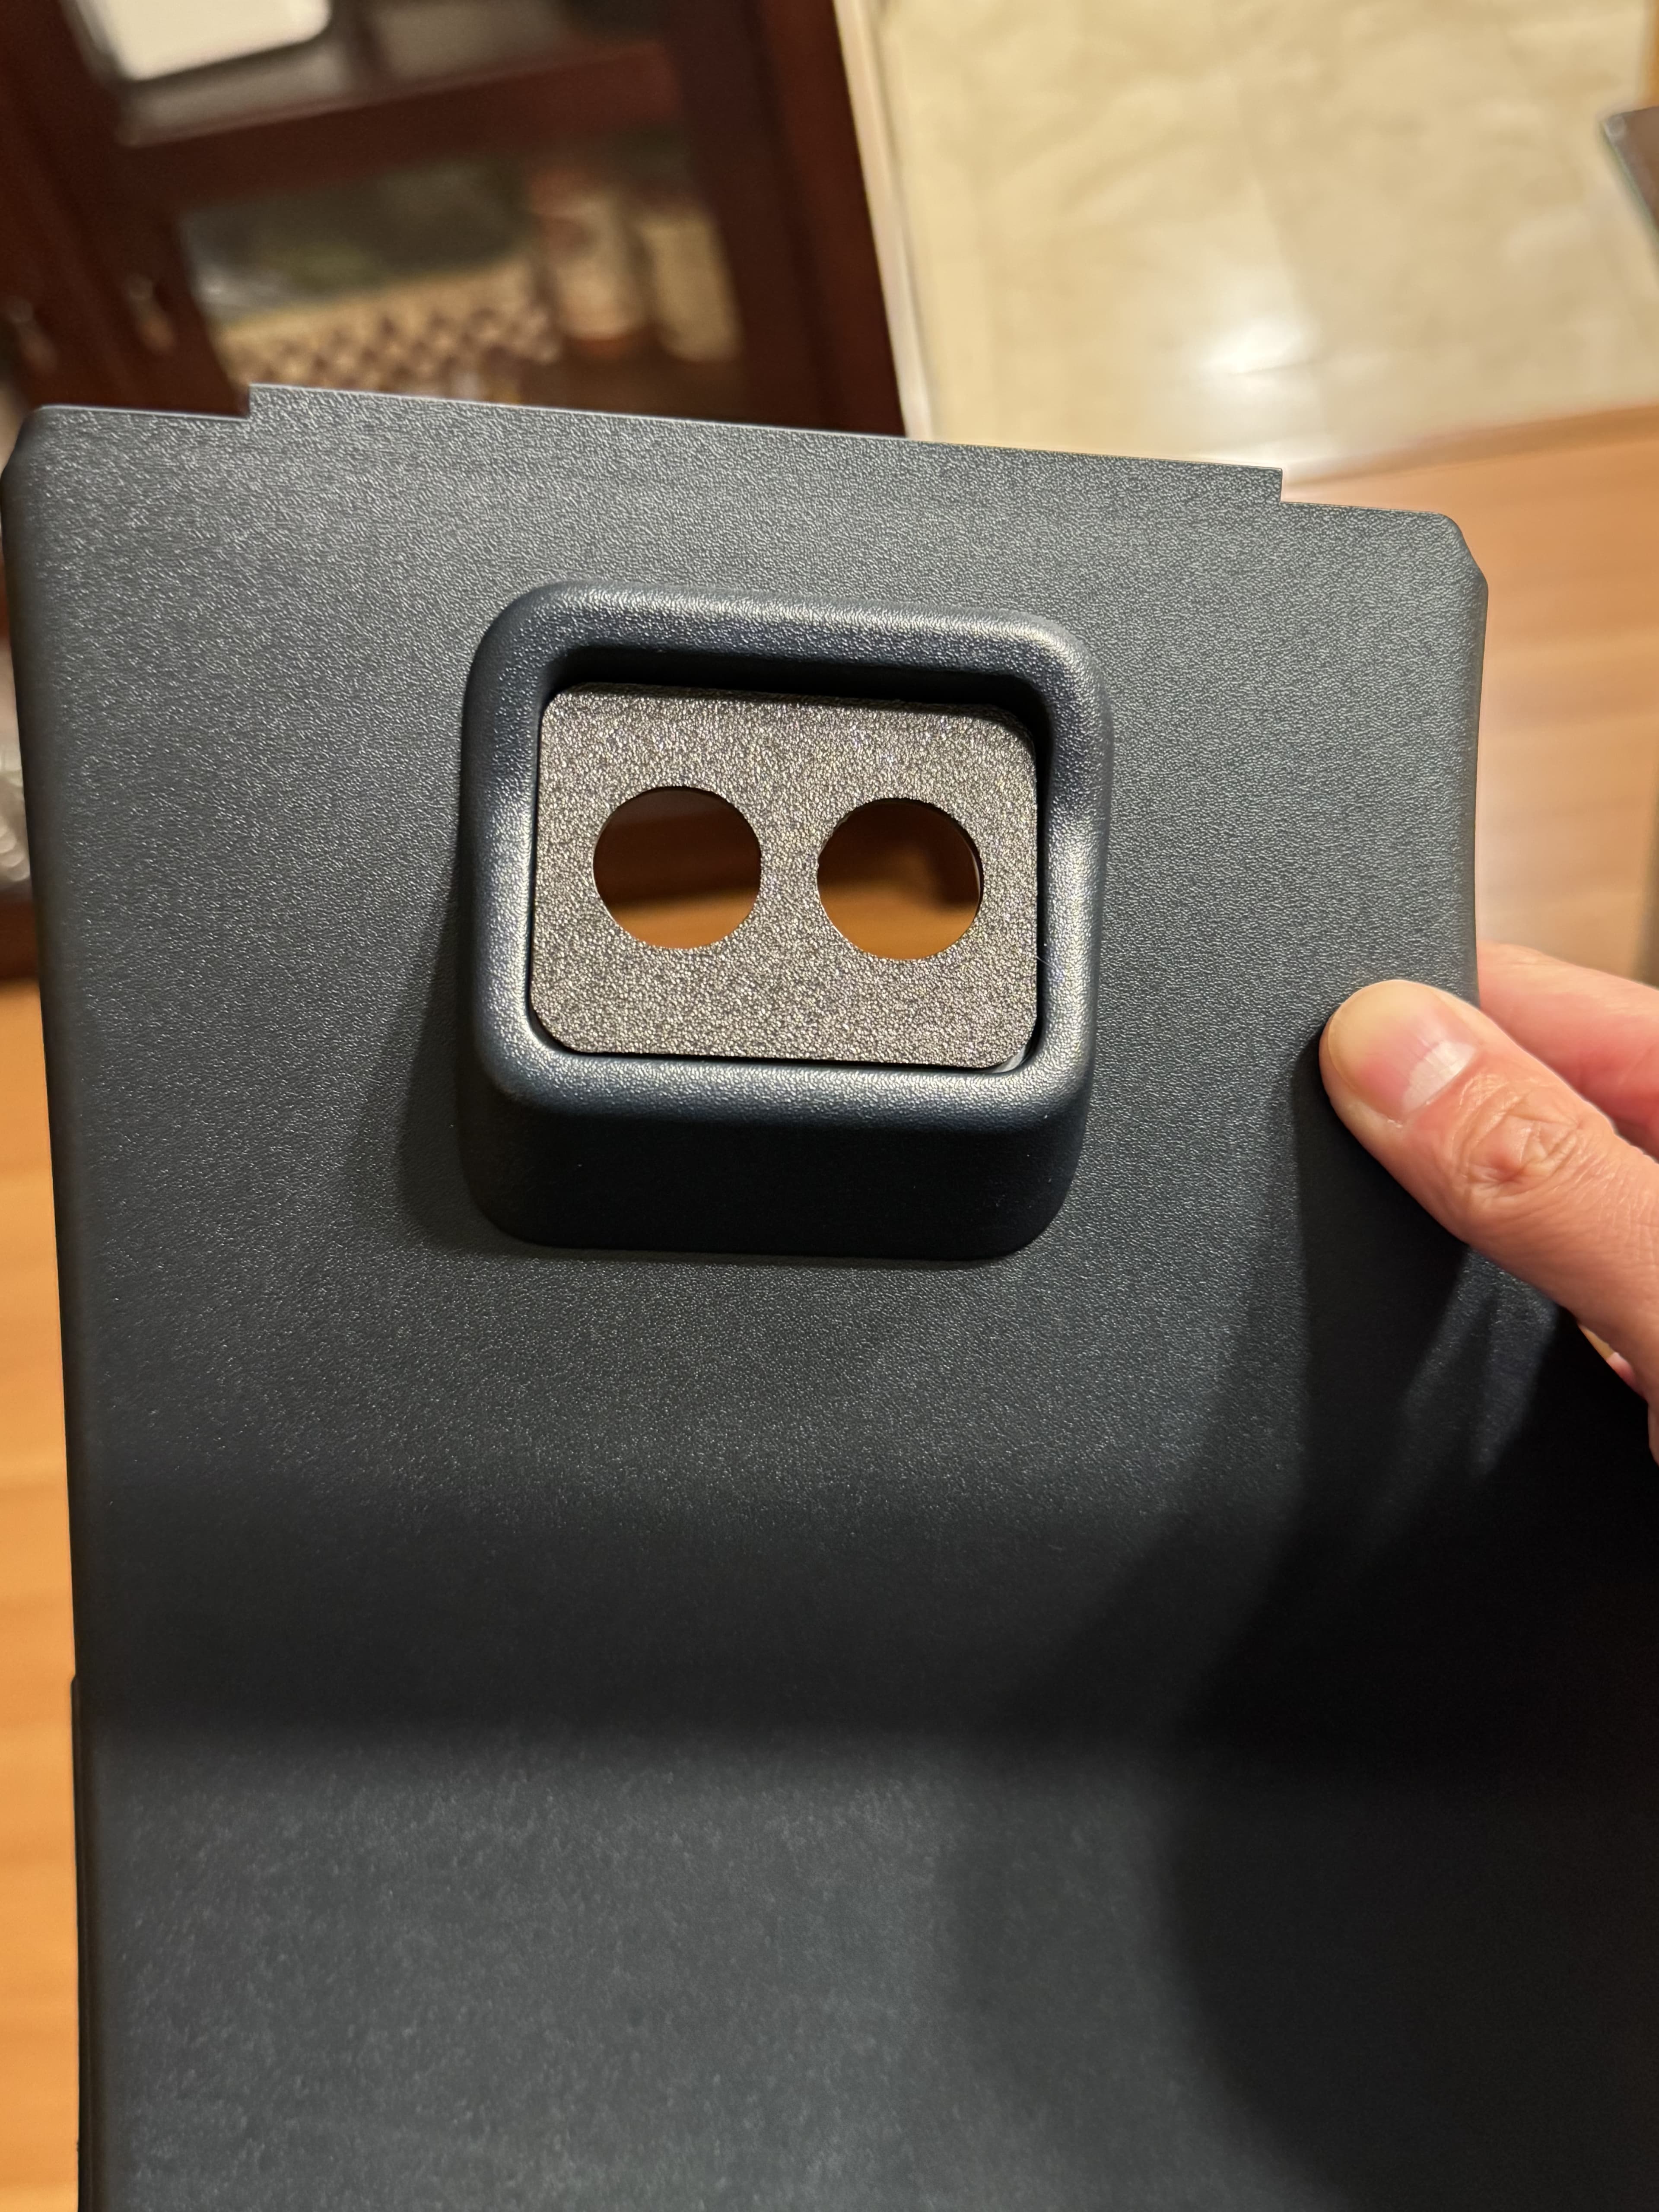
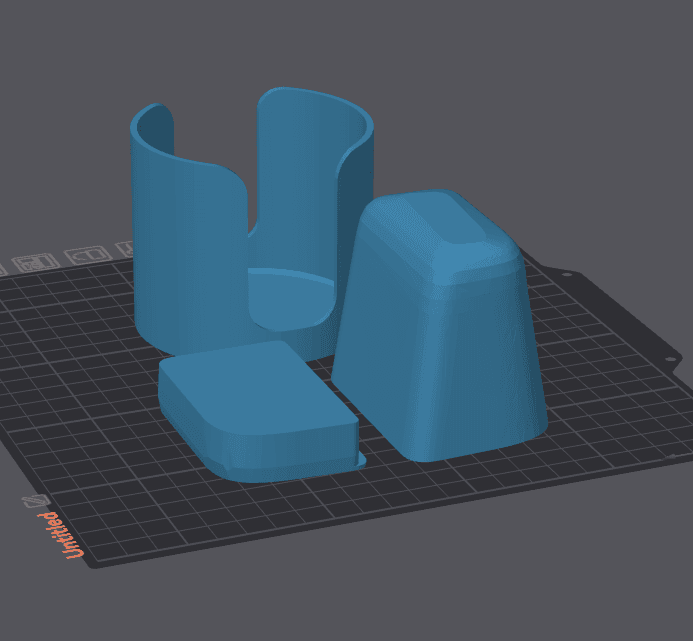
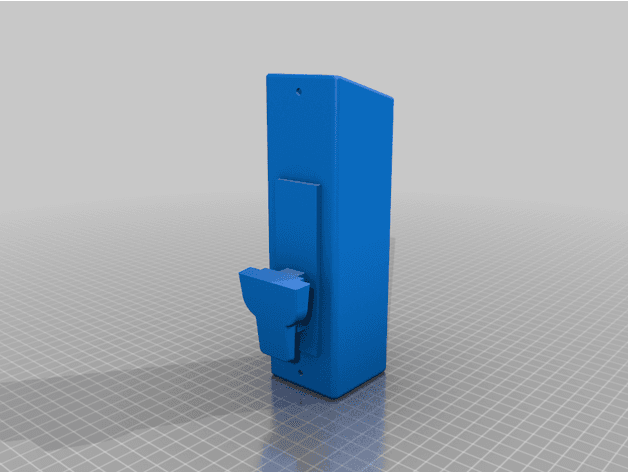
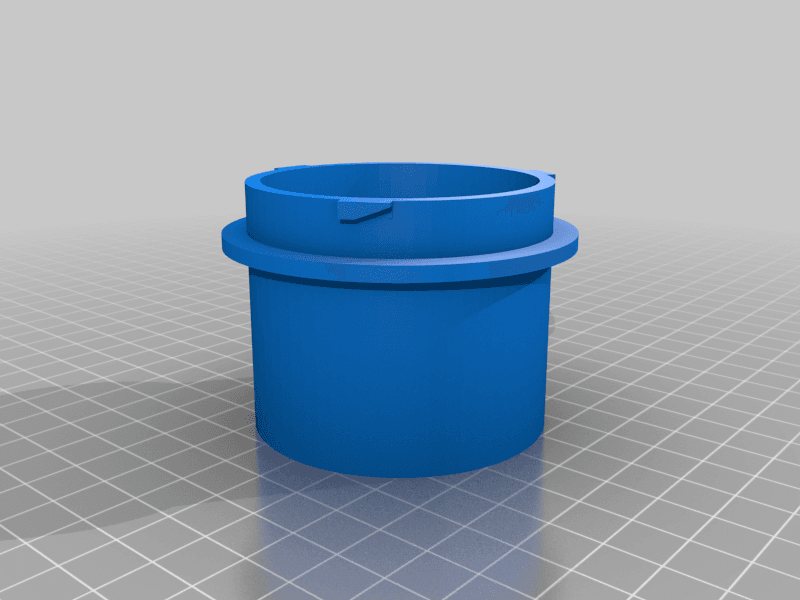
--------V1.1 | 11/16/21 ---------- Added 5 inch tall edition that gets it further off the ground. Going too much higher than this will result in not fitting on most printbeds, as well as instability in height/weight ratios with the Switch. Should be the sweet spot for those hoping to raise the height. --------ORIGINAL POST | 11/15/2021--------- This went through some... emotional turmoil to get perfect.:D This should be the last Switch Mount you need for your Ford Maverick. It's solid as a rock, even when just being printed with lightning infill to take photos of it. Heh A huge thanks to everyone's remixed items. https://youtu.be/E-1Uux7CauM [Warning, high quality video with amazing special effects] Print Settings Printer Brand: Creality Printer: Ender 3 Rafts: No Supports: Yes Resolution:.2 Infill: Lightning, 40% (Please use cubic or something strong instead) Filament: COEX PLA (For testing -- Might want PETG/Something strong for hot summer car temps) WHITE & RED Notes: ----------v1.1 Edit--------- * Tall edition added for an added 5 inches. This one, I'd argue, is probably better to print lying on its back. I've included the picture of what it looks like after mine finished printing. If printing at 0.2, make your "Support Z distance" 0.6mm to have the support come off like butter. By default, Cura uses 0.2mm, which can be a complete butt to remove when its that close to the print. No blockers used on the sideways print. I used lightning infill at 10 or 15% here, cause its a larger print. It's lightweight and strong. ----------ORIGINAL NOTES-------- OK, to print this thing is pretty straightforward. I used lightning infill (new to Cura 4.12) which greatly helps getting prints done quickly for taking pictures of, and has little to no structural integrity. Please use Cubic at a percent of your choice. Likely 20-40% will do. Print in PETG. The ball just prints in place. The tolerance for the switch holder is large enough for everyone's printers whether they're dialed in or not. The more dialed in you are, the higher the potential to slide a little piece of paper in the groove to tighten it up will be. No big deal. The switch holder prints in place. If you're feeling brave, you shouldn't need supports for those large gaps. Even if it sucked a little, it wont affect the strength or design in that spot. The Screw cap has a MAXIMUM layer height of 0.2mm. The FITS slot piece is the only odd duck. I printed it upright, and used a SUPPORT BLOCKER (thats the last option on the left of cura) to block supports for being make for the actual screw part. Boom done. You might be able to print this slot on its back with supports, but I wanted to ensure the screw didn't run rough when tightening. You do you. Congrats! Hopefully your kids/passengers think you're as cool as mine do [this week] -- its the little things. 🤪 Category: Automotive.
Compatible Vehicles
Originally published on printables.com by jackharvest · License: CC BY
Browse categories
Browse other part families
Jump to interior, exterior, accessories, dashboard, mechanical, or tools hubs when you need a different kind of replacement part.
Share whether this print actually fits a real car. Installed photos and material notes make the catalog more trustworthy.
Related Parts
Most specific car + model + year + category matches first, with popular parts mixed in.