Files (1)
Reference shelf
Recommended filament for this print
Product references matched to the published material guidance. Confirm diameter, heat resistance, colour, and printer compatibility.
| Referenced item | What to verify | Price & availability |
|---|---|---|
| PETG filamentAmazon · Affiliate link | Amazon product page for 1.75 mm PETG; confirm colour, spool size, print temperature, seller, and delivery region. | Check price at Amazon |
| ABS filamentAmazon · Affiliate link | Amazon product page for 1.75 mm ABS; use an enclosure and suitable ventilation, and verify temperature requirements and seller. | Check price at Amazon |
Affiliate disclosure: if you buy through an eligible link, 3DPrintedCarPart may earn a commission at no extra cost to you. As an Amazon Associate I earn from qualifying purchases. Confirm product specifications, compatibility, seller terms, and vehicle safety before ordering or using anything. Amazon may redirect you to a nearby supported store; otherwise the original Amazon.com page remains available.
Honda Civic 2006 centre console USB ports
License & use
The file license permits commercial reuse, subject to any applicable attribution or share-alike terms. License status does not verify vehicle fitment, OEM rights, design patents, or safety.

Shared by
3DPrintedCarPartDescription
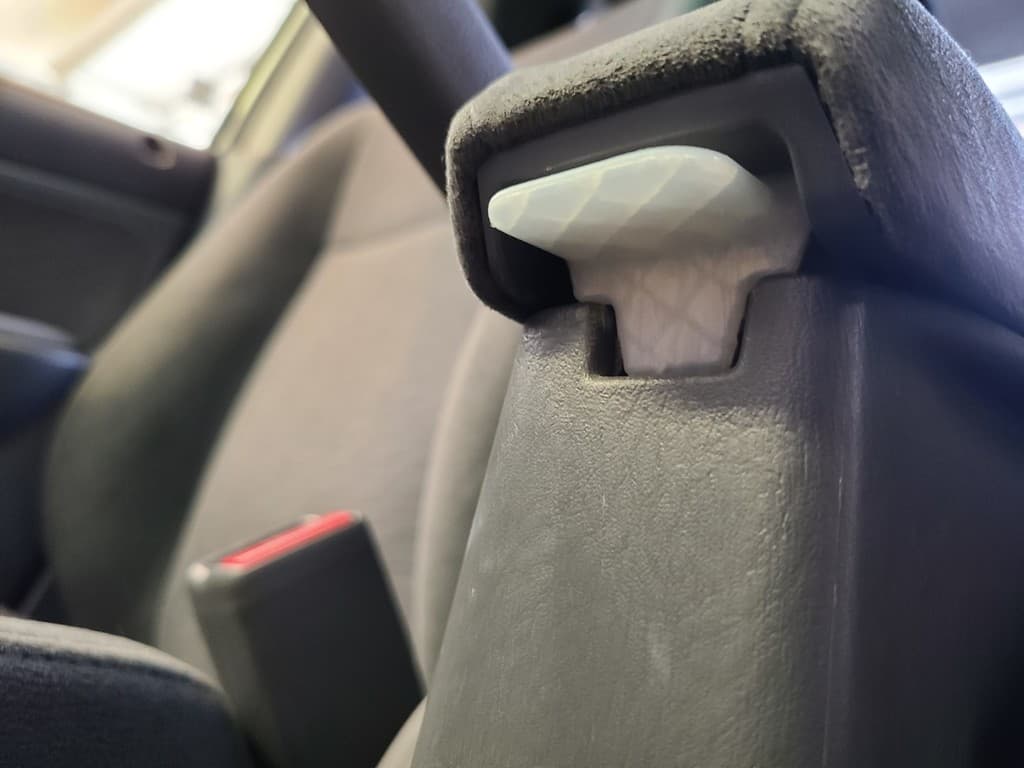
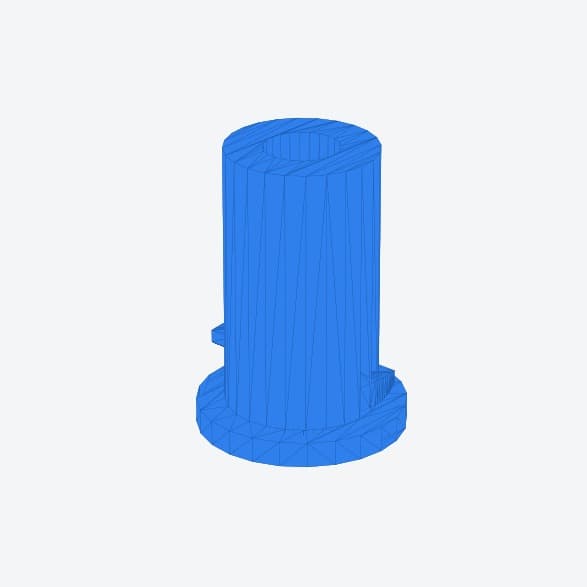
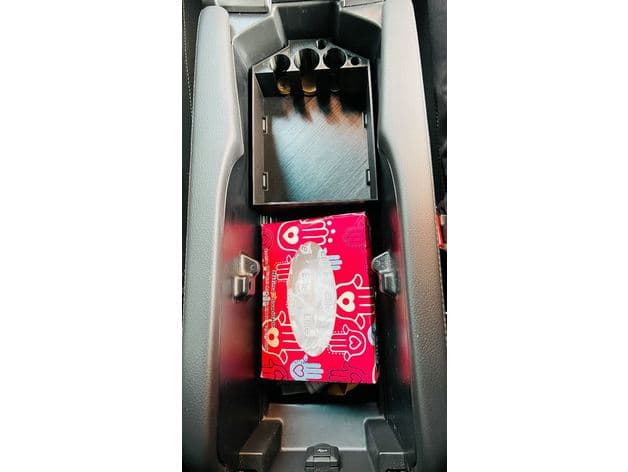
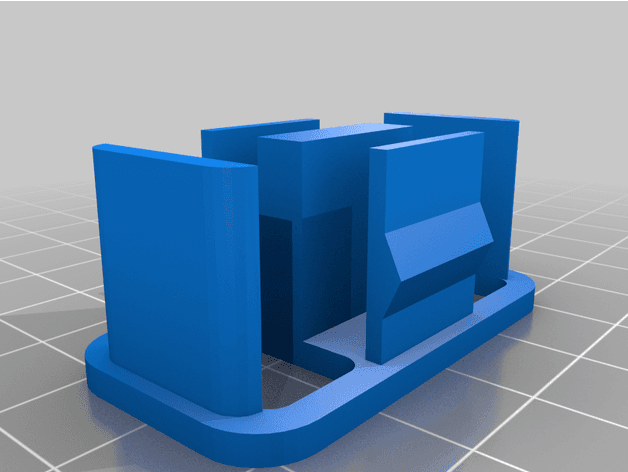
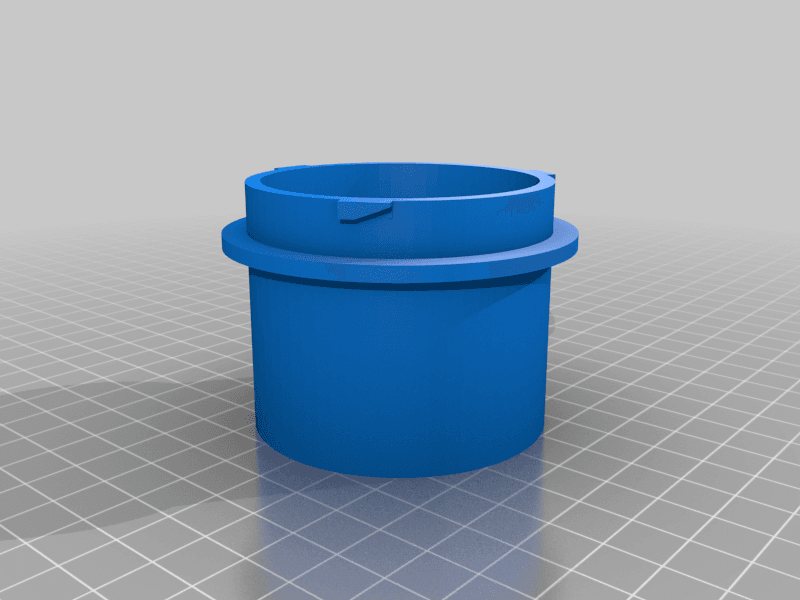
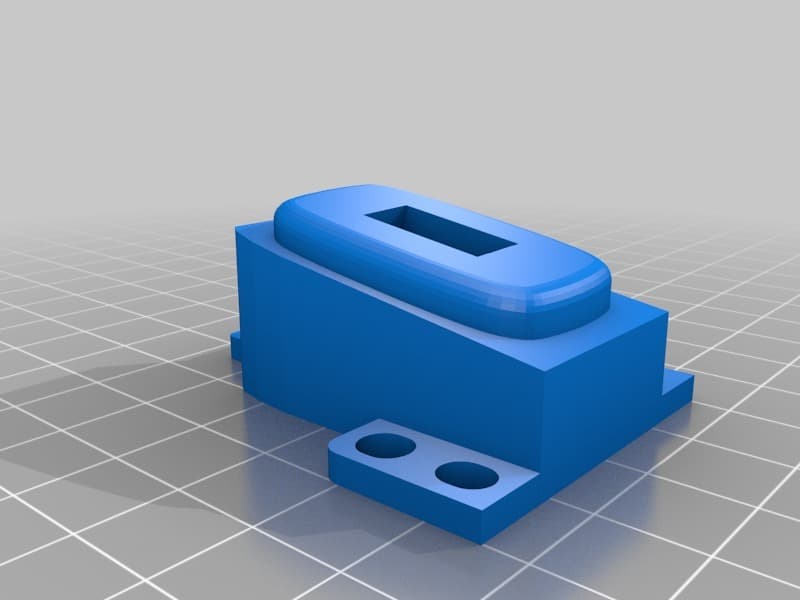
Sick of using a lighter socket charger and wanting to use that for a cheap TPMS monitor, I wanted to replace the blanking plates used in better models for heated seat switches. Rather than cutting holes in the existing panel, which in hindsight would have been MUCH easier, I printed them. Add in short USB extension cables and then splice a USB charger and a fuse between the loom and the existing lighter socket, and it all works. There's plenty of space in the centre console to fit it all. Print Settings Printer Brand: CEL Printer: Robox Rafts: No Supports: No Resolution: Fine Infill: 40% Notes: Black ABS printed at Fine resolution on a Green Beta Robox. Printed as two separate parts. Post-Printing Sanding It just required a light sanding with wet-and-dry (600?) to get rid of the stair steps, and a very light polish with Brasso. To get a better fit in final installation, the positioning holes were trimmed slightly with a diamond needle file. Wiring Two short (15cm) cables were bought from Amazon and shoved in the holes. However, due to clearance concerns, I replaced them with soldered sockets, although in hindsight this was unnecessary. The sockets were fixed in with Sugru and a strain relief moulded in. An extension harness with a fuse and charger in between the existing lighter socket and the car's wiring loom was added, using crimp spade terminals, which were then encased in epoxy putty to form a plug. All critical parts were heat-shrinked and/or wrapped in silicone amalgamating tape. After soldering in a new charger (worrying that there wasn't enough space otherwise) it turns out the new charger was faulty. However, as there was easily enough space for an inline lighter socket and a low-profile dual USB charger, this was an easy replacement. The addition is entirely non-destructive, so the extra wiring and charger can be removed and the original blanking plates replaced. How I Designed This Blender, and measurements with cheap digital calipers. Category: Automotive.
Compatible Vehicles
Originally published on printables.com by gid · License: CC BY
Browse categories
Browse other part families
Jump to interior, exterior, accessories, dashboard, mechanical, or tools hubs when you need a different kind of replacement part.
Share whether this print actually fits a real car. Installed photos and material notes make the catalog more trustworthy.
Related Parts
Most specific car + model + year + category matches first, with popular parts mixed in.